Diorama Making Banner

Home

Home

Youtube graphic
I have a youtube channel with over 1000 Videos!


Become a Patron

Wills Pinterest !


Tutorials

Will's Big Dioramas

Fast Tutorials

Types of Dioramas

Diorama Themes

Time Periods

More

Tools/Supplies

More Stuff


Will
Hi, Thanks for visiting my website. My name is Will and if you have questions
or would like to
contribute projects or ideas you can contact me Will

Medieval Village Crates and Barrels

This is part 7 of the Medieval Village series of tutorials and in this part I show you how to make lots of great accents. I show you sculpting, making rubber molds and casting plastic copies of crates and barrels. No medieval village is complete without lots of crates and barrels.

I also have a video tutorial showing all of this at the bottom of this page.

There are lots of tutorials about this medieval villlage. You can go to the main page here


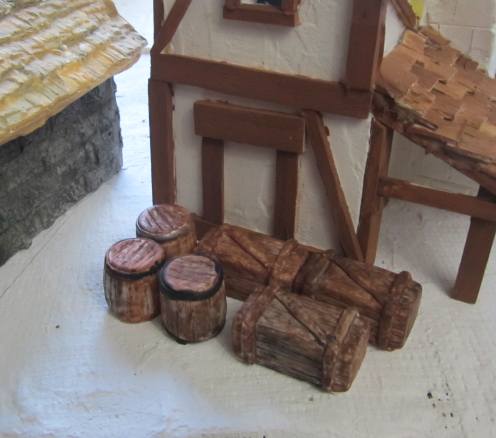
Here is a picture of the completed crates and barrels standing next to a building. They look great and the scale is great.

The crates and barrels on the diorama


There are three steps to the process of making lots of duplicate miniatures like these crates and barrels.

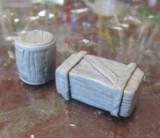
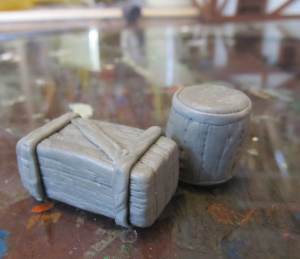
The original model minis

Step 1: You sculpt the original out of some kind of hardening clay


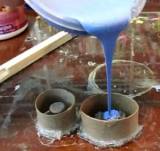
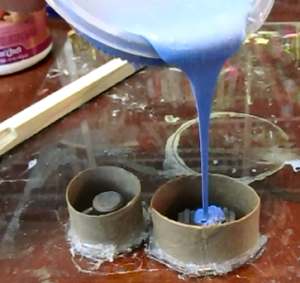
Pour the rubber

Step 2: You make a rubber mold out of that original

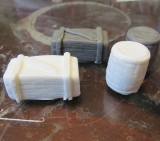
The cast miniature crates and barrels

Step 3: You cast plastic into the mold and make the copies


Materials and Products Used

I use a couple of different products to make these things and I will walk you through the different products and offer you some suggestions for alternatives. You can do a lot of improvising.

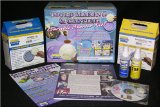
This is the Kit that I bought. There are two parts to this kit. The first part has both the chemical for making the rubber mold. And the second part has the two chemicals for making the plastic.


Moldmaking kit

Moldmaking & Casting Pourable Starter Kit - Mold rubber can be used to capture exact detail from any model. This starter kit will allow you to make a rubber mold of a small, simple 2 or 3 dimensional model using silicone rubber. Then pour our fast cast plastic to make one or more reproductions of the original. If you are an absolute beginner to casting then you might want to consider getting this kit. I have more supplies and options on my casting miniatures supplies page


Or if you want to just purchase the ingredients to make the rubber mold this is what I used:

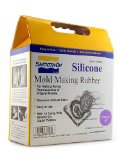
Smooth on

Smooth-On Silicone Mold Making Rubber OOMOO 30

This is the stuff that you mix together and pour. It forms the rubber mold. I use this material in my tutorial on how to cast a miniature


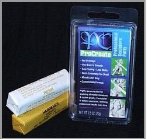
Procreate

And this is the product I use to sculpt the miniature barrels and crates. These are the originals that I make the molds out of.. You don't necessarily have to use this kind of a product. You could use Green Stuff or you could use some kind of clay that is very firm or that you can heat to harden.

Procreate Putty 2.5 Oz.


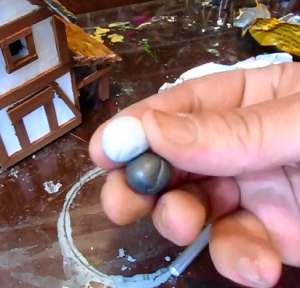
Mix the procreate

Let's start making the barrel and the crate. I don't really have to show you a whole lot because they are pretty simple. First we mix up the two halves of the ProCreate putty. Once this is done we have a clay that will be rock hard in about two hours. This is called "working time". We have two hours to make the object which is more than enough time.

Alternatively you can use green stuff. It's not quite as good but it is less expensive:

GF9 Hobby Tools: Green Stuff Basic Epoxy (sculpting putty)


The sculpted miniature crates and barrels

Some Quick tips on the sculpting.

First I made the overall shapes, a rectangular box and a cylinder.

Then I used an xacto knife to carve in the wood grain. Finally I rolled out thin bands of the clay and added them to make the banding both on the box and at the top and bottom of the barrel.

Pretty much as simple as that.


Pour the ruber

Next we make the rubber molds.

I used a hot glue gun here and I glued down both the barrel and the crate. Then I cut one inch tall pieces off of a paper towel tube and hot glued that down around each piece. See how that is in the picture?

The oomoo rubber is real easy. You just mix up equal amounts of the two halves, stir it, then pour it into the mold. Thats it

Alternative: You can use latex rubber for this to make molds. With latex rubber you don't pour it in a mold. You brush it on the part in layers; letting each layer dry before applying a new layer. Typically you would do ten or so layers.


Mold Builder

This is latex rubber you can buy. I have this exact stuff and have used it.


Mold Builder Liquid Latex Rubber 16oz/473ml


NextLet's continue on with this tutorial


Will's Book

Check out my book on how to make fantasy and medieval dioramas. I put all my best techniques and tricks in this book!

How to make Fantasy and Medieval Dioramas


Sign up for my newsletter!

Do you like making projects and exploring a variety of hobbies?

Sign up for my free newsletter. I give you regular updates on hobbies and projects you can make. it is totally free and I don't share your email with anybody.