|
||||||||||||
|
Tutorials
Time periodsFast TutorialsDioramas by Web VisitorsBuy StuffTools/Supplies
|
NZ Army Diorama - Part 2
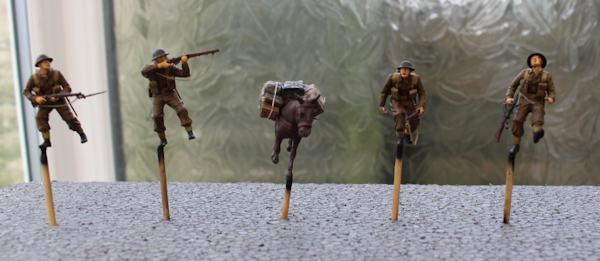
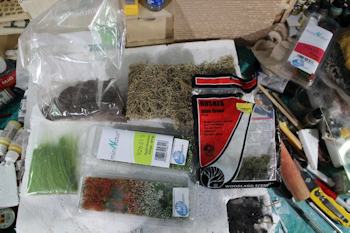
I started off by making the figures, this way I was able to look at the poses and sizes to work out the best way for the how and where they should be placed.
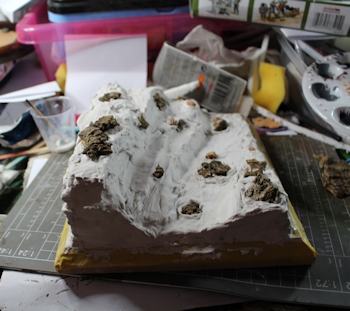
Note from Will: Here Glen gives us a really useful technique for making terrain. Coat the polystyrene with PVA Glue, Spread on the Air Dry Clay then use a Hair dry to get a nice crust on it!
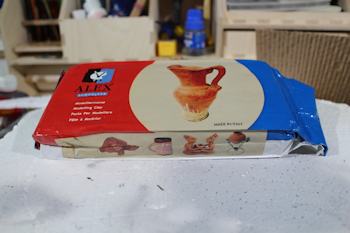
With the air dry clay I always keep a small airtight tub with some in just covered with water. The reason for this is that it is wet enough to spread over like butter, so when you spread it, if you use a hair dryer you can dry it out to for a crust on the top to get your shapes. I always coat the polystyrene with a PVA glue before putting on the clay.
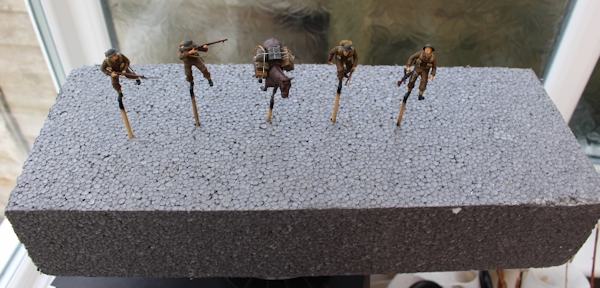
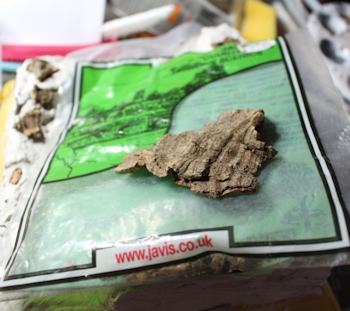
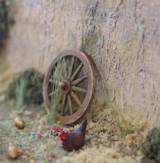
To save clay I inserted the cork rock slivers
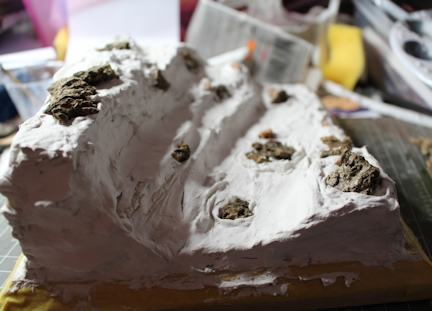
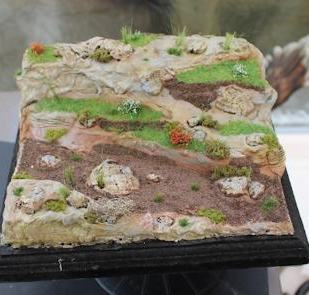
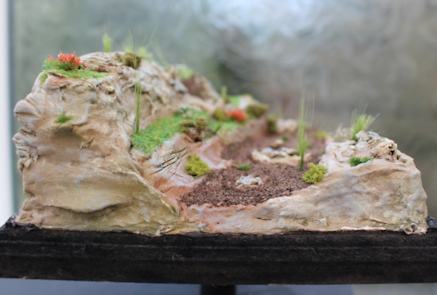
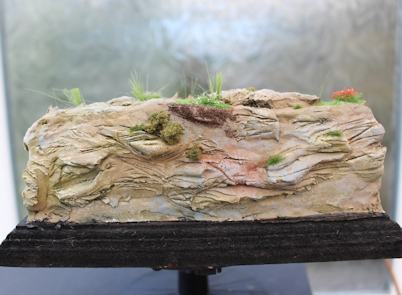
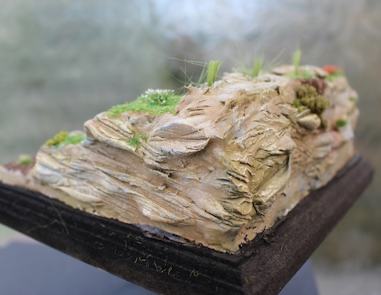
The next two pictures show the structure of the terrain and rocks. I first carved the overall terrain shape in the foam then coated it with the air dry clay, inserting the cork pieces.
I airbrushed the whole of the clay and cork in a grey primer and then lightly sprayed various colours along with dry brushing, I then used my static grass etc to build up the look etc..
You will notice on the next two pictures whilst the clay was still wet I scored fissures type marks into the clay.
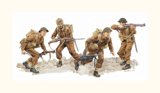
Dragon 1/35 Allied Assault, Monte Cassino 1944
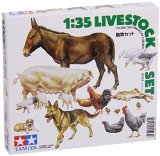
Tamiya 1/35 Military Miniatures Animal Livestock set 35128
There are some terrific kits out there for a lot of things like walls, stone walls, broken walls and more. Glen shows us an easy and terrific technique for making them look even more realistic. Texturing a kit wall
This is one of Glen's best dioramas. And it is a Silver award winner at a competition. It appears to be a simple scene, but the level of detail and composition of it is just amazing! . Check it out here.
Will's Book on Diorama Making
This books shows you how to make fantasy and medieval dioramas using many commonly available tools and materials. There are over 100 pictures and illustrations showing you how to make great dioramas in fantasy and medieval styles. Chapters include basics, water effects, terrain tips and special effects like electricity and small motors. Tutorials include how to use foam, plaster of paris and paper mache to make great looking dioramas.
|
|||||||||||
Copyright©2001-2016 Kalif Publishing - Contact, copyright and Disclaimer - Let's Make Something T - Storm the Castle T Publishing
|
||||||||||||


 Texturing a kit wall
  Captured by the Marquis (The Normandy Wall)