Making your own money making website
Printer Friendly version of how to make
your own free website.
Note before starting I have placed these directions onto a printer friendy page. You may want to go to that page and print it out so you can follow along while you build your website.
We are going to use a company called Bravenet. They have been around for a long time and they have great free services for the aspiring webmaster. You can set up your site for free. And you can get all kinds of extras for free like counters, bulletin boards, email, forms, and a whole lot more.
Step 1: Sign up at Bravenet
Note before starting I have placed these directions onto a printer friendy page. You may want to go to that page and print it out so you can follow along while you build your website.
We are going to use a company called Bravenet. They have been around for a long time and they have great free services for the aspiring webmaster. You can set up your site for free. And you can get all kinds of extras for free like counters, bulletin boards, email, forms, and a whole lot more.
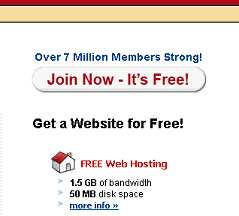
Go to Bravenet and sign up for an account. (It's free) You will have to verify your email address by checking your email and confirming the link. Then you are ready to start buiilding your free website by clicking on the more info link. Click on the image above to go to Bravenet.
You will go through a process where you log in with your new password then are asked to change your password then you are made several offers. Click through to the main page and select Hosting and Domains.
and follow the process for creating your website. It asks you what name you want I entered here myAwesomefreewebsite.

Now they ask you whether you are a beginner or intermediate user. For this tutorial you need to choose beginner.
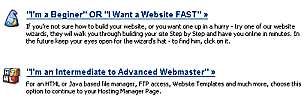
Now continue through the wizard.
Step 2: Building your First Page
Choose Step-by-Step
Then choose Build from a Theme. I chose the Ocean Blue Theme. Choose one that you like.
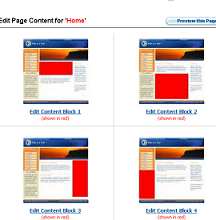
Now you are asked to edit the content of the various areas of your website. these areas are shown in red. click on the one you want to edit and input the text you want. I selected content block 1 and typed in the introductory information.
Step 3: Add an Image
Now let's put an image on the webpage.
Lets put an image on the website.
To do this you need an image on your computer that you can upload to the Bravenet server. It has to have this image so it can plug it into the website when people visit.
I selected content block 2. I typed in some text and now I will insert an image. Click on the image button. The yellow hand in this picture shows you where it is.
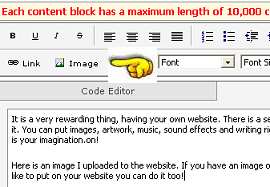
You are in the image uploader. This is the process of finding an image on your computer and sending it to the Bravenet computer so it can be shown on your webpage.
Select the Browse button and go to the image you want on the website.
Then select upload.
The image is now on the bravenet computer.

Step 4: Add a link
Type in the text of the link you want to make. I typed in Storm The Castle.com
Highlight it then choose the link button (shown below by the pointing hand)
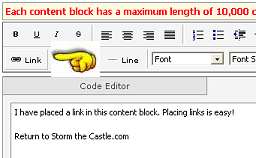
now type the address the link goes to in the pop up box. I typed in http://www.stormthecastle.com
Save your page and continue on with the wizard
Step 5 Add new pages
Now you are in step four of the Bravenet process. Create a new page and call it about me. You can now do the same editing process that you did for your main page. Add text, images and links.
Create as many pages as you like. Travel, writing , my artwork, ideas, etc.
Then push the publish button

They give you a link to follow directly to your new website! Go and check it out.Congratulations you now have a website. Here is a look at the site I made for this tutorial. Not bad!
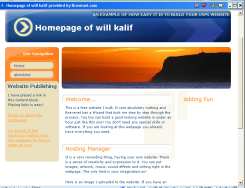
Make sure you bookmark it so you can return. And be sure to remember your password for bravenet.
Now continue on , build more pages, add a counter or lots of other free stuff that bravenet has. You are going to have a lot of fun. ANd be sure to tell your friends about your new free website.