Inspiration came from YouTube and Google. So it has come to pass that by using a couple of examples I saw on video and some judicious measurements based around my own portable hand drill I actually made it.
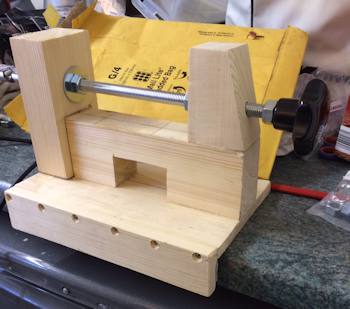
Starting with an old fire extinguisher holder I found (this was to cradle my drill. Secured with a rubber strap from my bitsa (bitsa this and bitsa that.) box. Cue some timber from local merchant and you start with this below.
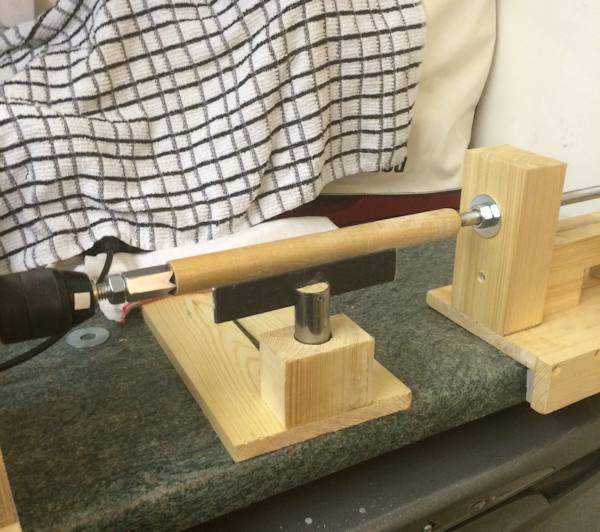
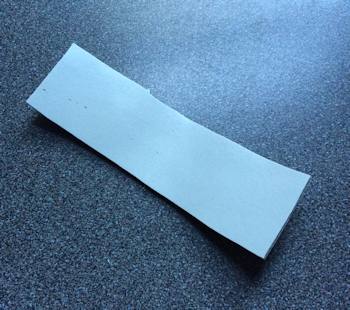
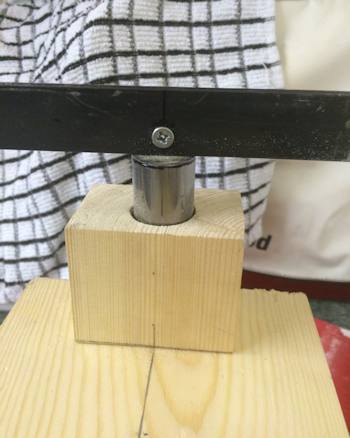
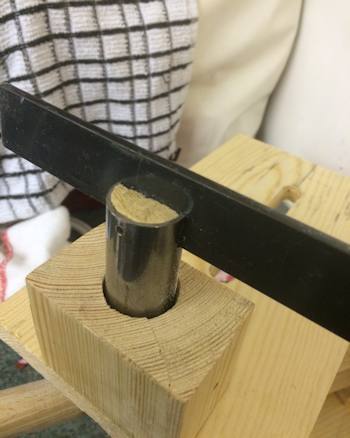
Next comes the front clamp. Placing drill on the mounting block I put in a pilot drill and marked the wood. This left a small indent in the wood which was to be my centre point for the neck of my drill. (I will describe events as for my requirements as anyone else would need to measure their own materials). Mine came to 43mm. I used a caliper at half of that measurement to scribe a circle of 43mm. Then I used a jigsaw to cut circle. A half round file finished the internal portion. Next was to drill down each side for fitting the clamp securing screws then cut the timber through circle to make two pieces grip at top and bottom. To align my drill I used a small strip of rubber called Poron which has an adhesive backing. (This item is sold as a podiatry material for making insoles for Diabetics) ideal because it doesn't collapse under pressure. You could say it's part of the perks of my job.
This constitutes the power side of the lathe plus a small side rail it can be clamped to a level surface.
Poron material top view
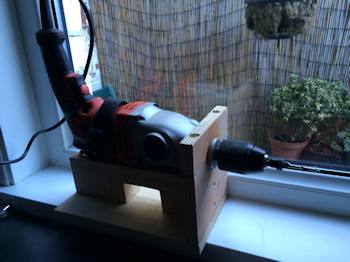
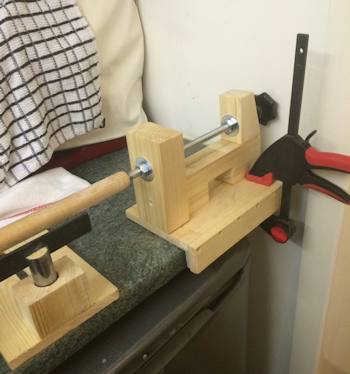
The Tailstock Fabrication
Tailstock fabrication similar but using a heavier timber to support the threaded rod. Again, using a 12mm auger bit, this time I created the indent and drilled to just cause the threaded portion of the auger to emerge. From the opposite side I used a 20mm auger bit to drill a hole to accept a connecting nut of m12 and pushed it securely in to flush.
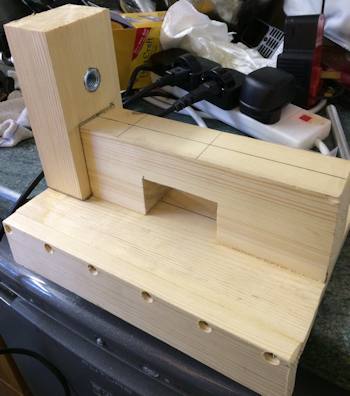
NB all timber frames were glued and screwed for strength.
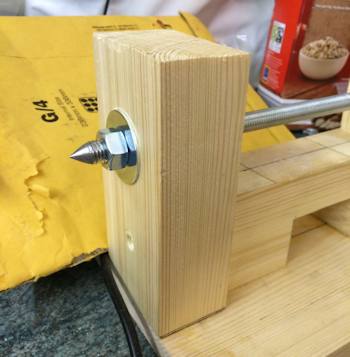
Rear timber affixed to support m12 threaded rod. Same size flat washers applied. The handle was purchased online. This was also m12.
Rod was shaped on bench grinder to secure the timber to be turned.
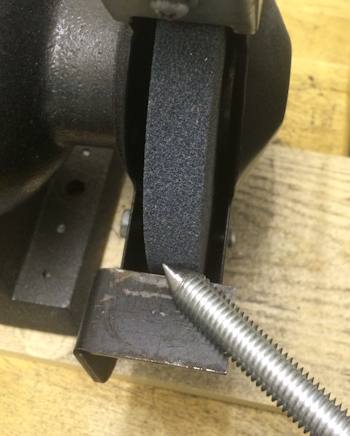
NB guard was moved to provide clearer picture. Please observe all shop safety when sharpening devices, wear suitable clothing and appropriate eye protection from flying debris and sparks.
Next to provide the power grip for project. Take a connecting nut, mark it with a Sharpie pen as below.
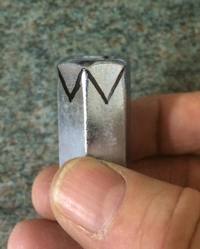  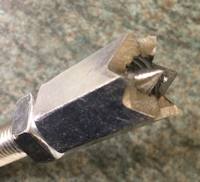
This is then applied and secured to threaded rod and taken to bench grinder to form :-
Carefully moving around the nut.
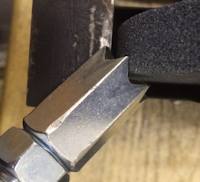
Screw onto rod more fully to expose the rod point secure with the second nut.
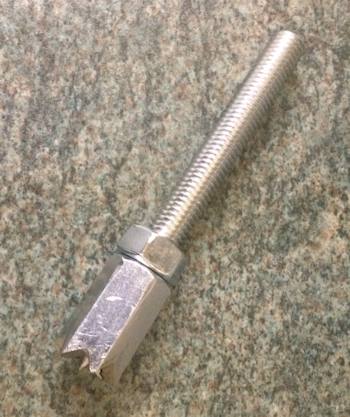
Trim to fit. (This was mark one rod length. Mark two was trimmed shorter.)
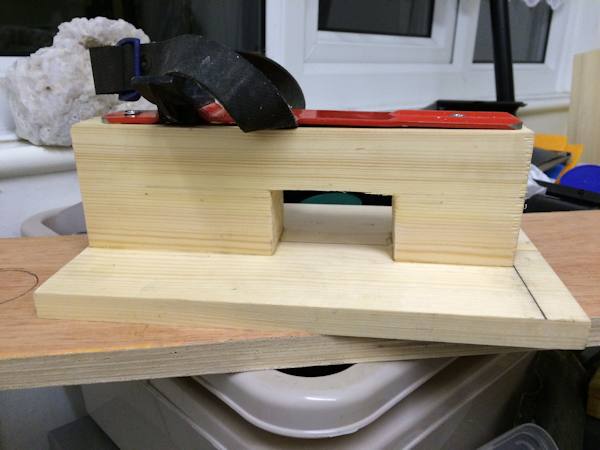
The Tool Rest
I had purchased some flat bar and tube stock from our local B&Q store (I think you guys would get it from Home Depot?)
I used a 25mm flat bit to drill down the block and inserting and ramming a carved piece of wood into the tube this allowed me to hacksaw a small portion out to create a lip that I could then affix by glue and screw to tubing. The height of the metal tool rest is according to the subject of lathe operation is that it must be centred across the work project. The height of the lathe should allow the operator to use the chisel tool at about waist height and it should be comfortable to do so. I made my toolrest as adjustable as I could bearing in mind what thickness of project I was going to be working. Initially, the lathe project was to fit on a "workmate" adjustable workbench as I do not have a large workshop or specially allocated room. Also it had to be portable as my work would have to be done outside and due to considerations of the weather necessitated being brought inside.
Front view tool rest.
Back oblique view.
NB not shown clearly here is a m12 slot that was going to have a threaded rod handle that would allow forward and backward movement to accommodate various thickness of timber and allow the tool rest to close the gap.
In conclusion,
With the addition of a box device and a connection to a vacuum cleaner, I could solve the problem of errant dust and flying shavings.
The setup shown is actually in my kitchen for clarity and photography.
Santa Claus gave me a set of three woodturning chisels of medium size, a facemask/helmet and a book on woodturning to start me on my adventures in wood.
I will compile a list of contibutors for the inspiration of the project. Sizes of timber I cannot supply as they were deduced for my project.
A bit of my researching material for lathe came from these people:
Cosmas B - Youtube video entitled - building a hand drill lathe.
Jack Houweling - Youtube video - how to make a mini lathe.
Yunostru - Youtube video - unfortunately entirely in Russian but easy to follow being very visual and looks like it was aimed at a competent child actually making the lathe. Eventually boy featured made a chess piece using the lathe. Very good design but could be modified.
Finally, Izzy Swan -,Youtube video - homemade table saw drill powered. Primarily watched because his idea was to make a small portable workstation using only one drill. This idea was to make and try a saw initially to see if it was feasible. (This is a possibility for myself in future but with safety features)
Carving Netsuke - pdf form by Tom Sterling (free download)
Introduction to woodturning - pdf form by Brian Clifford (free download)
Taunton Complete guide to Turning by Richard Raffan (book)
Taunton's Complete Illustrated Guide to Turning
|


