Hi, Thanks for visiting my website. My name is Will and if you have questions
or would like to
contribute projects or ideas you can contact me
How to Make Fast Easy Dungeon Terrain
This tutorial shows you how to make good looking dungeon terrain and tiles very cheaply and easily.
We use durable foam that is readily available. You can get 16 square feet of it for around eleven dollars at your local home improvement store.
It is expandable and flexible. You can make segments that can be placed together for larger dungeons. And the walls are all interchangeable so you can make an unlimited number of dungeons.
And you can have it all done quickly. The two foot square base we make in this tutorial can be done in about four hours and that includes paint drying time.
I also have a video tutorial at the bottom of the page.
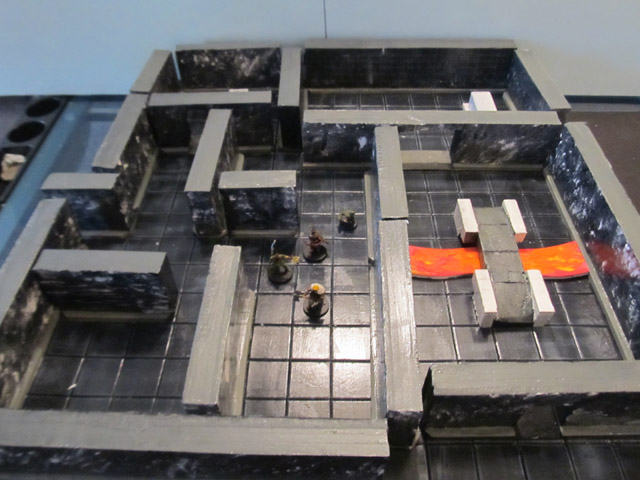
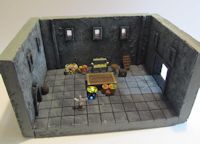
Here is a look at the dungeon we make in this tutorial. I will start out showing you how to make the base. And in the second part of the tutorial I will show you how to make the modular and movable walls.
Materials and Tools:
A sheet of XPS foam (Get it at Home Depot or Lowes)
1 sheet of foamboard (walmart, cvs, dollar stores) Amazon has it here: Foamboard
Some kind of glue that is foam friendly, elmers glue, pva glue, hot glue gun.
A sealant (this is important for durability and usability) I use mod podge gloss. You can also use white glue mixed 50/50 with water.
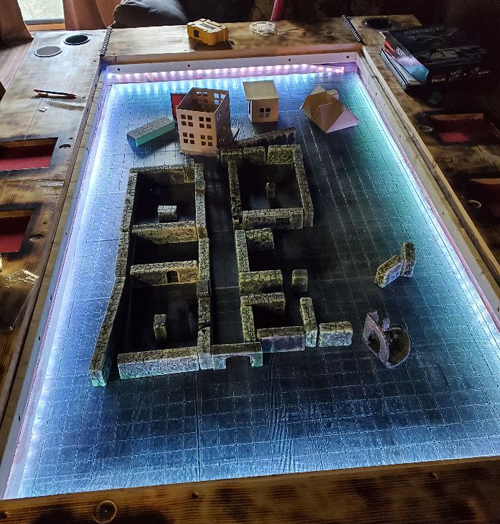
Are you thinking about making a dungeon set up like this? A web visitor (Joe) has followed this tutorial and took it to another level by placing it all on a dedicated table and adding lights! Take a look at a picture he sent me:
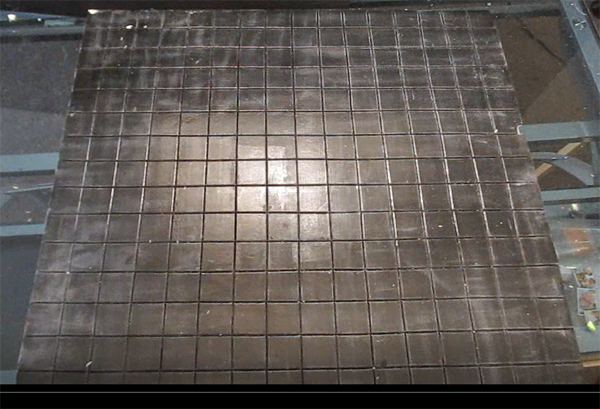
Let's make the base
Here is what it looks like when it is done. It is 24" x 24". The squares are 1.5".
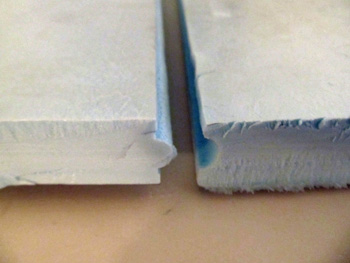
One of the nice things about this foam is that it comes already with tongue and groove work on it so you can make bases and simply assemble them side by side as you want the size of your dungeon to change.
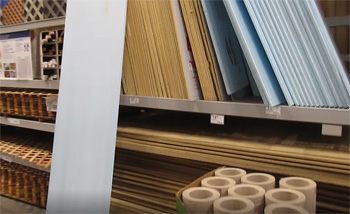
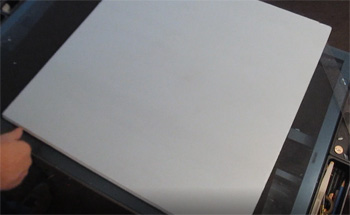
Take a trip to your local home improvement store and pick up a sheet of home insulation foam. The picture shows the sheet I got. It is 2 feet wide, 8 feet long and 1 inch thick. that 1 inch thick is important to remember because they often sell sheets that are 2 inches thick. You can use it but that extra thickness is not necessary.
It's very light and easy to work with. Have an employee of the store cut it in half for you so you can get it in the car.
Note that different companies make it in different colors. But they are all the same. It can be either pink, blue or green.
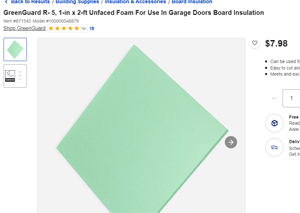
Lowes has it, called Green Guard. Here is a picture. It is one inch thick and two feet square. Here is a screen shot I took from their online store.
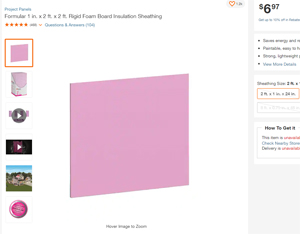
At home depot they sell the large sheets but they also have smaller ones that are one inch thick and two feet square. They call them project boards:
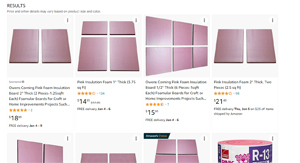
They sell the foam on Amazon but it is more expensive. So, use this option if you don't have easy access to a home improvement store. Watch for the sizes. YOu want the one inch thick stuff, and consider what size board you want. Mostly they sell it in one foot squares. Owens Corning foams on Amazon
Cut the foam to your desired size. I cut mine to 24 inches by 24 inches. If you are going to cut your base to a different size you should consider the size of grid you want. I use grid squares that are 1.5 inches so cut your base to a multiple of that.
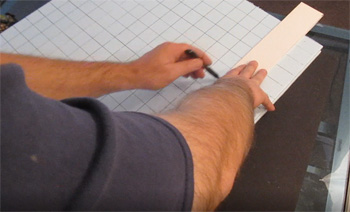
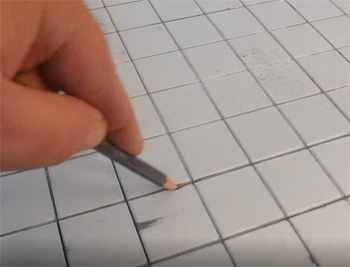
Draw out the grid using a pen or gel pen. It's ok that the pen indents the foam. We are going to accentuate those dents and make them really deep in the next couple of steps.
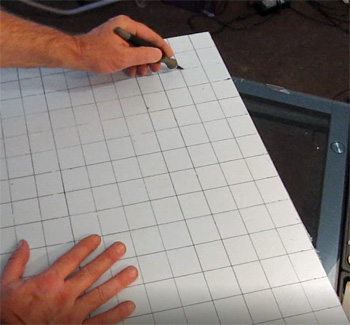
Now use your xacto knife to carefully cut all those grid lines. Cut about half way through the foam. Take your time. If you cut too fast you can tear the foam. You will quickly get a feel for it. And replace your knife blade if needed. A new blade will make the cutting very smooth and easy.
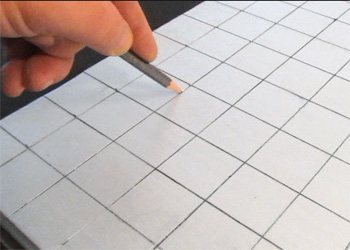
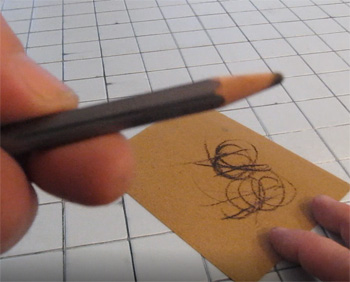
Now slowly run a sharpened pencil through all those cuts. This opens them up a bit.
Next blunt that pencil.
And run that blunted pencil through the cuts further opening them up.
Want more dungeon making tutorials? I have lots of them:
Make a Dungeon Diorama Book
It is an easy to make dungeon using foamboard and foam. And it folds up just like a book. You can make one with unlimited rooms and potential. Make a Dungeon Diorama Book.
New: Make a Dungeon Diorama with 3d Printed Miniatures
I show you some great techniques for making a dungeon diorama which is also good for table top gaming. I also have some 3d printed minatures in this diorama. Make a Dungeon Diorama
Make Dungeon terrain using pebbly styrofoam
Pebbly styrofoam is the common type of foam that you are familiar with. You can also shape it so it has some ruined look at it. Make 3d Dungeon Terrain
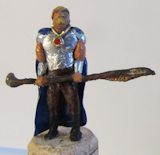
How to sculpt a miniature
In this tutorial I show you step by step how to sculpt a neat little fantasy miniature. I make a battlemage. I show you everything including the armature and the materials to use. How to Sculpt a Miniature BattleMage
How to Cast Miniatures
I take you through the whole process of making the mold then casting the miniature. I cast a miniature dwarf in a two part mold, includes videos.. How to cast two part rubber molds


 New: Make a Dungeon Diorama with 3d Printed Miniatures
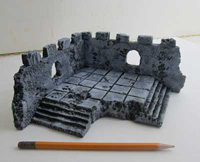
 How to sculpt a miniature
 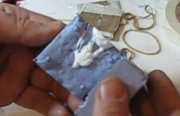 How to Cast Miniatures