Hi, Thanks for visiting my website. My name is Will and if you have questions
or would like to
contribute projects or ideas you can contact me
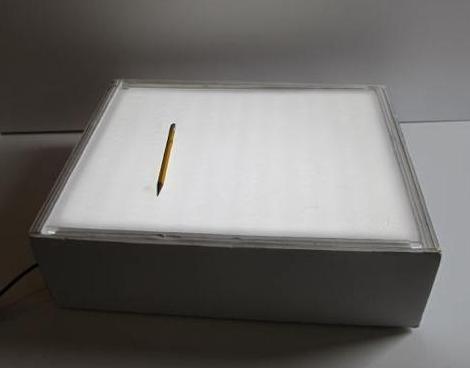
How to Make A Light Box
A light Box is a wonderful little project that you can use in your artwork, photography or graphic design. One of the best uses for it is to trace out pictures and drawings.
It gives off a fairly bright yet diffuse light that will pass through a sheet of paper. This way you can see through it and trace things out.
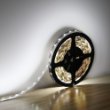
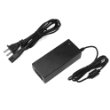
I have a video tutorial on this project at the bottom of the page. And I also have the exact parts that I used for mine. So you can order the same exact LED's and Power Supply.
PARTS: These two products are the exact ones that I bought and used for this project:
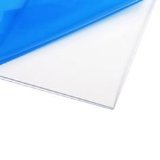
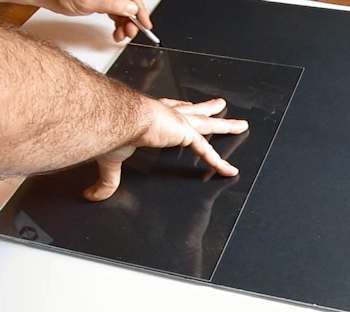
Two clear acrylic sheets .093 thick (that is 3/32 inch) and the dimensions are 11 x14 inches. If you have difficulty finding this exact size you can buy a larger piece and cut it down to the 11x14 size. (Amazon has some nice 12x12 acrylic sheets: 1/8 inch thick acrylic sheet 12 x12 inches )
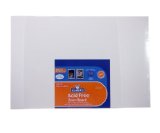
Several sheets of foamboard. About 4.
One sheet of foamboard that has paper you can easily peel off both sides. If you can't find this then go with a sheet or two of white paper.
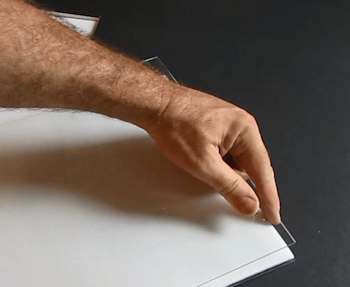
I purchased two pieces of th e acrylic sheet from the Home Depot. These are 11x14 inches in size and perfect for this project. (They are .093 inches thick which is 3/32) You can be flexible with the thickness and the size of these. Make a light box the size you want. But, if you make your box much bigger you might want to use a thicker acrylic sheet so it doesn't sag when you use the light box.
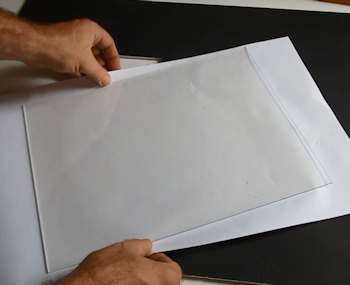
Now let's make the diffuser that will evenly diffuse the light in the box. Lay one of your plastic sheets on a piece of foam board and cut the foam board to the same size.
NOTE ABOUT The Clear Plastic Sheet: I ran into several different brands, types and names such as Acrylic sheet, polycarbonate sheet and LEXAN. It really doesn't matter which one of these types you use. I would just go with the cheapest ones.
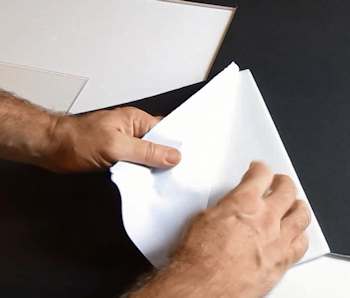
Now peel the paper off of both sides of the foamboard. This way you are left with just a thick sheet of the inner core foam.
Note: Some foamboard is very easy to remove the paper from. Others are very difficult. If your foamboard is difficult then don't worry about it. You can use paper instead of foamboard. Don't struggle with it too much. If you watch the video you can see my paper peels off extremely easily.
Now you have your diffuser assembly. It is a sheet of acrylic, the foamcore sheet and another sheet of acrylic.
Ok, if your foamboard didn't peel well you can use paper. But do this at a later step so you can check it with the light on. This way you can see how the paper diffuses and you can try different paper or multiple sheets.
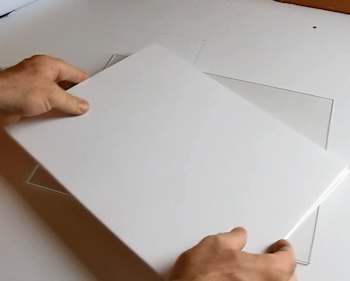
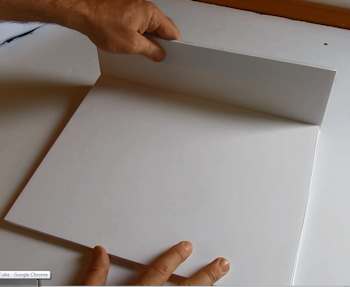
Ok, let's make the actual box. Start out by cutting two sheets of foam board the same size as your acrylic sheets. Glue them together. This is the base of the box.
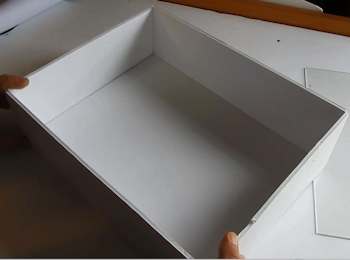
Next build the walls all the way around the box. These walls are 4 1/2 inches tall. And don't glue them on top of the base sheets. Glue them all to the sides of those base sheets.
If you glue them on top of those base sheets your box will be a bit too small for the acrylic sheets to fit into.
Ok, you have a nice box and the walls are 4 1/2 inches tall.
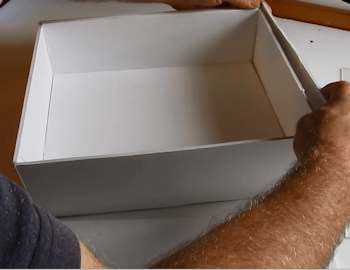
Now cut yourself another set of 4 1/2 inch tall walls and put them all the way around the box. This creates a double layered box which is much stronger. And, don't cut these the same exact length as your previous four. These are a little bit longer to go around the walls of the box.
Don't skip this step! We want our box nice and strong so we can lean on it and press down on it when using it as a light box.
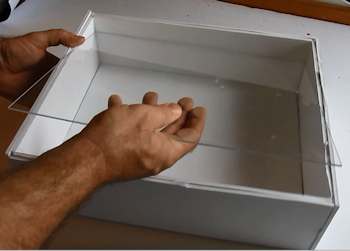
Ok, there it is. The four walls of the box are made. And they are double layered. Put a sheet of plastic in there to make sure it fits ok. It should go into that box, albeit snugly.
Do you like making projects and exploring a variety of hobbies?
Sign up for my free newsletter. I give you regular updates on hobbies and projects you can make. it is totally free and I don't share your email with anybody.


 NOTE ABOUT The Clear Plastic Sheet: I ran into several different brands, types and names such as Acrylic sheet, polycarbonate sheet and LEXAN. It really doesn't matter which one of these types you use. I would just go with the cheapest ones.