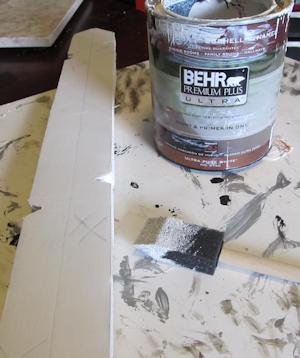
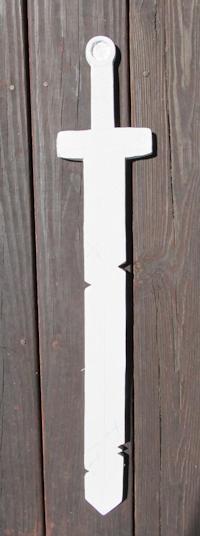
You will need primer and a brush/sponge of any kind to apply the primer. Apply a thin, even layer of primer to both sides of the sword, taking care not to put on so much that you cannot see your drawing beneath the paint. We're using Behr Premium Plus ULTRA in White. This image shows the sword after it has been primed. As you can see, the detail lines are still clearly visible.
Now, set the sword aside for a few minutes and allow for it to dry.
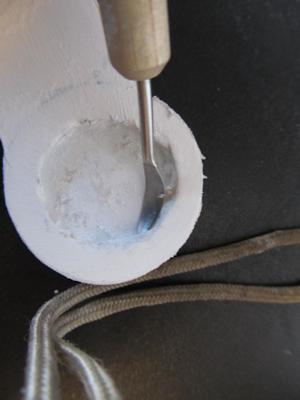
Once it's dry, grab a sculpting tool, or your exacto knife if you don't have anything else, and cut out the inner circle on the tip of the hilt. All we're trying to achieve here is what's known as a relief, or a depression in the foam board that sinks lower than the rest of the surface. This is where we'll be putting our cellophane at the end of the project.
When you're done it should look like this ON BOTH SIDES.
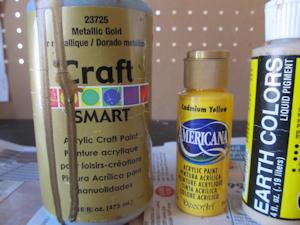
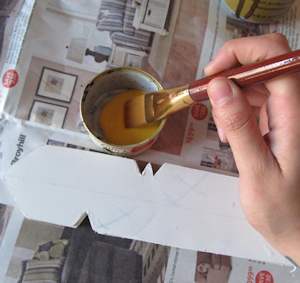
Grab your yellow acrylic paint and a thick, wide flat brush. Cover your work area in newspaper or scrap paper to protect your work surface and avoid an unsightly mess. You'll also want to grab a cup of water, and a rag or paper towels for wiping up any spills and drying off your brush after rinsing between colors.
We had a few options for yellow/gold paint. Since Finn's sword is bright yellow in the cartoon, we opted for Americana brand acrylic in Cadmium Yellow. (center)
It's time to paint the blade, which should look a little something like this.
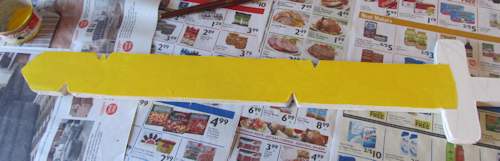
Make sure you paint ALL of the blade-- this means the sides, too!
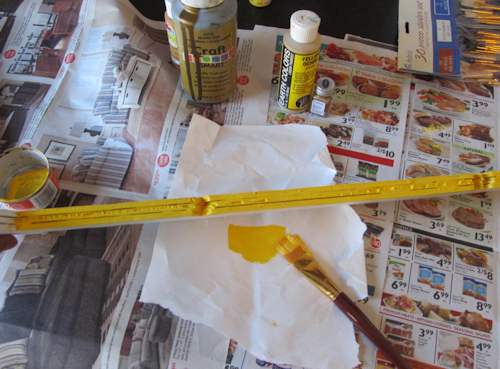
Once you're done painting the blade yellow, place it somewhere to dry. Make sure it is COMPLETELY DRY before moving on to any of the next steps because if it's still wet, you run the risk of smearing yellow paint where you don't want it and potentially ruining the appearance of the sword.
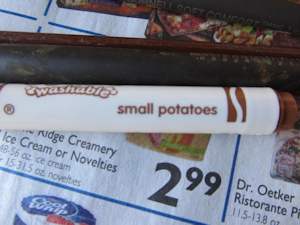
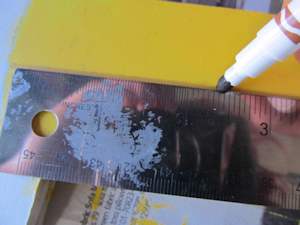
When the sword is done drying, finish the blade by adding in the details. This is where your brown marker and brown paint will come into play. Here are the two items we used to achieve the desired rust color:
Small Potatoes by Crayola (Washable Mini Magic Markers, any Crayola brand brown marker would be ideal)
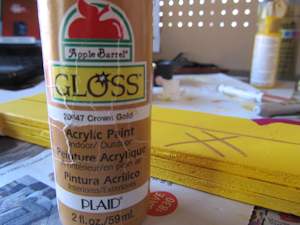
and Apple Barrel Gloss Acrylic in Crown Gold
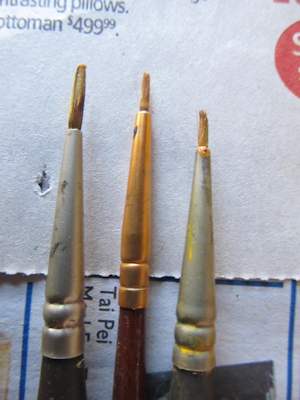
You can also grab a small selection of fine paint brushes for clean line work.
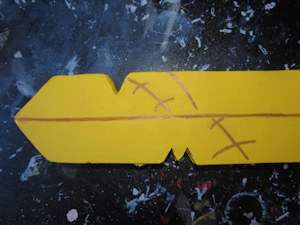
Use the marker to make the line down the center and the various X's on the sword.
Set this aside to dry for a few minutes before moving on to the hilt.
 Back Back  Finish TheSword Finish TheSword
 Adventure Time: The Complete Second Season Adventure Time: The Complete Second Season
It's one crazy adventure after another for human boy Finn and his best friend Jake a 28-year old dog with magical powers. They're out to have the most fun possible and they sure do find it exploring the Land of Ooo! Whether it's saving Princess Bubblegum battling zombie candy taunting the Ice King or rocking out with Marceline the Vampire Queen with Finn & Jake it's always ADVENTURE TIME!
 Adventure Time Adventureu Time Fan Favorite Plush - Lady Rainicorn Adventure Time Adventureu Time Fan Favorite Plush - Lady Rainicorn
What time is it? Adventure Time! Bring the animated television series to life with this Adventure Time 18" long plush! A must-have for every adventure-seeking Finn and Jake enthusiast. Mathematical!

Do you like making projects and exploring a variety of hobbies?
Sign up for my free newsletter. I give you regular updates on hobbies and projects you can make. it is totally free and I don't share your email with anybody. |


