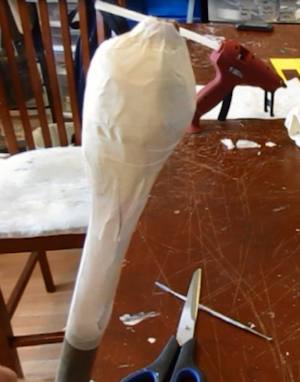
Now make a big ball of crumpled paper at the end of the staff. It looks like a Q-tip. Kind of funny. This is the beard that goes right under the wabbjack face you just made.
Just under that Q tip end of the staff there is a spiral. It kind of corkscrews along the staff. You make this by cutting a strip of cereal box cardboard and wrapping it down the staff. Stuff bits of newspaper under it so it has good definition.
Ok, cut an inch and a half off the end of that Q-tip so the broomstick is exposed.
Check it to see if the wabbajack fits on there nicely. Trim anything that needs trimming so it is a nice fit. But don't glue it on right now. Save that for later.
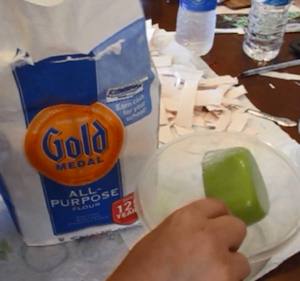
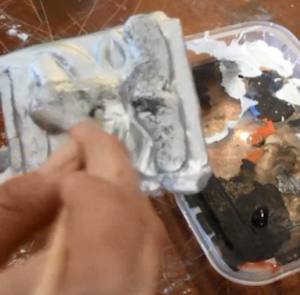
Ok, lets mix some paper mache and paper mache the staff. You just do the wabbajack head and the qtip part. No need to paper mache the whole staff! You make paper mache by mixing a cup of flour and a cup of water, then add a teaspoon of salt. (The salt is for mold deterrence).
Stir it briskly so it becomes nice and creamy smooth.
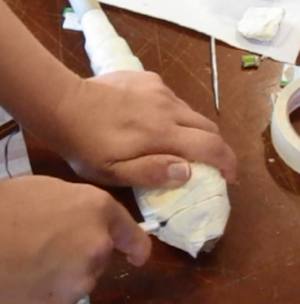
Then you dip bits and pieces of paper towel or newspaper in it. You apply those strips to the project.
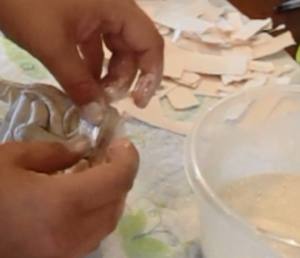
Do this to the whole head section and the beard section (q-tip).
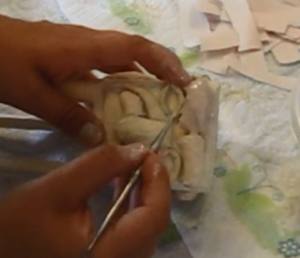
Use a tool to work the paper mache into all the little grooves and areas.
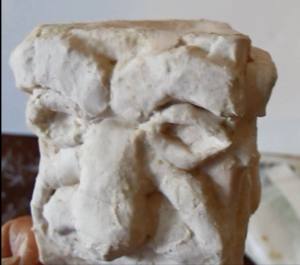
It looks great. And it has pretty good detail. Now set it aside to dry. It will take hours to dry. If you put a fan on it the wait will only be half an hour.
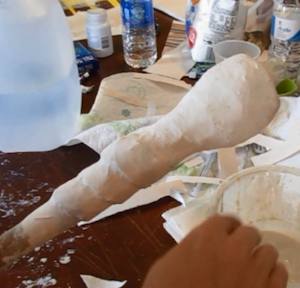
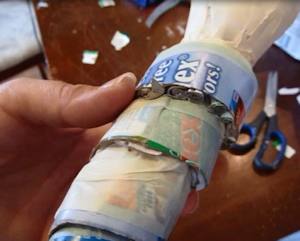
Here is what the end of the staff looks like after you paper mache it.
Ok, Once all that paper mache has dried you should mix up another batch of paper mache and do a whole second coat on everything. This will make it nice and strong.

Let's get the staff ready for painting. If your broomstick has paper mache all over it you should clean that off with a tool or with some sandpaper like this.

Ok, let's get it all ready for painting. Sand everything down lightly just to smooth things out. And brush it all off afterwards to get rid of the sand dust and grit.
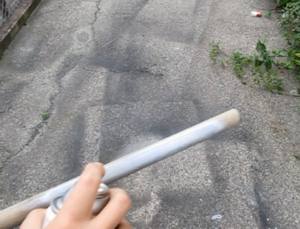
And then spray paint it all silver. I just show the handle being painted but paint the head and beard too. And, any kind of paint will do, acrylics, brush on paint. Anything!
Spray paint is easy and looks best.
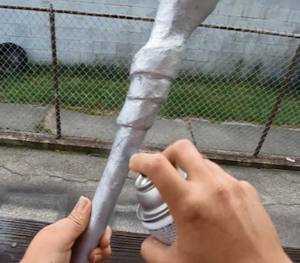
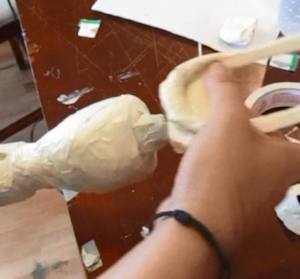
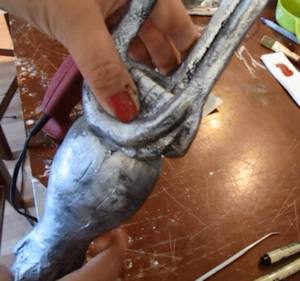
Ok, you talked me into one more painting picture. I just thought it would be good to take one more look at that corkscrew beard under the Q-tip.

Now, this is a little detail and is optional. But that Q-tip is actually a beard. So, score some curvey lines in it with a sharp tool like an x-acto knife.
Then brush in a very watery layer of black paint. Make it sopping wet! This is called wet brushing. In a moment we will wipe most of it off. But... the watery black stay in the deep crevices that we cut with the xacto knife.
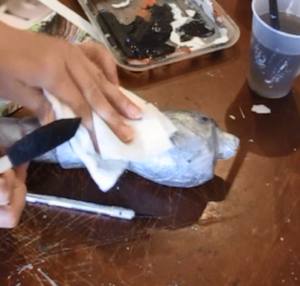
Wipe the black off with a rag or paper towel. Don't press down too hard. We want the black to stay in the crevices.
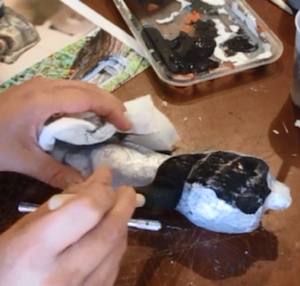
Now, do some detail work by dry-brushing on black. This is where you dip the brush in black but wipe most of it off then gently brush it on the face. It leaves just a light black on the high points.
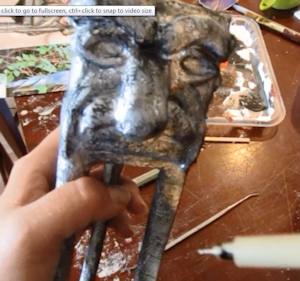
This picture gives you a good look at the dry brushing after it is done. And then you can do some detail work with a black pen, things like the teeth lines.
Once it is all dry you can hot glue the head onto the q-tip beard. And you are done. Optionally you can seal it all with a spray sealant. That will preserve the color and freshness of it.

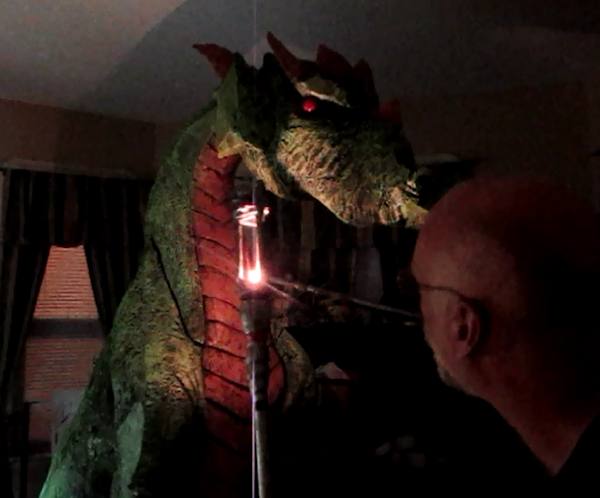
You might even be able to use it in a fight with a dragon:
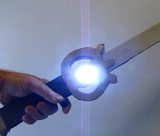
Skyrim Dawnbreaker
This is a tutorial on how to make the Dawnbreaker sword from Skyrim. I also add a light. And I have the template you can download. Make Dawnbreaker from Skyrim
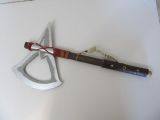
Make the Assassin's Creed Tomahawk
This a great project based off of the new Assassin's Creed. Here I show you how to make the Tomahawk wielded by the main character Connor out of a broom handle and some foam board. Make the Assassin's Creed Tomahawk
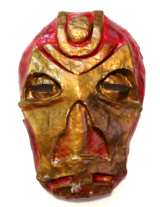
Make a Dragon Priest Mask from Skyrim
This is an easy paper mache project and I have a template that you can download and print out. You can use this technique to make all kinds of fun masks. Make the Dragon Priest Mask Volsung from Skyrim

Do you like making projects and exploring a variety of hobbies?
Sign up for my free newsletter. I give you regular updates on hobbies and projects you can make. it is totally free and I don't share your email with anybody. |


