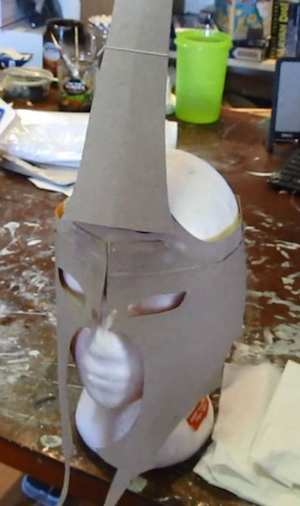
Now it looks like this. Place it on something so it stands up free like this. You probably don't have a mannekin head. You can use a blown up balloon or you can ball up some newspaper. Make something so you can stand it up like this.
Now we are going to cover the whole helm inside and out with either plaster cloth or paper mache.
Plaster cloth is a great product that is cloth with plaster embedded in it. Thats the stuff that they make casts for broken arms. If you don't have plaster cloth you can make paper mache.
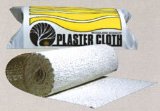 Woodland Scenics Plaster Cloth, 10sf Woodland Scenics Plaster Cloth, 10sf
To Make Paper Mache:
Mix two cups of flour and two cups of water. Then add a table spoon of salt (to prohibit mold) Stir it all up really well so it is like cream of wheat. That's paper mache.
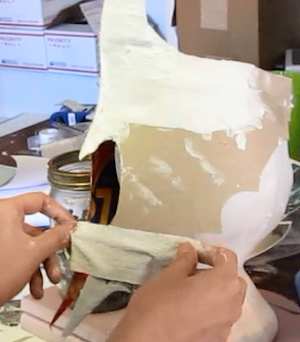
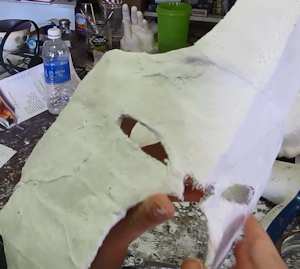
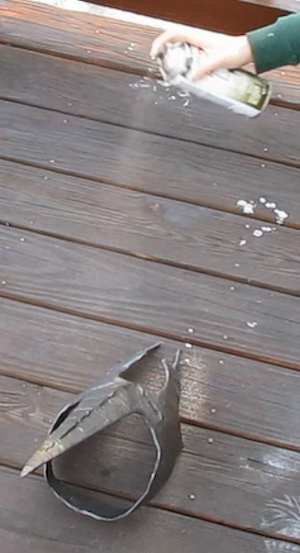
Cut the plaster cloth into roughly six inch pieces. Dip them in water and wipe off the excess water. Then apply them to all the outside of the helmet.
Take your time. Try to do a nice smooth coat of it. This is so it will look a lot like metal.
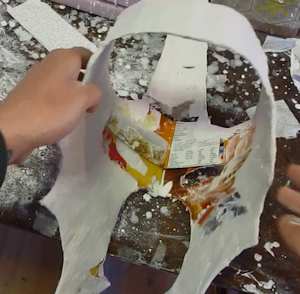
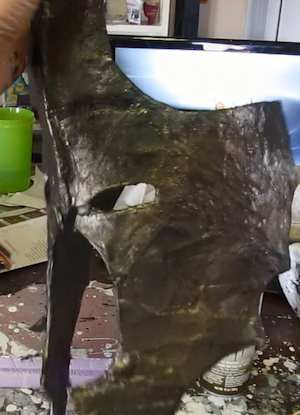
You want to do a coat on the inside too. But, cut out the eyeholes first! Otherwise you won't be able to see where they are.
Let it dry. You can speed up the drying with a hair dryer. After inspecting it you may want to do a second coat of plaster cloth or paper mache to make it stronger.
Once it is totally dry and you are done with the plastering you should sand it a bit to smooth it out.
And you can do some detail clean up work with tools and the sand paper.
Ok, Let's paint it! This is the process that we followed but you can improvise and try different things if you like.
Step 1 is to prime it with a complete coat of white paint. (optional)
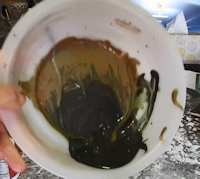
You have lots of options when it comes to painting it. You can just paint it black or a dark brown if you like. But we mixed up several colors to give it an ominous battlefield evil look. Four colors went into this. Black, brown, silver and green.
It looks great. If you consider evil great! LOL
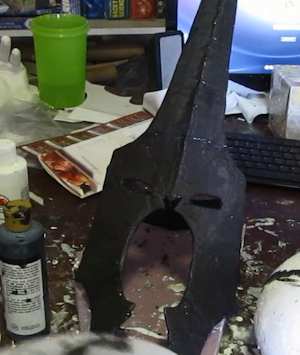
Next we add silver to that deathly black mix and paint the whole thing with this new shade. See how it has a nice metallic look to it.
To finish it off we lightly spray painted it bronze metallic.
It looks great. Now you can seal it with a sealant like a spray sealant or mod podge.
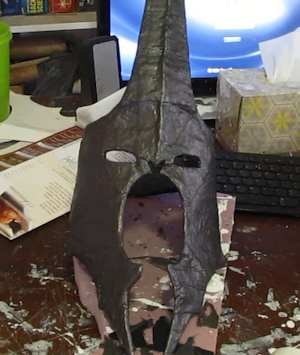
 Let's make the spikes and finish off this helmet Let's make the spikes and finish off this helmet
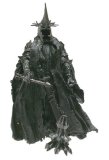 Lord of the Rings - The Return of The King - Morgul Lord Witch King with Mace-Weilding Action Lord of the Rings - The Return of The King - Morgul Lord Witch King with Mace-Weilding Action
Make Gandalf's Sword Glamdring
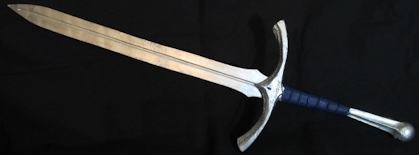
This is one of my easiest sword projects and it looks great. You just need a few basic materials and I give you the template which makes it very easy to do! Make Glamdring

Do you like making projects and exploring a variety of hobbies?
Sign up for my free newsletter. I give you regular updates on hobbies and projects you can make. it is totally free and I don't share your email with anybody. |


