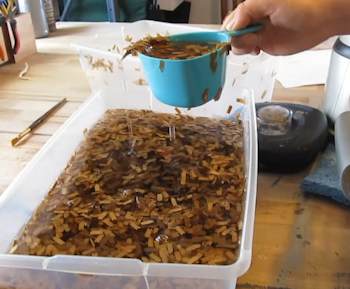
Measure out three cups of that watery paper mess!
And put it in a blender.
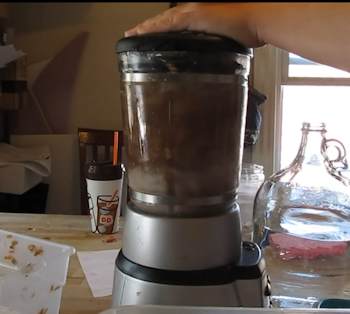
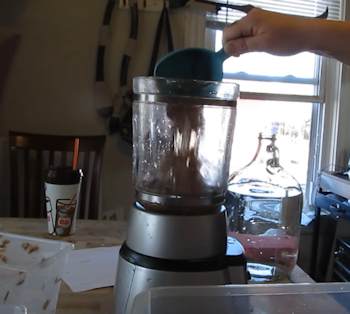
Add lots more water to it and blend it! This batch ran about 1 minute in the blender.
Note about these quantities. This is all very flexible. Start with 3 cups of the paperwater, fill the blender and blend for a minute. Soon you will get a feel for your blender, water and paper and you can maximize things. One rule of thumb is that more water is usually better.
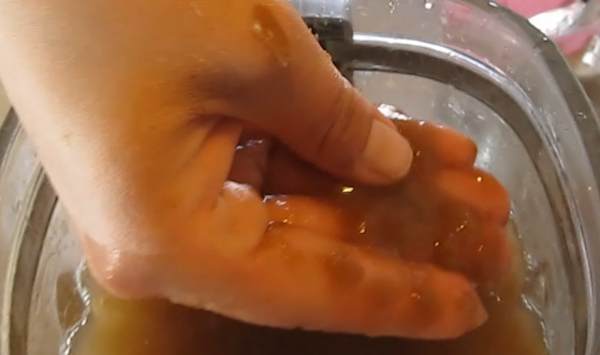
You are looking to get it something like this. It is pulpy, gooey and all kinds of lumpy! The lumpy is good because that is lots of cellulose fiber which will re-bind together as we want it to.
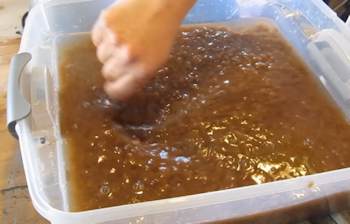
Ok, repeat this blender process, pouring the pulp into some kind of container until you have a nice batch of it. Stir it up. Make enough to make your big sheet of paper, or to make as much as you want to make in terms of paper.
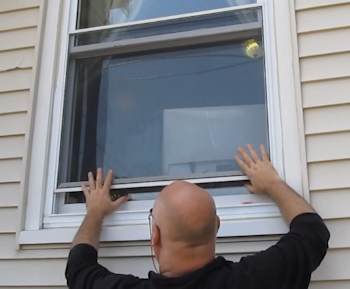
Now we need some kind of a screen. I grabbed the largest screen in the house. This one will do quite well. Don't worry abut damaging it. The paper making process will not harm the screen.
(When we use a screen like this it is called a mold and deckel. And you can make one in any size you want very easily with some wood and some screening. I have a tutorial for this right here.)
Now,the next stage of this process is messy.There is a lot of water involved so put that screen in a good place that can easily drain water. We brought it out onto the porch. Notice the spaces in the porch . Water will drain quickly and easily away from our paper making.
Start spreading out some pulp on it. Make it pretty thick, about a half inch.
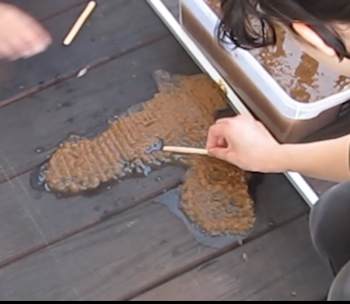
And smooth it out, even it out with a popsicle stick or some type of tool. You will quickly get a feel for this. And do this in sections. You don't lay out the whole screen then smooth it. Layout some pulp and smooth it. Then lay out some more pulp.
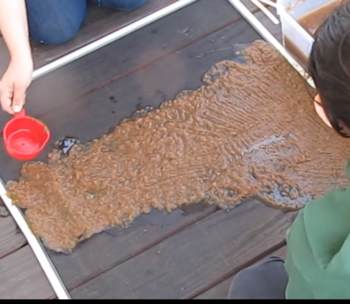
Continue filling out the screen.
Keep an eye out for thin spots and empty spots. It is very easy to pour a little into those spots and smooth them out.
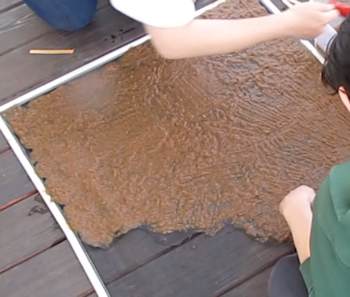
It is looking good. Almost done with this stage of the process.
 Let's continue Let's continue
Roylco Inc. R-15286 Roylco Design Craft Paper Antique - Roylco Design Craft Paper Antique Paper 8.5 x 11 32/Sheets. Use these antique parchment style papers to help illustrate poems and short stories using medieval letter-sets and scripts. Draw out an antiqued family tree family Coat of Arms or a realistic treasure map. 81/2" x 11" (22 x 28 cm). 32/pkg. - Roylco Design Craft Paper Antique Paper 8.5 x 11 32/Sheets. Use these antique parchment style papers to help illustrate poems and short stories using medieval letter-sets and scripts. Draw out an antiqued family tree family Coat of Arms or a realistic treasure map. 81/2" x 11" (22 x 28 cm). 32/pkg.
Papermaking with Garden Plants & Common Weeds
Handmade paper has a unique texture and an individual quality that makes it not only a surface to write or print on, but also an object of beauty. With a small investment in equipment (or the supplies to make it from scratch), a small harvest of backyard weeds or garden plants, and the guidance of papermaking expert Helen Hiebert, anyone can make exquisite papers right in the home kitchen.

Do you like making projects and exploring a variety of hobbies?
Sign up for my free newsletter. I give you regular updates on hobbies and projects you can make. it is totally free and I don't share your email with anybody.
|