Home

I have a youtube channel with over 1000 Videos!


Wills Pinterest !

Hi, Thanks for visiting my website. My name is Will and if you have questions
or would like to
contribute projects or ideas you can contact me 
How to Make a Sewing Frame for Book Making
To rebind a book you need a few tools and materials. And one of the best tools is a little wooden jig to help you hold the book while you are working on it. It is called a sewing frame and in this tutorial Paul shows us how to quickly and easily make one with just some scrap parts.
Time taken to build 2 hours.
My thanks to Paul Hughes for this wonderful tutorial. |
Materials:
- 1 piece of old shelf (wood) approximately 24 inches x 7 1/2 inches.
- 1 piece of timber ( from mold and deckle project) 14 inches x 1 1/2 inches. X 5/8 inch
- 2 M8 coachbolts, 4 wing nuts and 4 washers. (minimum of 5 1/4 inches long. But longer is better) Threaded rod would be a good substitute here instead of bolts. This way you can custom cut to a longer length, accommodating thicker books.
- 1 piece of scrap timber approximately 24 inches x 1 1/2 x 5/8 inch.
- All it meant now was a small investment for a pack of curtain eyelets
- and a few binder clips from the stationers department.
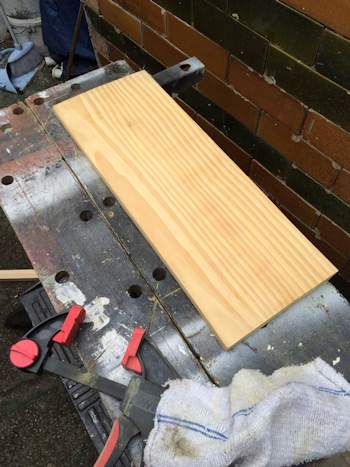
Clean up shelf - this is to be the baseboard. Or get yourself a piece of pine wood.
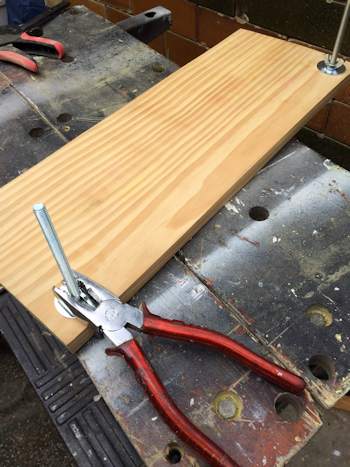
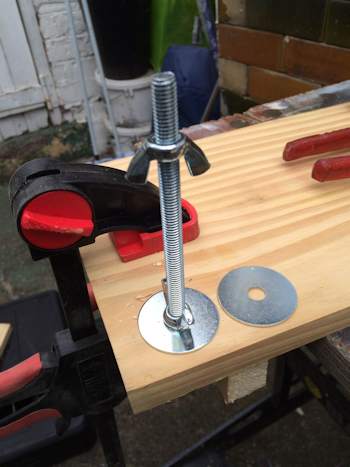
Mark out position for coachbolts. I used measurement of 1 inch in from long edge and 1 1/4 inch from short side.
I drilled and fit bolt pulling the locating shoulder tight with nut on the washer. ( If it gets too tight for your fingers use a pair of pliers or grips).
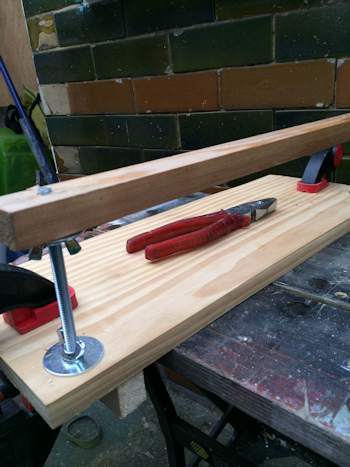
Turn over and cut timber to fit as supporting feet. Good old Gorilla glue secures these in place using clamps.
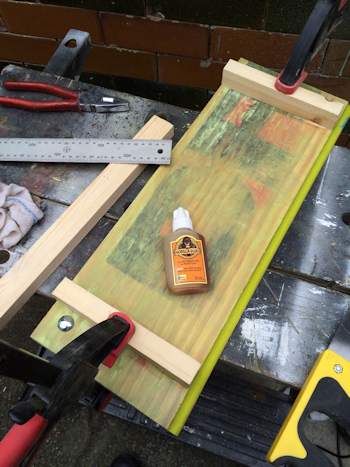
Now right it and add another wing nut but this time upside down. Place washer on top. (my intention was to be able to adjust the height of bar)
On fitting the top bar for quickness I put it onto the bolt and tapped lightly which impressed the wood. Then just drilled hole in place - The bar fits straight on.
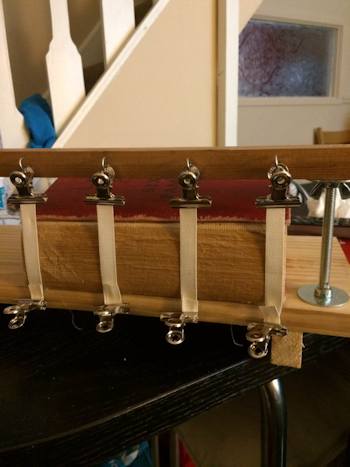
Lastly, I screwed the eyelets into the baseboard and roughly measured them off against a book. More can be added or arranged to suit the individual. The remaining eyelets were opened to form a hook and a binder clip attached. This holds tape at top while the tape is inserted into the eyelet below and clipped in place. Firmly attached it becomes easy to sew through the signatures around the tape and so on along the line.

Do you like making projects and exploring a variety of hobbies?
Sign up for my free newsletter. I give you regular updates on hobbies and projects you can make. it is totally free and I don't share your email with anybody.
|