(A Special thanks to Paul Hughes for contributing this wonderful tutorial)
1) Start with the removal of the remaining cover and end sheet.
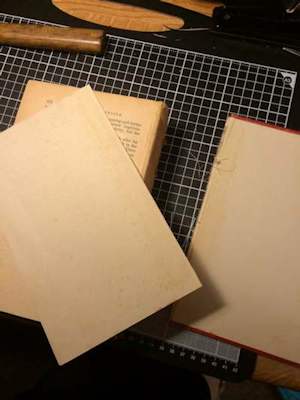
2) Re - attach end sheet with bookbinder pva glue ( specially formulated to be ph neutral and for archival purposes.) Here is some on Amazon.com: Books by Hand pH Neutral PVA Adhesive, 8oz
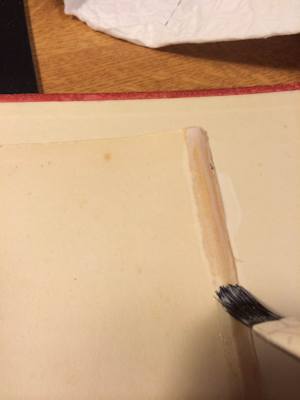
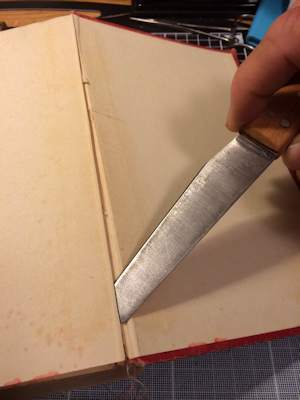
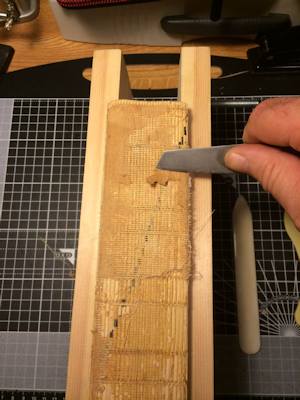
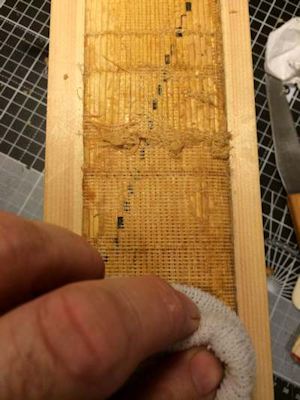
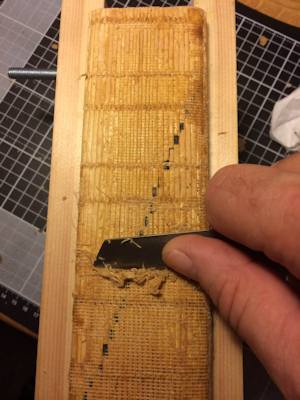
3) Old mull needs to be cleaned off. At first, I tried just scraping it off with my blade but realised that it may damage paper signatures so dampened a cloth and dabbed it gently onto spine. It softened it beautifully and it only took small scraping and pulling with my fingers to remove.
(Dry scraping might not work well)
(Dab with a dampened cloth)
(Now it scrapes much easier)
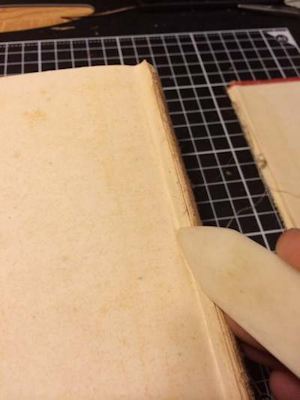
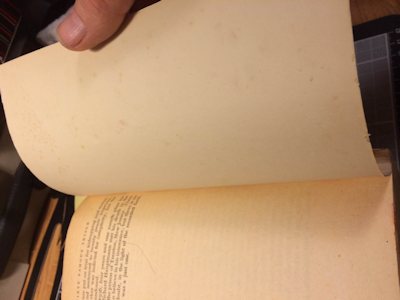
Checking for any loose pages I re-glued back in place firming it with bone folder. (discovered a little tip online that if you rub it across the side of your nose picking up natural oil it glides across paper without leaving marks!)
4*) Normally, you would cut through the presewn signatures and release them all so that each one is then reattached by sewing around each of the tapes or cord.
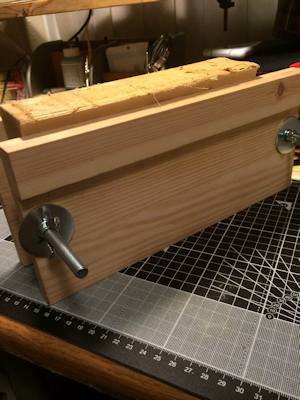
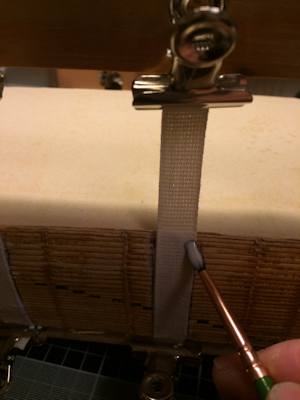
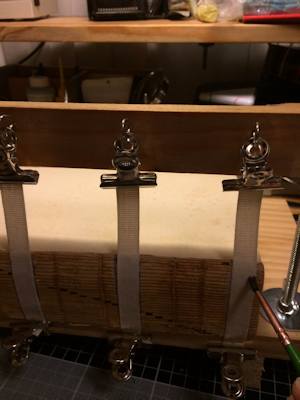
5) I marked the positions for tape and glued them in place. I then overcoated the tape with more glue. Then this was clamped into position to dry.

4* NB. Our book was quite fragile and the sewing was holding signatures securely. I therefore decided to glue the tapes to the spine. I plan to actually do the traditional sewing when I start making the paper to create a notebook from scratch.


 Let's continue on to part 2 where we make the new cover Let's continue on to part 2 where we make the new cover
Making Handmade Books: 100+ Bindings, Structures & Forms
In the digital world, books may seem like an endangered species, but bookmaking is more popular than ever. Thanks to the 100 ideas in this volume, the craft is now available to everyone. In as little as an afternoon, beginners will be on their way to folding, gluing, and sewing handmade books in a variety of shapes and styles, from rolled scrolls to Jacob's ladders, folded flexagons to case bindings. Complete with photographs of the author's own master books and statements by more than 40 established book artists, this collection is sure to inspire. Culled from the author's best-selling books Creating Handmade Books , Unique Handmade Books , and Expressive Handmade Books , these projects will fuel bookbinding adventures for years to come.

Do you like making projects and exploring a variety of hobbies?
Sign up for my free newsletter. I give you regular updates on hobbies and projects you can make. it is totally free and I don't share your email with anybody.
|