- Table of Contents
- Introduction
- Checklist for what to do
- Brainstorming ideas for your website
- get a free site
- get a paid site
- Now let's add some awesome content
- Join the free Amazon . com affiliate program
- Join the AllPosters affiliate program
- Register with search engines
- Creative ways to advertise and promote your site
---------
All Materials, unless otherwise stated are
Copyright©
Kalif Publishing and StormtheCastle.com
If you have questions
or would like to
contribute you can
email the owner and webmaster
Will
---------
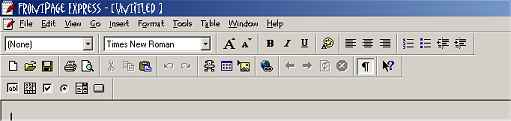
FrontPage Express Tutorial Part 5: Adding Tables
In the menu bar click on the 'Table' item
The Insert Table box appears. (Shown Below)
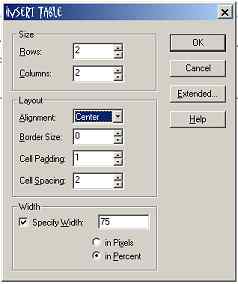
Select the Properties that you would like your table to possess. Here I have chosen two rows and two columns. The Alignment of the table will be centered on the page. There will be no border and a padding of 1 pixel with a spacing of 2 pixels.
Note: The Width selection at the bottom of the window is very important. In general you should always put a check in the specifiy width box and then specify the width of the table in percent not in pixels. I have selected 75 % whihch means the table will take up 75% of the width of the web page. Tables can act differently from browser to browser but if you specify a table in percent you will always be safe. As you get better at web design you can experiment with pixels.
Here is what my web page looks like with the blank table inserted:

Note about border size: I have selected a border size of '0' this means that the table shows up with dashed lines in FrontPage Express but it will be invisible to browsers on your website. If you want the table to show up when people view your page just set the table border size to the desired pixel width.
Generally, tables that are seen present an amateurish look. It is usually better to keep them invisible.
Now you can insert text or images into your table.
To insert images you place the cursor inside a table cell then pull down the insert menu, select Image then browse to the desired image.
To insert text you place the cursor inside the desired table cell and type in the text.
Continue on to the next page to see what I have done so far.
![]()