Let's attach the launch lug It is kind of like a straw. And it is what goes over the launch rod. It acts as a guide for the rocket to shoot up the rod.
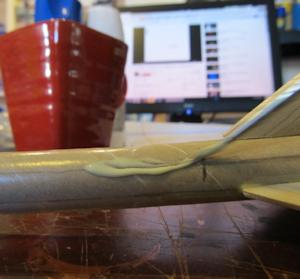
Mark the tube two inches from the end. Then apply glue beyond that line.
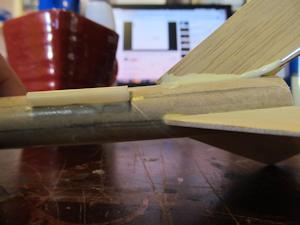
Then apply the launch lug right onto that glue. Make it nice and straight as the tube of the rocket.
Let's work on the deployment system. That's the shock cord and streamer. ( The shock cord looks kind of like a rubber band.)
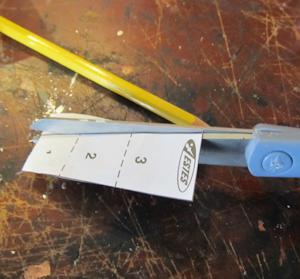
Cut out the paper piece that looks like this. It is the shock cord anchor. It is how you attach the shock cord to the inside of the rocket tube.

Apply glue to the square numbered 2.
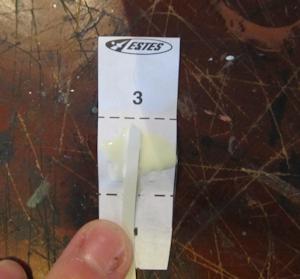
Then put the shock cord on like this.
Now, fold part 3 over and push it down. We want the glue to nicely glue all of this, with the rubber band nestled right between it all.
Then fold all of that over one more time and squeeze it nicely. This is the mount for the shock cord. It goes in the tube.
Mark the tube at 1 1/2 inches from the end without the fins. Put a glob of glue on the shock cord mount.
Then push that mount into the tube to about your inch and a half mark you made, and press it up against the side of the tube. We want it to adhere nicely to the inside of the tube.
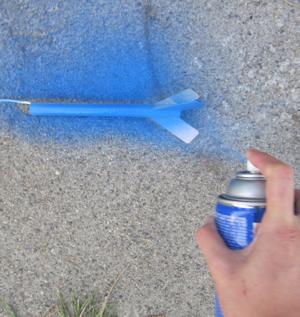
Now you can go ahead and paint it. There are instructions and guidelines if you want to paint it the traditional colors, but of course you can paint it any way you choose.
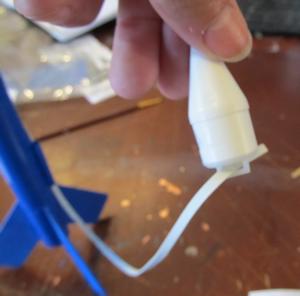
Now attach the other end of the shock cord to the nose cone. Put it through the little loop on the bottom then tie it in a knot. Then double knot it and pull the knot nice and tight so it stays. When the rocket blasts that thing gets yanked on pretty hard!

Now loosely wad up two or three sheets of recovery wadding and insert it into the tube. Push it just beyond the shock cord mount you glued in there.
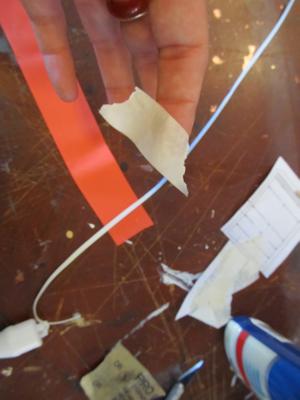
Now lay out the streamer and place the shock cord over it like shown. Then take a piece of masking tape and tape the right over them so the shock cord is taped to the streamer.
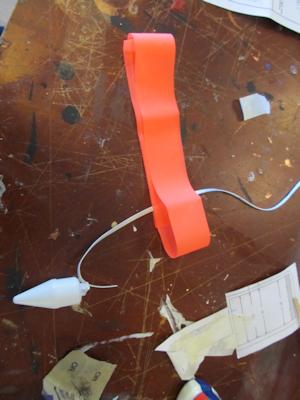
Fold that shock cord in thirds just like this.
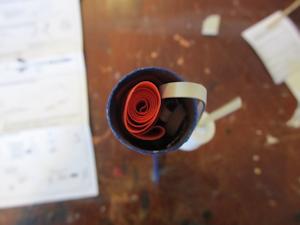
Roll up the streamer and insert it into the tube like this.
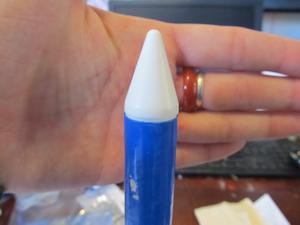
Install the nose cone! Yay, you are done!
From here the only thing remaining is to put the engine into it. I have instructions on how to do that with this rocket right here: Installing the engine into the Yankee rocket

Do you like making projects and exploring a variety of hobbies?
Sign up for my free newsletter. I give you regular updates on hobbies and projects you can make. it is totally free and I don't share your email with anybody.
|