| |
|
Follow Us |
Sign up for our newletter!
All Materials, unless otherwise stated are Copyright© 2001-2013
Kalif Publishing and StormtheCastle.com check out my
copyright page for information about how to use any work on this site Here is an advertiser guide to this website and the subjects and projects I cover .
How to Set Up a Beehive -part 3 Installing the Nucs
| Ok, lets continue on with how to set up a beehive. In this part we take the frames out of the nuc and install them into the hive. If you came directly to this page you can start the tutorial on page 1 right here: How to set up a beehive part 1 |
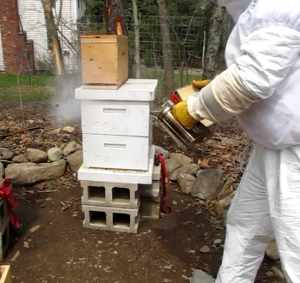
As you always do, or as you prefer, give the bees a little bit of smoke so they become aware of your presence. Not a lot of smoke is needed. New beekeepers tend to over do the smoke. I know that I did. But just a few puffs at the entrance is plenty.
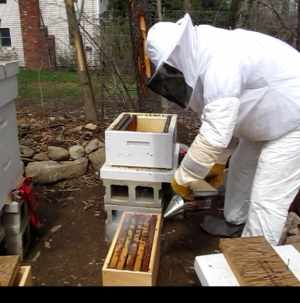
If you haven't done it already, remove the top deep and remove seven frames from the bottom deep.
Open up your nuc and give it a little smoke.
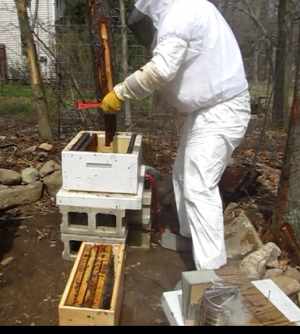
Using your hive tool carefully and gently pry out the frames one at a time and transfer them over to the new hive. Keep them in the same relationship to each other and to the fronts of the hive and the nuc.
Be gentle sliding them in as to not hurt too many bees and try to gently place them tight side by side as they were in the nuc. But, We took out seven frames so we have some room to work with. If it is getting too difficult then you can come back and put those last two frames in tomorrow after everything has calmed down.
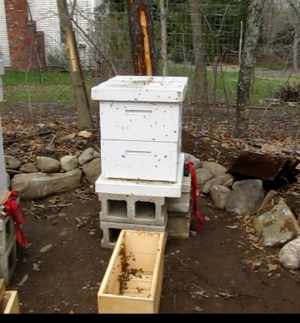
Ok, once you have transferred all five frames you can close up the hive and add a feeder if you are feeding. If the nuc is still active with bees you can leave it right there to give them time to wander over to their new home. It is ok to leave it there over night.
Congratulations, you have installed your hive of bees. Strap it up or put a stone on it!
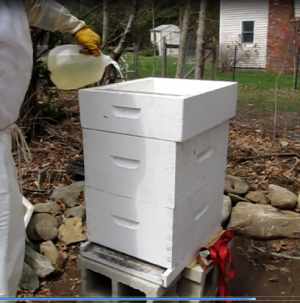
Here is a look at the other hive with the feeder on it. I am pouring the sugar water into it.
