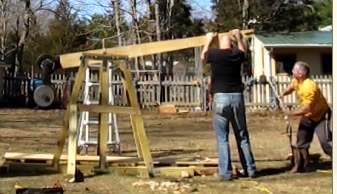
Safety before we start - While this project is relatively easy to build you do have to have some skills to build it and you do have to be safe when firing it! You will need to be reasonably competent with building out of wood and will be using power tools like a circular saw so please be careful and be safe. And firing this thing off can also be dangerous. If something were to snap or break the swinging of the arm can seriously injure somebody. There is a lot of weight on this thing too which in itself is dangerous. Also, firing a heavy projectile out of this thing can cause injury or damage. Best to be safe and test before trying. The first firings of this trebuchet can be unpredictable and it can fire straight up or in the wrong direction so be aware of this and allow plenty of error room. And as you can see in the picture loading this thing is definitely a two man job. You should't attempt to fire this thing alone.
Some rules of thumb and guidelines for building this trebuchet.
The way I have built this one is tried and true but it is not the only way. You can go about this a lot of different ways. This is just how I did it and can recommend it. The big thing is that the whole thing be strong and sturdy so it won't fall apart or break during the launch - which does create a tremendous amount of force.
The Wood: For the most part we used 4x4's for this project. There are a few spots where I used 2/4's and I will point these out. The throw arm itself is a single piece of 2x10 that is ten feet long. This is a critical part of the build. You want this thing to be strong so it doesn't break during launch. (One end of it holds a lot of weight)
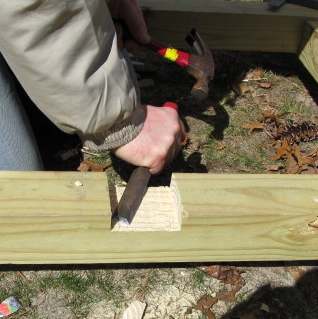
There are two basic carpentry techniques that I used to make this trebuchet. The first is the half lap. You can see me chiseling out a half lap in this picture.
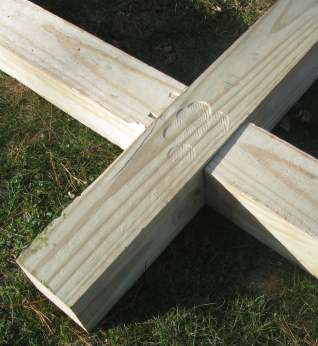
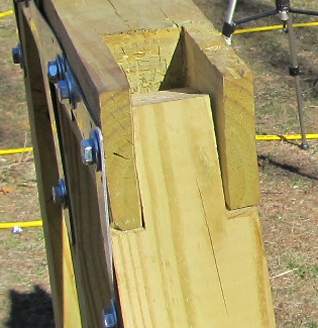
This picture shows the assembled half lap. When you cut a notch in two pieces of wood like shown in the previous picture you can assemble them together like this.
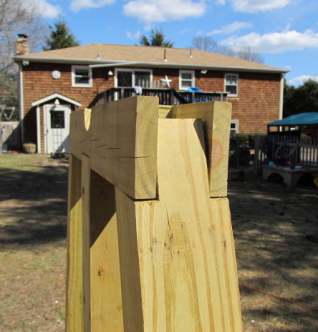
The second technique is the mortise and tenon. I used this type of assembly on the four angle pieces. Both the top and bottom of these angle pieces are tenons. And the wood they connect to are mortises.
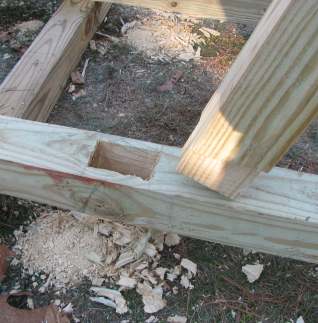
The previous picture shows the top mortise and tenon connections and this picture shows the bottom. This is how all four of the angle uprights are assembled into the base.
And note that all of these assembly joints are also bolted in place.
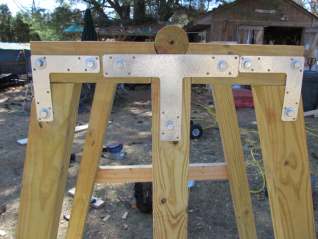
We also reinforced everything with metal framing braces. The picture shows the braces at the top. We also braced every joint at the bottom too.
 Let's continue on and look at some pictures of the various parts of this trebuchet Let's continue on and look at some pictures of the various parts of this trebuchet
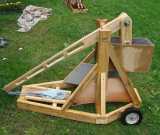
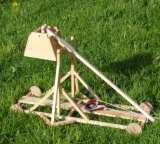
Caleb's Trebuchet
This is an amazing backyard trebuchet and it fires projectiles 120 feet!. See more pictures and learn more about how to make a trebuchet like this. Caleb's Trebuchet
About a Trebuchet Kit
Thinking about buying a trebuchet kit? I have some great advice with pictures from a web visitor (Paul) who did just this. He gives us his opinion on the treb he bought and built and he also has added some pictures! Paul's Treb kit build |


