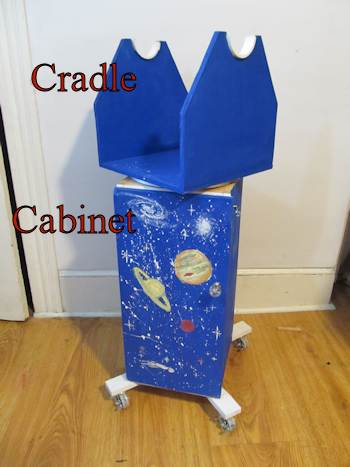
The heart of the whole cradle system is the lazy susan bearing. I bought it on amazon and you can buy the exact same one here: (This is the exact one I purchased on Amazon)
It really is quite simple. Don't let this part intimidate you. It is simply two rings that rotate independently of each other. The telescope will work just like a rotating spice rack. 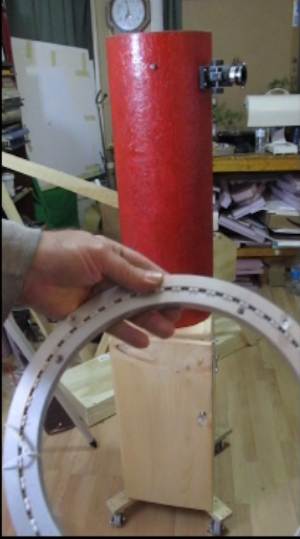
You screw one ring to the top of the cabinet. Once it is screwed down that ring doesn't move. But the other ring still rotates freely. In this case I have put screws through the inner ring. Now the outer ring rotates freely.
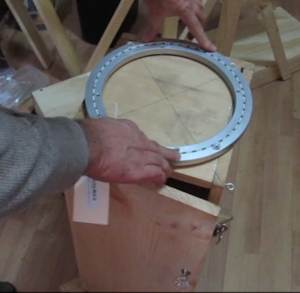
There are a couple of things to consider when purchasing one (Other than price). First off my telescope tube assembly weights about ten pounds. So we want a bearing that will support that weight with a whole lot of extra capacity. This lazy susan is rated at being able to support 300 pounds! So, it is extremely durable. There will not be any problems operating the telescope. The bearing will be under very little load. It will operate very smoothly and for years to come.
I can't offer you any real advice on what load ability to get but I would say that if you get ten times the weight of your telescope tube you should be more than fine. I guess it also depends on the quality of the lazy susan bearing that you buy. But hey, some of these bearings are ten bucks. I wouldn't be adverse to buying two of them and saving one. Five years from now if your telescope needs a new bearing then you have one on hand. And it will take you ten minutes to swap it out.
The second thing to think about is the diameter of the bearing. The one I am using for this telescope is 12 inches in diameter. This is great. It is almost the complete width of the cabinet. This makes a difference in stability. Get the widest bearing that will fit on your cabinet. It will make for a very stable telescope mount.
There are plenty of different types of lazy susan bearings and for the most part they are all quite sufficient. Here is a picture of two other types that I purchased. Both of these are rated with plenty of weight and they are both 12 inches in diameter. 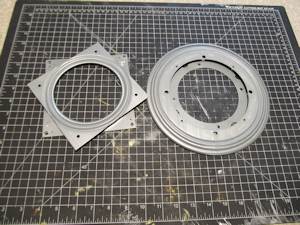
I had to drill out the holes on my bearing so the bolts would fit. Not much to that but if you have do drill your bearing be sure to protect the ball bearings with tape. You do not want any metal or wood shavings to get into the bearings. This will jam the bearings or scratch them which could prevent the bearing from operating smoothly. The blue stuff is tape I put over the ball bearings to protect them while I drilled. 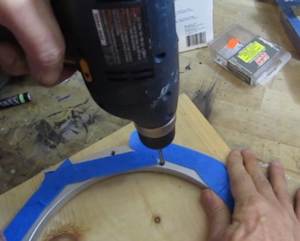
Okay, enough about the bearing. Let's build the cradle.
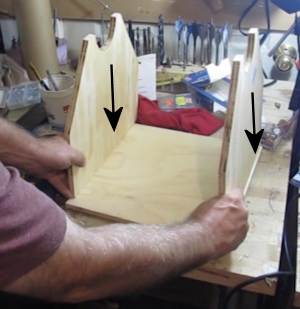
The cradle is a very simple build -just three pieces of plywood assembled together like this. I use 1/2 inch plywood. And the base plate is 13" x 13". The two side pieces are 13 inches wide and 12 inches tall.And notice the arrows. You should mount those upright pieces by screwing them down to the surface of the base. Do not screw them to the sides of the base. This is so the cradle supports the weight of the telescope better.
About the height of the side pieces
They have to be tall enough so the telescope tube doesn't rub on the cradle at any point in it's rotation during use. It needs a few inches of clearance.

About the width of the cradle. It will vary depending on the width of your telescope tube.
How do you actually put these three pieces together? (The cabinet, the bearing, and the cradle? It might seem awkward to somehow assemble them. After all, that bearing is sandwiched between the two wooden assemblies.
The secret is to drill an access hole in the cradle.
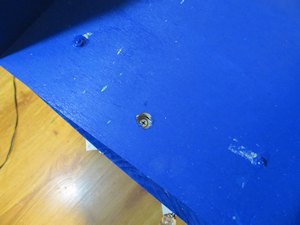
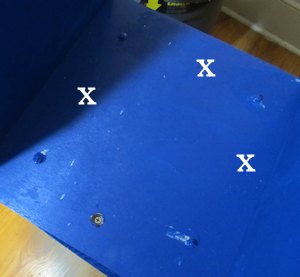
What you do is you attach the ring to the bottom side of the cradle first. I used nuts and bolts to attach the outer ring to the underside of the cradle. This access hole is placed so that it is right over the inner ring. Now we can place the cradle with bearing onto the cabinet and rotate the cradle. The empty holes of the inner ring will show up right under this hole. You can drill and put bolts/nuts. This attaches it all together.
 Let's continue Let's continue
|
![]()


