Telescpe banner

Home

Home

Youtube graphic
I have a youtube channel with over 1000 Videos!


Become a Patron


Telescope Stuff

Making Telescopes

Buying Telescopes

Astronomy Stuff and articles

My other Subjects and websites


Will
Hi, Thanks for visiting my website. My name is Will and if you have questions
or would like to
contribute projects or ideas you can contact me Will

How to Make an Eight Inch Reflector
Part 6: The Mirror Mount

In this part of the tutorial we make the mount for the mirror.

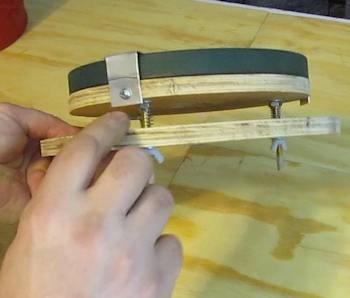
It isn't just something for the mirror to sit on. It is also a mechanism for adjusting the angle of the mirror. That is what the springs and the wing nuts do. This makes aligning up the telescope for use very easy.

Part 1 ( the beginning) of this tutorial is here


Table

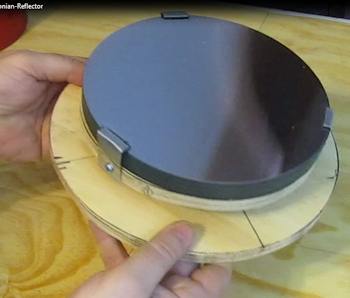
Here is the mount that we make. And notice the three bolts with wingnuts. This allows us to turn those wingnuts and adjust the angle of the mirror in any possible direction easily. This process of aligning the mirror is normal with a telescope. It is a process called "collimating" the telescope.

The mirror mount The mirror mount springs


Cut a wooden disk

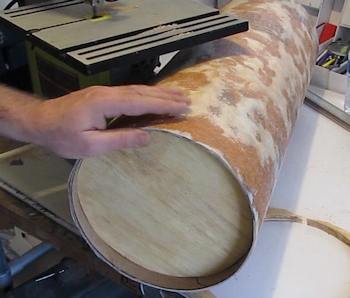
Cut a disc out of half inch plywood so it smoothly fits into the end of the tube. The end of the tube opposite your focuser.


Measure for disk

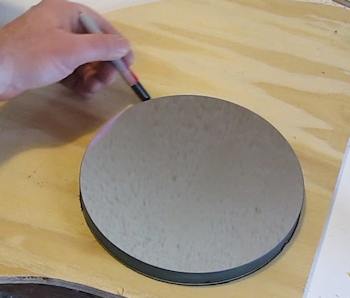
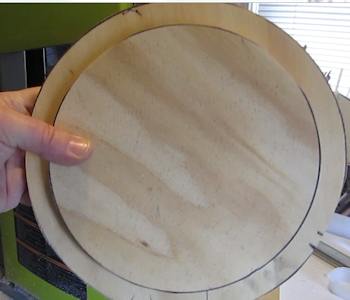
Next measure and cut a piece of 1/2 inch plywood to the same size of your mirror.


The two disks

Now you have the mirror mount. We need to assemble them together then attach the mirror.


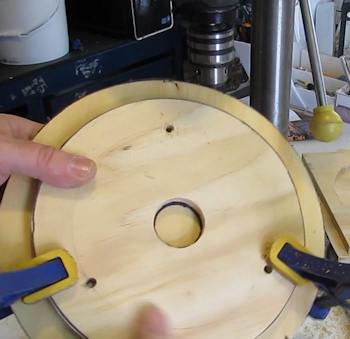
Clamp and drill the disks

Clamp together those two wooden disks, be sure they are centered. And then drill three holes one inch in from the edge of the smaller disk. These are the holes for the bolt assembly. Notice I have also drilled a larger hole right in the center. Do this hole also. About a two inch hole for that is good. This is only to make it easier to handle the mirror mounting assembly.


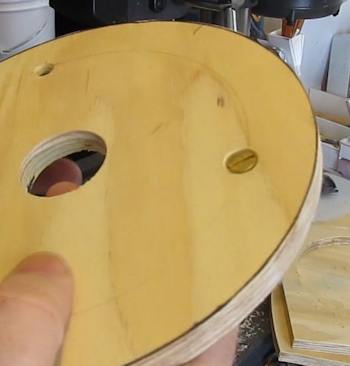
Countersunk screws

Countersink those three bolt holes in the smaller disk. This is so a flat head bolt will sit flush or a little bit below the surface of the wood.

This is important because we will be placing the mirror on this surface and we don't want the bolt heads sticking up into the mirror!


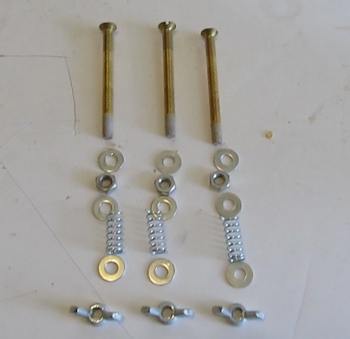
The hardware

So let's assemble the two wooden disks together. Here is the hardware that we use. And in the picture they are arranged in the order that we install them.

  • For the Mirror mount:
  • 3 brass flat head bolts that are 1/4-20 and 3 inches long (Brass is optional but they have to be flat head bolts
  • 3 1/4-20 wing nuts
  • 9 1/4-20 flat washers
  • 3 1/4-20 hex nuts
  • 3 springs that will slide over the 1/4-20 bolts. About 1 inch in length. You can get a bag of various springs cheap. Or you can get one long spring and cut it into three pieces.
  • 4 wood screws to attach the mirror mount to the tube (can vary in size)


How to assemble the hardware

Here is how to assemble it together.

We are working here with the smaller disk.

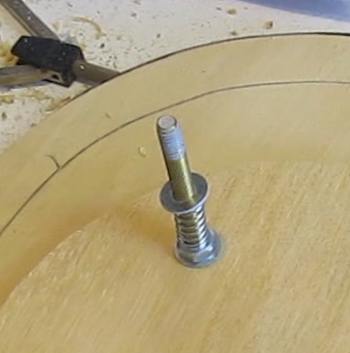
Put a bolt through a hole. Insure the flat head sits into the countersink you made.

Then put a washer

Then put a nut and lock it tight.

Then put a spring.

Then put a washer.

Repeat this exact same process with the other two bolt holes.


Place the larger disk

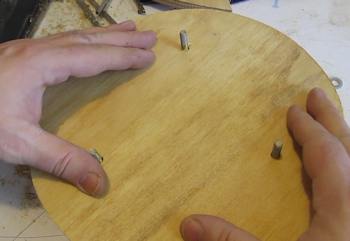
Now place the larger wooden disk right over those bolt/spring assemblies.


Install the wingnuts

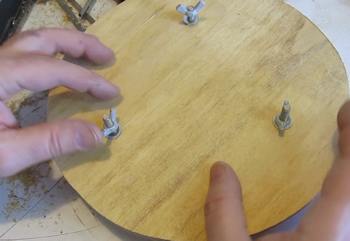
Place a washer then a wingnut on each of those bolts.


Secure the mirror with clamps

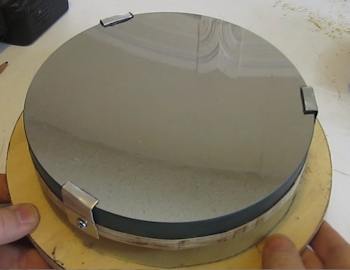
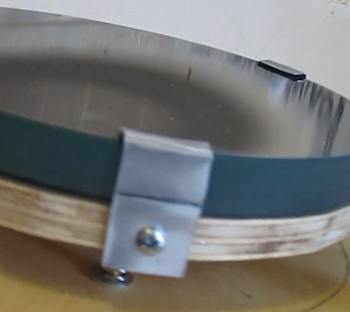
Next put the mirror on top of the small wooden disk and secure it down with three metal clips.


The metal clip

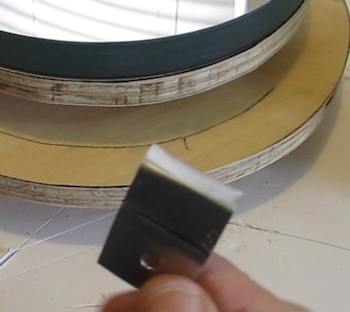
The clips are simply sheet steel that I cut then bent with a pair of pliers. Then I drilled a hole in each one.


add velcro to protect mirror

Then apply some kind of soft material on the inside of the clip where it will touch the mirror, particularly the mirror surface. This will prevent scratching. I used a small piece of velcro.


The completed mirror mount

And that's it. Your mirror mount is complete.

NextLet's continue and install the smaller secondary mirror


Sign up for my newsletter!

Do you like making projects and exploring a variety of hobbies?

Sign up for my free newsletter. I give you regular updates on hobbies and projects you can make. it is totally free and I don't share your email with anybody.