Hi, Thanks for visiting my website. My name is Will and if you have questions
or would like to
contribute projects or ideas you can contact me
How to Make a Medieval Scroll
This is a tutorial on how to make a medieval scroll that looks great. I show what materials to use and how to put it together. I give you options for different ways to age the paper and I show you how to make a roll up scroll or a hang on the wall scroll.
There is also a video tutorial on this project at the bottom of the page.
Ideas you can put on your scroll:
What you put on your scroll is limited only by your imagination. Here are some examples: A treasure map, a wall calendar, a recipe, a potion, a declaration, game rules, a drawing or picture..
The thing about a scroll is that it tends to be longer than wide and the longer the better. This way it looks good rolled up and even good unrolled. And you can also use it to hang on the wall as in a calendar. In this tutorial we focus on the rolled up type of scroll.
Would you consider a donation of $1 to support my work? Paypal makes it very easy and safe. Click here to donate $1 - Every little bit helps Will to keep making great tutorials and projects. Thanks!
About Longer Paper
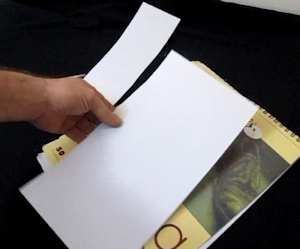
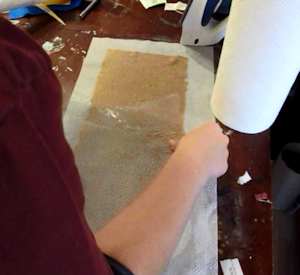
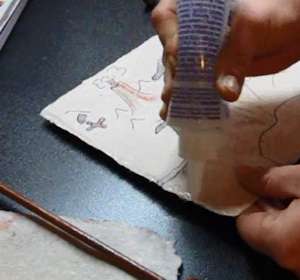
You can use regular paper, although you want something longer than the typical printer paper. I used a sheet of paper from this art pad and trimmed it to six inches wide. It is 13 inches long. And I also aged it. I have that tutorial on aging right here. It is really quite easy. If you are using paper like this be sure to zip on over and check out that tutorial on how to age paper.
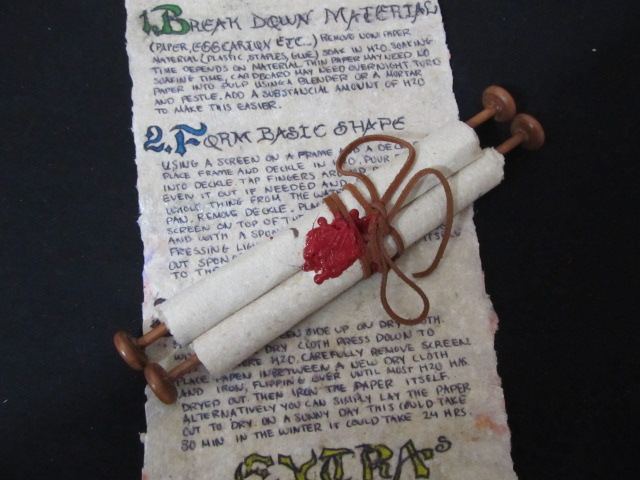
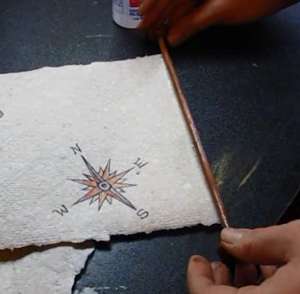
But, if you are making your own paper you can easily connect pieces to make a longer scroll piece like this picture shows. You also have the option to make the paper aged and brownish in color as you make it. That tutorial for making paper is here.
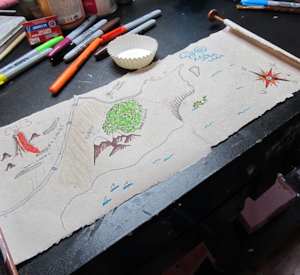
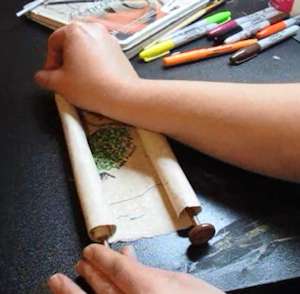
You do have the option of filling out your scroll before you mount it all or after you mount it. We made a treasure map.
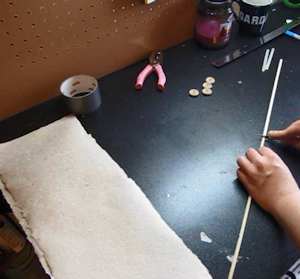
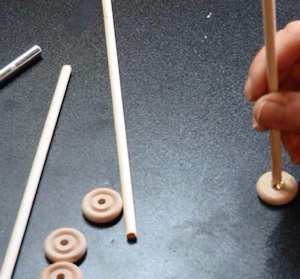
Cut yourself two dowels at about two inches longer than the width of your scroll. I used 1/4 inch dowels but you have a lot of flexibility in this. The width of the dowels is pretty open to whatever you want.
Now glue some kind of ornament onto each end of the two dowels. This can be just about anything. I have these little wooden wheels which are nice.
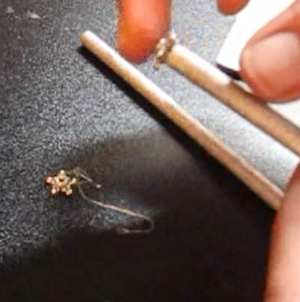
We found these little star shaped ornaments which are pretty neat. You can also use buttons for this. Or just carve yourself something out of foam.
Ok, once the glue dries you can go ahead and paint things up. We painted the dowels silver and the end wheels brown.
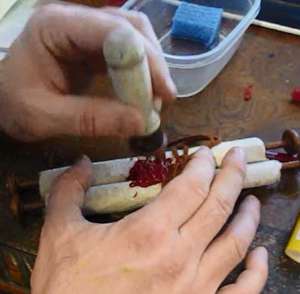
Ok, apply a line of glue along the top and bottom edges of the scroll.
And glue the dowels right to those lines of glue.
Once the glue has set reasonably well you can go ahead and roll those two ends together.
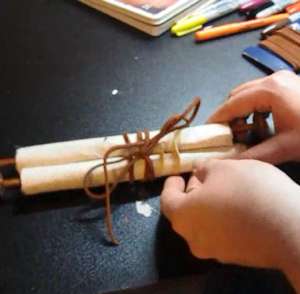
Finish it off by wrapping it a few times with leather cord, shoelace or some kind of thick string. Tie it in a bow.
That's it! Your scroll is done. You are an official scribe of the kingdom.
Watch the Video Tutorial Here:
Do you like making projects and exploring a variety of hobbies?
Sign up for my free newsletter. I give you regular updates on hobbies and projects you can make. it is totally free and I don't share your email with anybody.