Rule of thumb for how long to let it sit in your must bucket. Generally about two weeks is good but there is another indicator and that is the rate of the bubbles inside the air lock. After you mix your must and put it in the plastic bucket it will start to ferment and in a day or two the air lock on top will be bubbling at a vigorous rate. This means the ferment is going well. Over the course of time this process will slow down and the bubble rate will be somewhere around 1 bubble every 30 seconds. This means it is ready for the carboy.

This picture is a close up of the air lock that will bubble as the fermentation process gets underway. Once this slows down to about 1 bubble every 30 seconds you are ready to move the brew to the glass carboy.
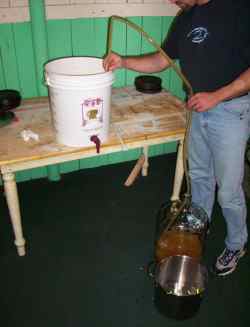
Remove the cover from your fermentation bucket and siphon the mead into your carboy.
Doesn't look much like mead at this stage, well , because it isn't! But you should be able to smell and taste the alcohol content. This is why you put it in a glass bottle. You will be able to watch it as the fermentation process develops and it clarifies into a honey wine.
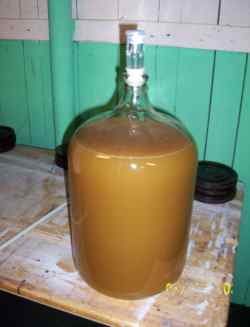
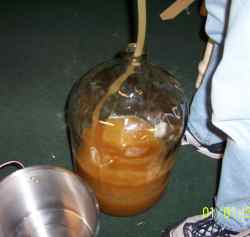
Here is the Must in the carboy with an airlock in place. It will continue to bubble for quite a while and over time it will clarify.
Now is the waiting game and depending on how much honey you added to your water it could take anywhere from several weeks to several months.
The next stage of this tutorial on mead will cover the process of bottling. But we will just have to wait until the Mead is ready! Until then I am going to cover a few other things like how to use a wine thief, recipes and more.
An Important note about Brewing mead.
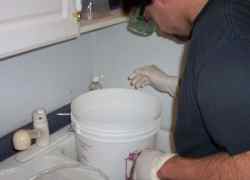
It is a food product and it uses live yeast. You have created a batch of honey and water that is a breeding ground for bacteria and other living organisms. You don't want any of this to contaminate your next batch of mead so you need to sanitize everything. I don't mean clean everything with some type of cleanser. I mean "sanitize" everything with something that is designed to kill bacteria and living organisms.
This picture above shows our mead brewer wearing safety goggles and gloves. The sanitizer is very potent and all precautions should be taken to protect yourself.
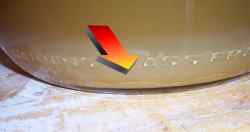
Here is a look at the batch of Mead after it has been setting for a week. The clarification process has slowly begun and there is a small amount of sediment on the bottom of the carboy.  Ok, That's everything about this step of the process. Continue on to the next step: Bottling your mead Ok, That's everything about this step of the process. Continue on to the next step: Bottling your mead
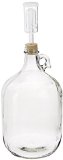
If you have never made mead and would like to give it a try very inexpensively this is a terrific setup. Very inexpensive and Prime shipping too. You get a gallon glass carboy an airlock and the rubber stopper. I love this setup. Fermenter including Rubber stopper and Airlock
You can have a batch of mead going the day this arrives.
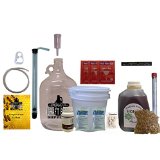
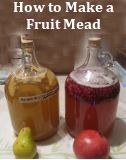
HomeBrewStuff One Gallon Nano-Meadery Deluxe Mead Kit
Our premium nano-meadery Kit comes with all the equipment needed to make one gallon batches of mead. This kits comes with everything you will need to make your first batch. One gallon batches are a great way to perfect your mead making before stepping up to larger batches this Kit is also great for experienced mead makers who wish to make Test or pilot batches. Kit includes: 2 gallon primary fermentation bucket, 1 gallon glass carboy, mini Auto Siphon with 4' 5/16" x 7/16" tubing and hose clamp, triple scale hydrometer, stopper and 3 piece airlock, thermometer, 10 Pack camp den tablets, c-brute 2x, Instructions and Basic mead recipe (now improved and much more comprehensive), liquid isinglass 1oz, potassium sorbet 1/2 oz., light toasted Oak chips 4oz, 3 lbs. unprocessed honey and Pasteur red yeast 3x. homebrew stuff is the only authorized dealer of the Kit. Do not be fooled by other sellers. if you need a refill for your Kit please see our other listings for mead or Cider refill kits.
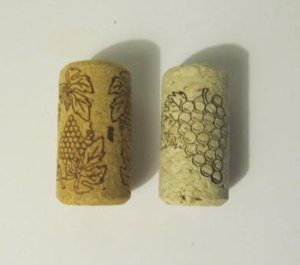
All About Corks - I have the basics when it comes to corks right here. No more confusion when it comes to which ones you should use. All About Mead and Corks
|