You will need:
- 12 full popsicle sticks
- 8 half popsicle sticks
- 1 popsicle stick with one rounded end cut off
- 1 small piece of a popsicle stick (about 1/6)
- 1 half popsicle stick with the rounded ends cut off
- A nail, (preferably one with about the diameter of a popsicle stick's height)
- A heavy counterweight (I used 8 AA batteries wrapped in a piece of paper, but anything will do)
- Hot glue gun
- A piece of paper
- Tape (optional, for securing the counerweight and cone)
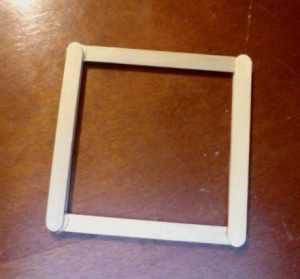
The Base:
Glue six popsicle sticks together, "log cabin" style.
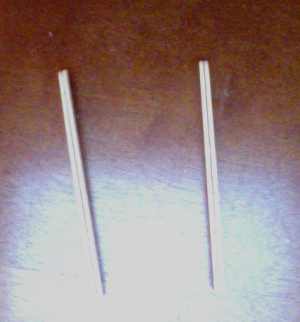
The Uprights:
Glue two popsicle sticks together. Make two of these.
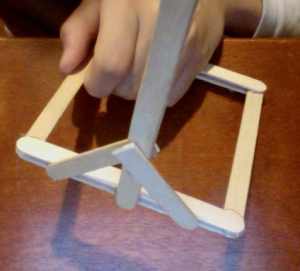
Glue one onto the base, adding two half sticks for brracers on the upright.
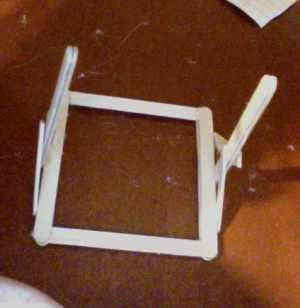
Repeat for the other upright. You should now have a structure that looks like this
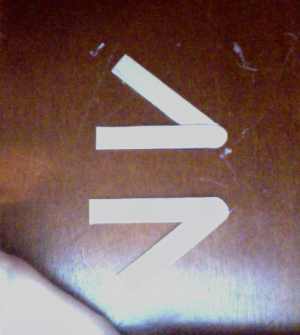
Make two triangles out of half sticks.
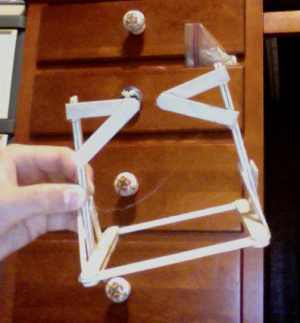
Attach those onto the top of the uprights.
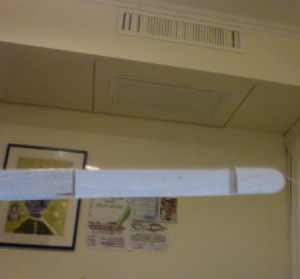
The Arm: Take one full stick, and glue the following sticks on: The 1/6 stick, the half stick with no rounded end, and the full stick with only one rounded end. Be sure to leave a little gap between the 1/6 stick and the half stick, enough for your nail to stick through.
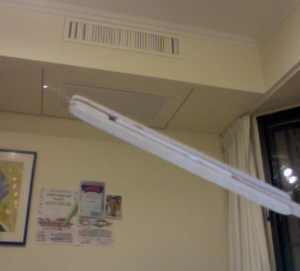
Add another full stick onto the side of the arm. Be sure not to put any glue into the gap!
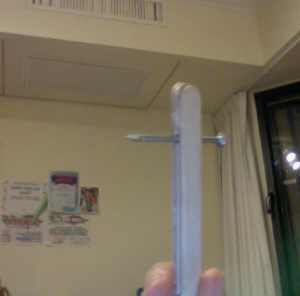
If you did it correctly, you should be able to stick the nail right through the gap without too much trouble.
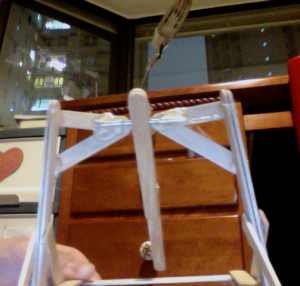
Putting it all together:
Glue the nail onto the two triangles. Make sure that the arm can swing freely.
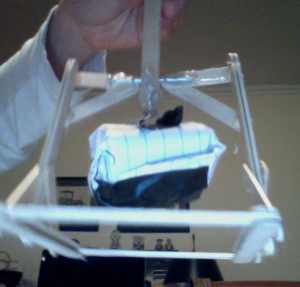
Attach the counterweight to the bottom of the arm.
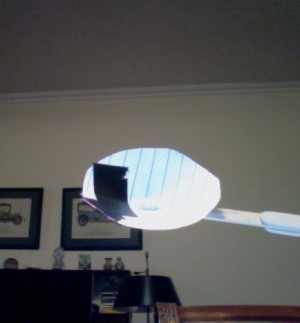
Make your piece of paper into a flat cone shape, and tape/glue that onto the top of the arm.
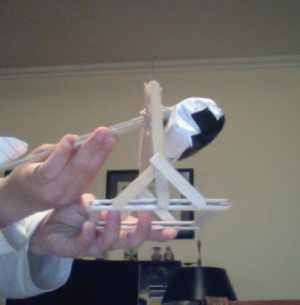
Now, to fire it off...
Set the finished Trebu-pult onto a flat surface. Pull the arm all the way down, load the ammo, and release to fire!
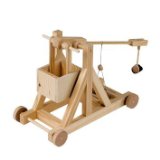
The Miniature Trebuchet by Timberkits
The trebuchet was the ultimate artillery weapon of the medieval period and early renaissance. A large and unwieldy weapon, it was typically built on-site during battle, and tuned to lob great weights - such as the carcasses of rotting horses and pots of burning pitch, over the castle walls and onto its inhabitants. Precision carved by computer controlled machinery for guaranteed fit and accurate joinery. The detailed instructions include loads of photos of each step of the construction process, tuning tips and safety notes. Included in the kit are four wooden projectiles, all the necessary components for the sling, trigger, and counterweight bucket as well as all the parts for the kit. The only thing you'll need to supply are 88 pennies for counterweight and a few simple tools - Scissors, a ruler, a utility knife, wood glue and a few rubber bands to hold the pieces together while the glue dries. Manufactured by RLT Industries
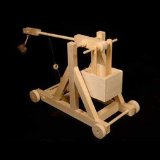 
The Miniature Trebuchet - The trebuchet was the ultimate artillery weapon of the medieval period and early renaissance. A large and unwieldy weapon, it was typically built on-site during battle, and tuned to lob great weights - such as the carcasses of rotting horses and pots of burning pitch, over the castle walls and onto its inhabitants. This is our newest and smallest trebuchet design in a long line of catapult kits. Designed by master trebuchet expert Ron Toms, this machine is ideal for the student on a budget or as a wonderful display piece for any desktop or bookshelf of any history enthusiast. Precision carved by computer controlled machinery for guaranteed fit and accurate joinery. The detailed instructions include loads of photos of each step of the construction process, tuning tips and safety notes. Included in the kit are four wooden projectiles, all the necessary components for the sling, trigger, and counterweight bucket as well as all the parts for the kit. The only thing you'll need to supply are 64 pennies for counterweight and a few simple tools - Scissors, a ruler, a utility knife, wood glue and a few rubber bands to hold the pieces together while the glue dries. Tools required: Scissors, Glue, Ruler, rubber bands and a utility knife. Sandpaper is optional. Additional Counterweight Required: 64 pennies. Range: About 10 feet. - The trebuchet was the ultimate artillery weapon of the medieval period and early renaissance. A large and unwieldy weapon, it was typically built on-site during battle, and tuned to lob great weights - such as the carcasses of rotting horses and pots of burning pitch, over the castle walls and onto its inhabitants. This is our newest and smallest trebuchet design in a long line of catapult kits. Designed by master trebuchet expert Ron Toms, this machine is ideal for the student on a budget or as a wonderful display piece for any desktop or bookshelf of any history enthusiast. Precision carved by computer controlled machinery for guaranteed fit and accurate joinery. The detailed instructions include loads of photos of each step of the construction process, tuning tips and safety notes. Included in the kit are four wooden projectiles, all the necessary components for the sling, trigger, and counterweight bucket as well as all the parts for the kit. The only thing you'll need to supply are 64 pennies for counterweight and a few simple tools - Scissors, a ruler, a utility knife, wood glue and a few rubber bands to hold the pieces together while the glue dries. Tools required: Scissors, Glue, Ruler, rubber bands and a utility knife. Sandpaper is optional. Additional Counterweight Required: 64 pennies. Range: About 10 feet.
|
![]()


