![]()
I have a youtube channel with over 700 Videos!
The Art Lessons
- lesson 1 - Holding the pencil and getting a feel for it and warming up with lines
- lesson 1b - Using the pencil for variations in line
- lesson1c how to draw a straight line
- lesson 2 - Drawing some simple geometric shapes
- lesson 3 - Understanding and using Perspective
- lesson 4- foreshortening in perspective
- lesson 5- Drawing depth and distance
- lesson 6-Using lines of varying thickness
- lesson 7- drawing form and shape with a medieval mace
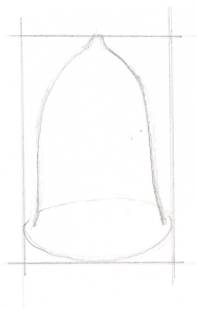
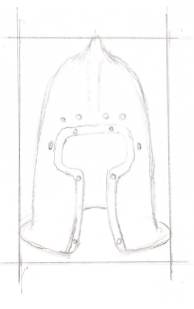
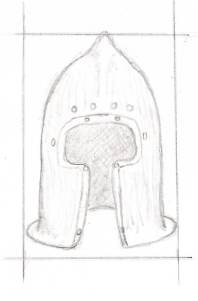
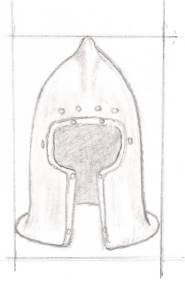
- lesson 8- Drawing metal - We draw a medieval helmet
- lesson 9- drawing our first human form
- lesson 10- Distorting the human form to create fantasy creatures
- lesson 11 - doodling and creativity break
- lesson 12 - a Morning star mace - drawing textures
- lesson 13 - how to draw chainmail
- lesson 14 - How to convey action in your fantasy drawings
- lesson 15 - How to draw sword shapes
- lesson16 -draw an armored knight
- lesson 17 - Draw a fantasy dagger using the Five-S method
- lesson 18 - Creating space in your drawings - A Dragons Lair
- lesson 19 - Practice by drawing dragons
- Lesson 20 - Drawing from Memory
- Lesson 21 -Draw a Catapult
- Will's Articles
Lessons by Guest Artists
- Lesson 22: A Guest artist discusses pencils, his technique and building a library of images
- Lesson 23: A guest artist shows us how to draw a prince warrior with an axe from start to finish
Art Books and Supplies
Will's Other Stuff
- Bonsai
- Catapults
- Classical Guitar
- Dioramas
- For Writers
- Goldfish
- Leathercrafting
- Military Dioramas
- Make Video Games
- Miniatures
- Nature projects
- Origami
- Paper Making
- Paper Games
- Paper Projects
- Science Projects
- Stained Glass
- Stamp Collecting
- Stop Motion Animation
- Telescopes/Astronomy
- Terrariums
- Trebuchets
More Stuff
- The Creativity of it
- Products/Tools
- Fan Art
- My Medieval Blog
- Medieval Website
- Medieval Projects
- Medieval Castles
- Press/Media kit
- Contribute to my Website

Hi, Thanks for visiting my website. My name is Will and if you have questions
or would like to
contribute projects or ideas you can contact me 


