 |
||||||||||||
|
|
Make a Rapunzel Paper Diorama Part 3
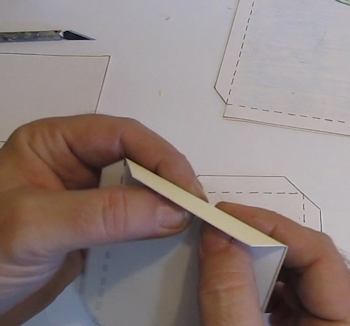
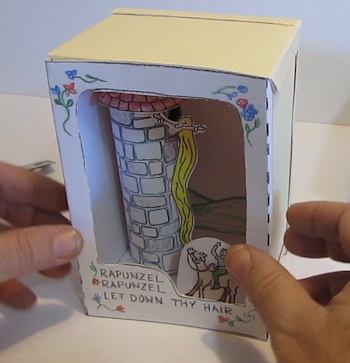
The box is six sided and very easy to assemble. I won't show you each step. The steps are in the download packet. But a good tip is to use a ruler to fold along all the dashed lines. This will keep the folds nice and straight.
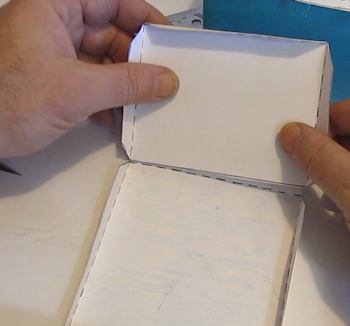
Then glue five of the pieces together to form the box. Don't put the front on the box yet.
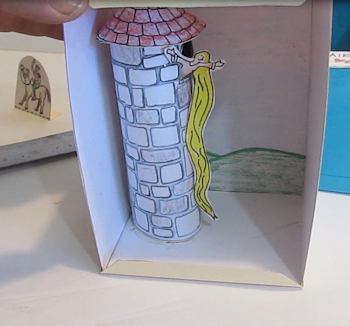
Glue Rapunzel's tower into the box.
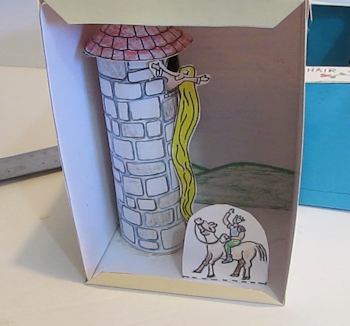
Then glue the prince into the box like this. It is important that he is on the right side of the box. This is because of the way the front piece is cut.
Glue the front piece on. You can see why the prince is on the right. We can see him better.
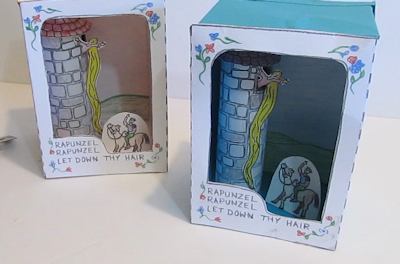
And that's it. Your tatebanko paper diorama is complete. I did a second one using blue card stock paper. I really like the look of it.
Gollum Tatebanko New Tatebanko Project: Gollum in his cave. This is a neat little tatebanko project that shows gollum in his underground lair with the lake. A scene from the fellowship of the ring. It is a complete project. All you do is download the packet and assemble it. Gollum Tatebanko
Egyptian Tatebanko Egyptian Tatebanko: This is a nice tatebanko project in Egypt. It shows the sphinx and the pyramids and it has a little caravan of camels walking across the desert. Egyptian Tatebanko
Do you like making projects and exploring a variety of hobbies? Sign up for my free newsletter. I give you regular updates on hobbies and projects you can make. it is totally free and I don't share your email with anybody.
|
|||||||||||
Copyright©2001-2016 Kalif Publishing - Contact, copyright and Disclaimer - Let's Make Something T - Storm the Castle T Publishing
|
||||||||||||


