Bottom: Piece with corrugation running lengthwise
Then: piece with corrugation running widthwise
Then piece with corrugation lengthwise
Then piece with corrugation widthwise
Then piece with corrugation lengthwise
So what you end up with is a stack of five cardboard sheets glued together and the two outside sheets and the exact center sheet all have the corrugations running lengthwise.
When gluing these pieces together make sure you apply glue to every surface. Don't just glue one sheet then stick another sheet of cardboard to it. Put glue on both sides that will contact. And do this for all the sheets. The only surfaces in this whole assembly that will get no glue will be the absolute outer two surfaces top and bottom. And when gluing you should use a liberal amount of glue and spread it out with a paintbrush so the complete surface is covered.
Now, put some heavy books on it and set it aside to dry over night. And by heavy books I mean at least 40 pounds worth and cover the whole katana from one end to the other. I put books on mine then added iron dumbbells.
Set It Aside to Dry Overnight! Be patient with it!
Ok, its the following day and we can now do some more work on the katana.
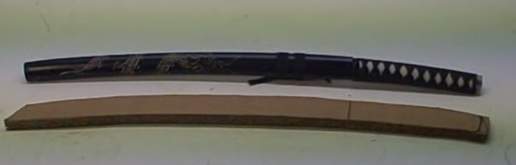
Now, with a marker or sharpie draw the shape of the katana on the cardboard.
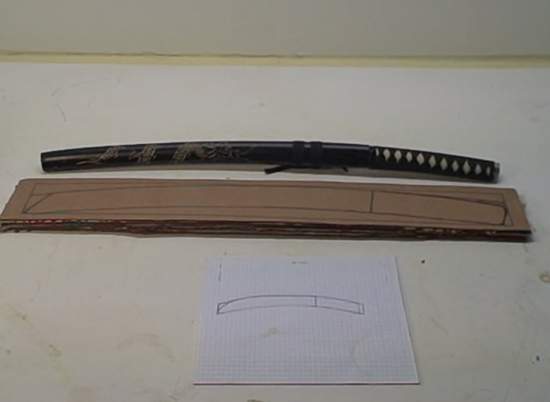
Now sketch out the shape of the katana on the cardboard as shown in the following diagram.

Your piece of cardboard is about 4 inches by 30 or more inches. Draw a box in it that is 3 inches by about 30 inches. Now draw the katana shape inside this box from end to end. The katana itself will be two inches wide and the offset that makes the nice curve is about one inch.
Now cut out the shape, very carefully, and use all safety equipment recommended by the tool you use. Safety glasses are a minimum and if you are cutting with a utility knife then please use safety gloves.
Now the Katana is cut out. There is one final gluing stage to give it the ultimate in strength.
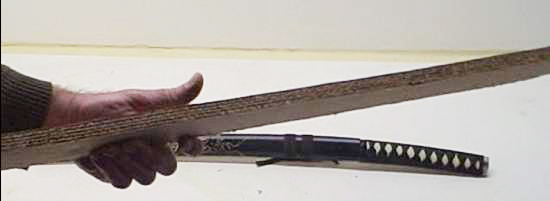
Turn the katana sideways and you can see all the corrugations. Using a paintbrush apply a very thick layer of wood glue to this whole surface, all the way around including the point and butt of the handle. Do at least two layers then set it aside to dry over night.
Set It Aside to Dry Overnight! Be patient with it!
Final Day - Lets finish up this katana by adding details
There is of course a lot of flexibility in how you decorate your katana but the first thing you should do is grab some sandpaper and sand off any rough spots especially the rough spots of glue along the sides.
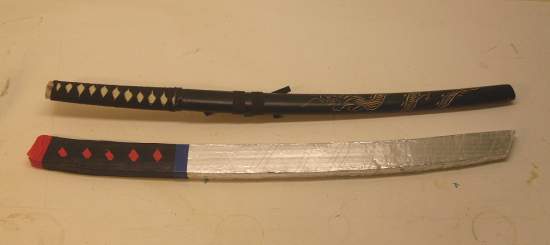
Simple Painting: You can just spray or brush on paint the katana and it will look great. Do the handle black and red and do the blade either white or silver.
More complex and better looking: I used aluminum foil on the blade. But you can't just wrap the foil around it, the curved shape of the blade will cause crinkles in the foil. What I did was apply foil to one surface at a time and it came out the best. You put glue stick on one surface then stick the foil to that surface and carefully with a small knife cut off the excess. You continue this for the back side and both edges. After the foil is done you have to wrap the blade in clear packing tape so it will not get damaged. Without this layer of wrapping tape the aluminum foil will be ruined the first time you use the katana.
To get the handle looking like mine I first wrapped it in red tape. Then I applied strips of black tape in diagonal patterns to create the red diamonds. I also applied a little blue tape to the point where the handle meets the blade.
Ways to make this katana even better. You can probably make it one and a half inches thick which will be very close to real katana size. But it probably won't be as strong. You can also use a belt sander along the cuttting edge to make it more of an edge rather than a flat surface. And if you really want to get fancy you could use colored cloth on the handle to create the patterns just like the real ones do.
Safety Reminder: Please remember this is not a toy, you literally can hurt somebody with this katana. It is very light and very strong. Always wear safety glasses and safety gear and never point it or swing it at somebodys face. Please get adult supervision when making it and when using it.
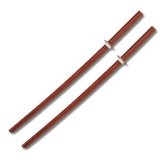 
2 Natural Bokens Wood Practice Swords, Wooden Daitos Training Katana These 40 inch natural traditional daito are ideal practice swords to safely practice your sword skills while protecting your self and partners. Constructed from hardwood and includes two piece handguard. Please note that these practice items can still cause serious injury or death if not used properly. Two piece hand guards may vary in color.
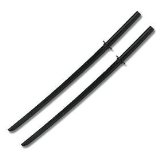 
2 Black Bokens Wood Practice Swords, Wooden Daitos Training Katana
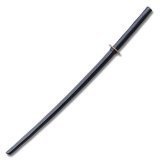

Black Boken Wood Practice Sword, Wooden Daito Training Katana
|