![]()
I have a youtube channel with over 1000 Project Videos!

Hi, Thanks for visiting my website. My name is Will and if you have questions
or would like to
contribute projects or ideas you can contact me 

![]()
I have a youtube channel with over 1000 Project Videos!

Hi, Thanks for visiting my website. My name is Will and if you have questions
or would like to
contribute projects or ideas you can contact me 
You should use a piece of round dowel if it is available to you. If you do not have round dowel you can always look around and find something suitable. I have wooden paint brushes that work well for this. As a last resort you can just take a square length of wood and sand it so it is round.
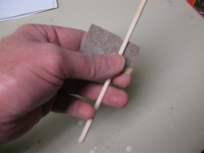
In this picture I have taken a long piece of square wood and sanded it so it is nice and round. You only need a few inches for the handle.
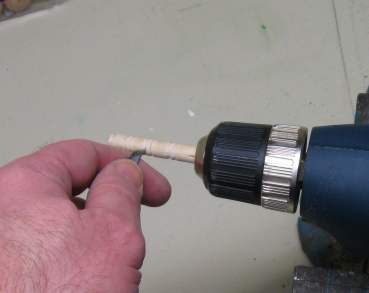
To get the nice design on the handle I placed it in a drill then used a carving tool to slowly carve lines and furrows in it. The template you can print up shows you the pattern. This is something that must be done by an adult or under adult supervision. And you have to wear safety glasses. The drill is turned at a slow rate for safety. If your drill does not have a variable speed then do not use it. High speed of a drill will not work correctly and is unsafe. Not to worry. You can just carve the handle by hand and skip this drill step.
Now carve the handguard and the blade. You can see my progress in the picture below. I used a marker to mark up the pieces so I knew approximately what to carve away. You can also see one the two halves of the sheath. One of them is marked up so I know how to carve them. Notice the blade of the daggger; I like to just carve the shape first and leave the block its full thickness. Then after the shape is completed I will carve it down to the right thickness.
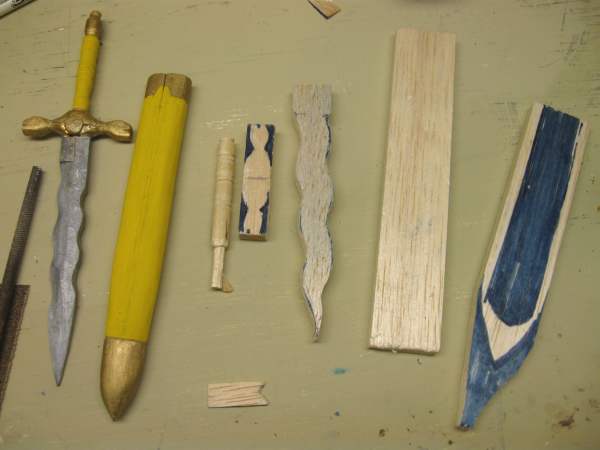
Once you have the three pieces of the dagger completed you should glue them together and allow the glue to dry before you begin carving the sheath. This way you can use the dagger to size the sheath correctly.
Carving the Sheath is a bit more of a challenge. You can see here how I gently take the wood away from the inside portion of the sheath. You need a carving tool to do this.
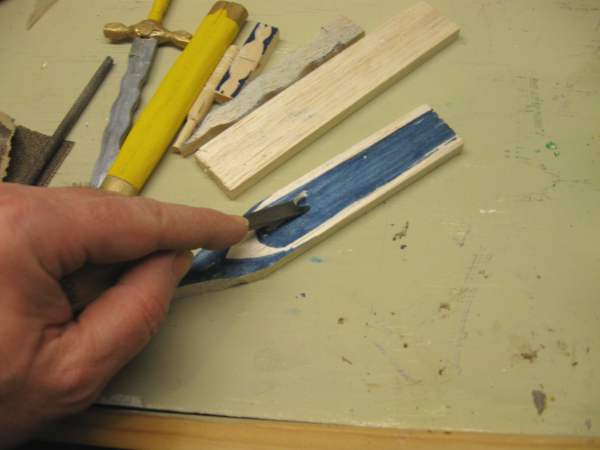
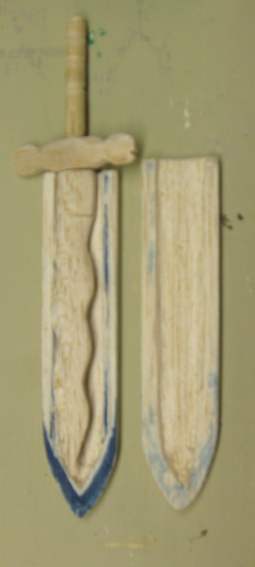
This picture shows how you place the dagger inside the sheath as you are carving. This way you can get the size just right. Keep carving until you get a snug fit. Once completed you can glue the two halves of the sheath together.
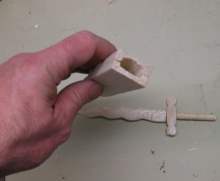
The small picture above shows the two halves of the sheath held together. Try fitting the dagger in there and if it is a nice comfortable fit you can glue the sheath together.
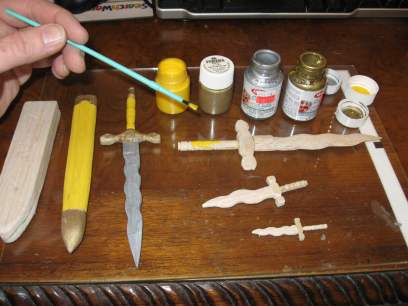
Once you have everything made and the glue has dried you can go ahead and paint it. Paint it any color scheme you like. I used Yellow, Gold, and Silver.
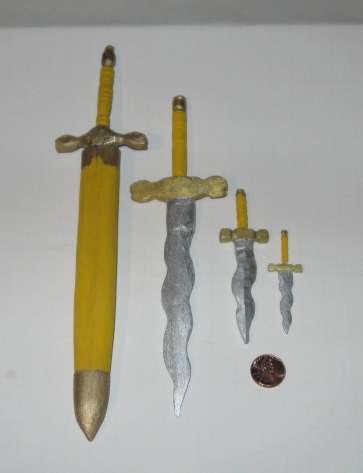
Here is a look at the completed daggers.
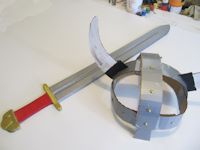
Make a Viking Sword and Helmet
This is an easy project that you can make. And you only need a few supplies. I even give you the template for the sword. How to Make a Viking Sword and Helmet
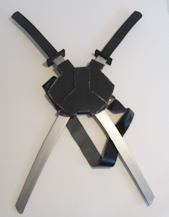
Make Deadpool's Katanas and the Holster
You can have swords, and wear them, just like Deadpool does. And for fun I also give you the template so you can make a miniature set like I made for the dragonslayer. Make Deadpool's Katana and holster
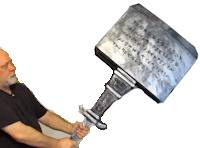
Make the Kirkhammer from Bloodborne
This is a big hammer and it really works like the trick hammer. We also make the sword that goes in and out of the handle. Make the Kirkhammer
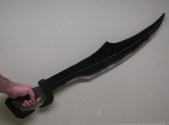
Make a Spartan 300 Warrior Sword out of cardboard This is a tutorial with video that shows you how to make a nice looking Spartan sword out of cardboard. It is very strong and easy to make. Should take you less than 2 hours depending on the glue drying time. How to Make a Spartan Sword