Diorama Making Banner

Home

Home

Youtube graphic
I have a youtube channel with over 1000 Videos!


Become a Patron

Wills Pinterest !


Tutorials

Will's Big Dioramas

Fast Tutorials

Types of Dioramas

Diorama Themes

Time Periods

More

Tools/Supplies

More Stuff


Will
Hi, Thanks for visiting my website. My name is Will and if you have questions
or would like to
contribute projects or ideas you can contact me Will

A Diorama of a section of the Mississippi River


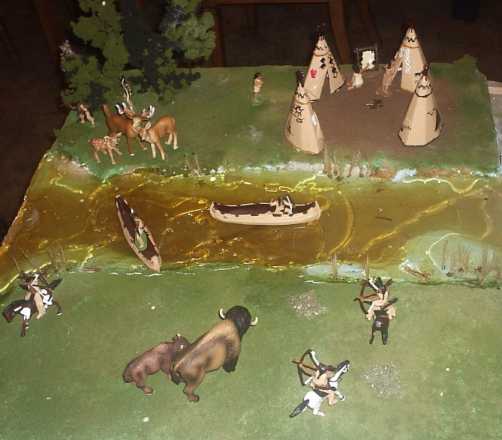
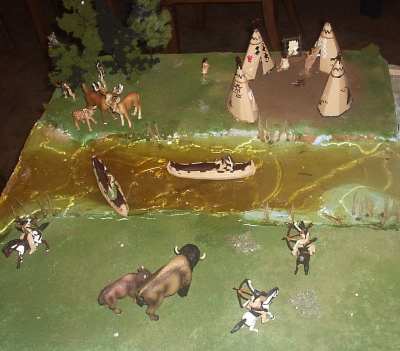
This is a Great diorama that a student and her dad made. It is a moment in time from the past along the bank of the Mississippi River. What a Great Diorama and a big one too! The maker of this Diorama is Kira Smith with some help from her dad Fitzgerald. Thanks Kira and Fitzgerald! This diorama has just about everything, a rippling river, grass, trees, miniatures, dirt, Indians hunting buffalo, an Indian settlement, weeds along the bank, and small pockets of stones. It's a wonderful diorama and a lot of work went into it. This diorama is also a great example of using store bought items and improvising your own items so they work together well. I have included more pictures and explained the process that Kira and her dad took to make this diorama.


The foam based Mississippi river diorama

This tutorial uses some home made materials and some store bought Woodland Scenics Materials I have a store where you can browse through the Woodland Scenics landscape and diorama materials.


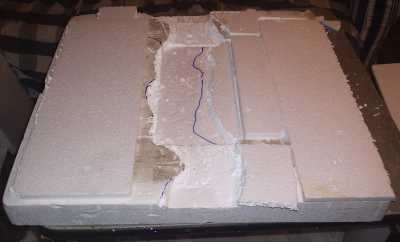
Starting the diorama

They started out with a large piece of styrofoam. You can see running through the center of it they carved out the Mississippi River. When making your diorama you have lots of leeway for creativity and styrofoam is a great product to start with. Just take your time cutting and carving it. It can get quite messy. And if you make mistakes you can always just glue some more in.

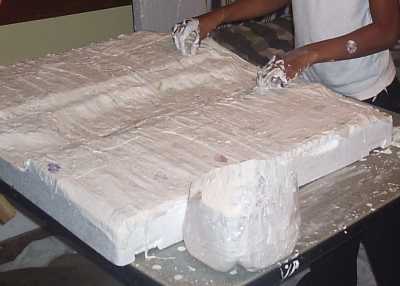
adding the plaster

Now Kira adds the plaster soaked sheets of paper towels. And this is where they improvised. They didn't buy plaster or Hydrocal. They used some hydrated lyme that they had. They simply mixed it with water in a gallon jug until it was the right consistency.

Hydrocal and Plaster Cloth at Amazon.com

Foam and foam tools at Amazon.com

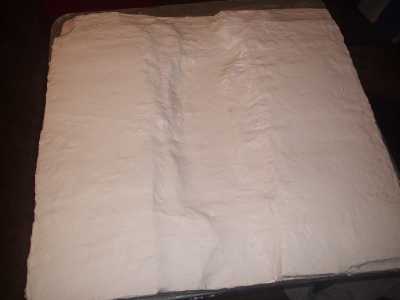
The plaster base is dry


The shell was allowed to dry overnight. It looks fantastic and is ready for paint.


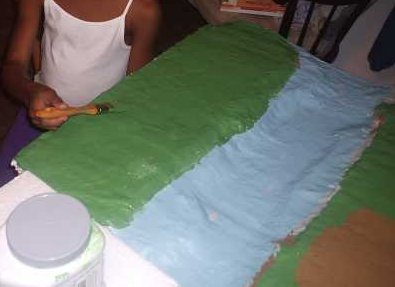
The painted base


The shell is painted basic colors according to what the landscape will look like. The river bed is blue and grassy areas are green. In the lower left is a brown area. This will be a dirt settlement.


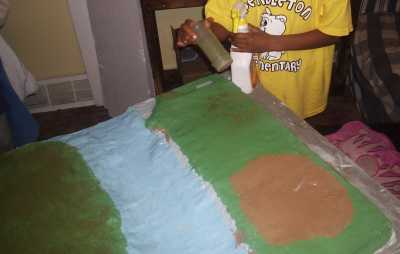
sprinkling on the texture landscape


Now it's time to shake on the turf and textures.

Woodland Scenics Turf and Textures at Amazon.com


Some detail tips

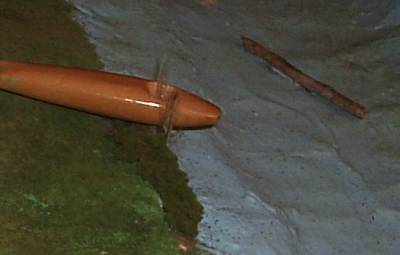
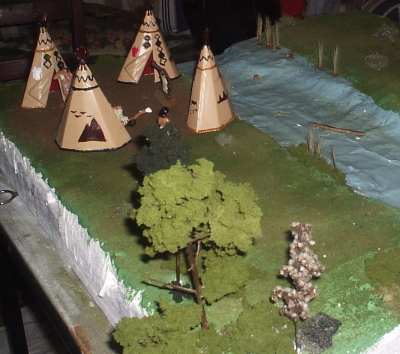
This picture shows some nice details. Notice the log in the water. When the water pours that will be at the bottom. Notice the shrubbery on the bank of the river. And also notice the great way they are holding up the stalks of grass while the glue dries. The hole in a paintbrush works perfect for this! If you want to learn how to make stalks of grass like this I have a tutorial here: Make tufts of grass tutorial


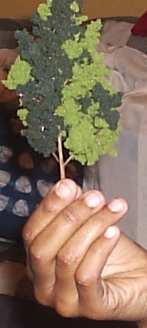
Kira is shown here making the trees for the Diorama. This is the typical woodland scenics way to do it. You cover a tree armature with a good cement like scenic cement, let it get real tacky then you dip the armature in a bag of foliage. Voila you have a great looking tree. To get it to look really good use different shades of green like the tree shown here.

The Tree is done


Woodland Scenics Trees at Amazon.com


adding the details

Almost all of the detail work is done, the teepees and miniature figures have been added. The ground cover looks great. Now lets do the river.

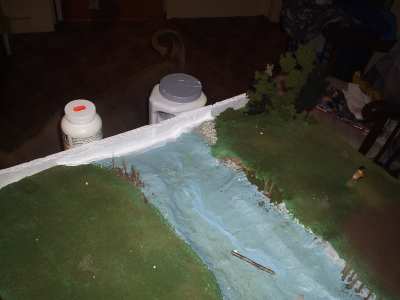
containing wall


A thin sheet of styrofoam was used on the each end of the diorama. This forms a wall to hold the water in. The styrofoam was attached with a woodland scenics product called Flex Paste which works really well for something like this.

Flex paste

Flex Paste, 16oz


completed diorama


Once the walls have dried the water can be poured. You can see right through it. And you can put things on top of it. If you wait until it is almost dried you can stick things like canoes to it.

And you can use a hair dryer or a brush to make waves and ripples in the water.

This diorama is done and it came out fantastic. My thanks to Kira Smith and her dad Fitzgerald for the wonderful diorama and the pictures!

Making Water for Your Diorama

Woodland scenics offers two types of supplies for making water.

E-Z Water, 16oz You heat these crystals up then pour them in.


Realistic Water, 16 fl oz