![]()
I have a youtube channel with over 1000 Project Videos!

Hi, Thanks for visiting my website. My name is Will and if you have questions
or would like to
contribute projects or ideas you can contact me 

![]()
I have a youtube channel with over 1000 Project Videos!

Hi, Thanks for visiting my website. My name is Will and if you have questions
or would like to
contribute projects or ideas you can contact me 
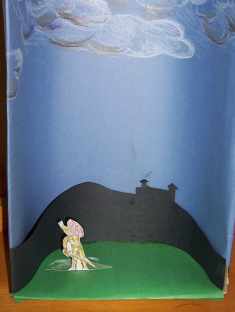
Step 7 Glue the Knight in place. Notice that he is close to the left side of the diorama. And also see that he is about half way toward the back. This is important because it will give a good feel to the diorama.
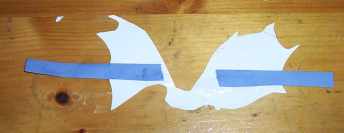
Step 8 Glue tabs to the wings of your dragon. The dragons wings will attach to the sides of the shoebox. This will make it appear like the dragon is flying. Turn the wings over and glue two strips of blue construction paper to them. The blue is used because it is the same color as the background and will make them almost invisible.
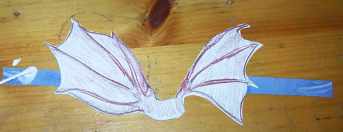
Step 9 Apply glue to front of tabs. After allowing the wing tabs to dry turn them over and apply some glue to the front of the tabs.
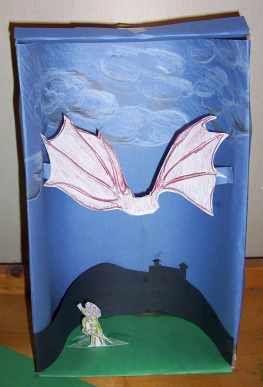
Step 10 Glue the wings into the shoebox with the glue still wet insert the wings into a good spot in your diorama. You can move them around a bit. Here is a good picture that shows you about where you should put them. If you want to tinker with location you can try placing the wings inside the box before you glue them. Move them around until you see how you like them then glue them in place.
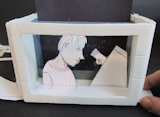
Paper Dioramas (Tatebanko)
Tatebanko is the ancient japanese art of paper diorama making. And we have lots of them! Many of them you can download, print and make yourself. Paper dioramas
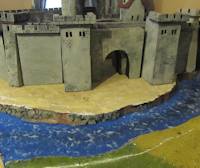
Storm The Castle Diorama Part 7: Water Effects, Make the Moat
The next installment of the massive castle siege diorama is done. In this part we add the moat around the castle. Storm The Castle Diorama Part 7