Etching Medieval Shields on Glass
A glass etching tutorial by Eric Robert W.
I am going to show you how to etch any pattern such as a medieval shield design on a piece of glass. There are lots of glass items you can create a permanent etching on. The patterns and ideas are also limitless so pick a great pattern that you like and follow the tutorial below.

A Note from Will: Here is a great tutorial on how to etch glass. It is a fun hobby and Eric has some serious skills with it. He has done this Coat of Arms on a Glass shield specifically for stormthecastle.com and my thanks go out to him for this! If you are interested in Glass Etching you should check out his website! And if you want to start learning about glass etching today you might want to check out his ebook.
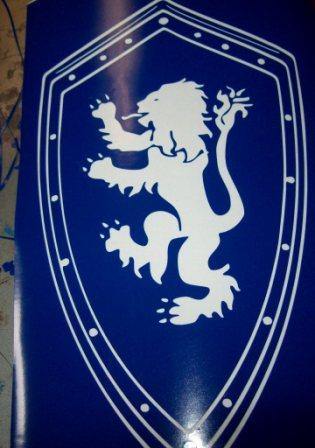
First, you will need to pick a pattern and you can see I chose a medieval shield with a Lion symbol. This pattern should generally be black and white so that you can cut a stencil outline from the design. Either trace a design or print out the design you want onto a stencil material and then cut it out with a hobby knife. You should use a stencil material that has an adhesive backing such as contact shelf paper. You can also brush on a temporary glue to the stencil which will lead us to the next step.
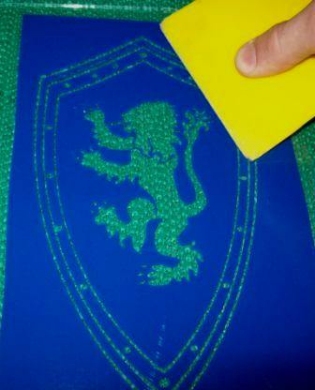 For the second step, you will need to apply the stencil onto the glass object your etching. This is usually done with a squeegee by smoothly pressing the stencil on from one edge to the other. Make sure you have no air pockets under areas of the stencil so the etching method doesn't etch the wrong areas.
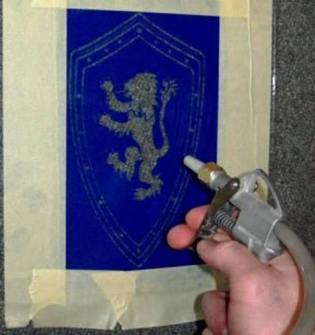 The third step involves the actual etching stage. Basically there are two major methods used by hobbyists which are the sandblast and cream etching method. The cream etching method is easiest, but I chose to use the glass sandblasting method because it looks better. You can see in the picture that I am about to use the sandblaster gun to etch over the stencil.
 In this step, the etching has been done and you will need to wash off any etching or abrasive solution and remove the stencil. Spraying warm water over the stencil may help soften up the glue on the stencil for a easier removal.
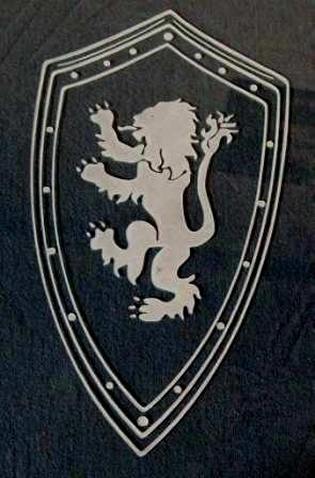 The picture below shows the etched glass medieval shield permanently marked on a piece of flat glass. If you wanted to brighten it up with color, you can add paint to the etched areas. Since the frosted areas are etched, the paint will stick to the roughed areas.
RESOURCES
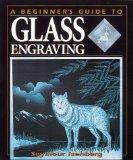
A Beginner's Guide to Glass Engraving
Glass engraving has been a respected art for hundreds of years, done by artisans who devoted their lives to perfecting the technique. Fortunately, that kind of dedication is no longer necessary. With todays modern tools and the simple instruction in this book, anyone can achieve success.
With basic equipment, inexpensive glass pieces, and the patterns in this book, beginners and experienced glass workers alike will explore all aspects of glass engraving and learn everything they need to accomplish wonderful results.
-Easy-to-follow instruction for beginners and experienced glass workers.
-Full-size patterns.
-Comprehensive information on equipment and technique .
-Step-by-step directions for a sample project.
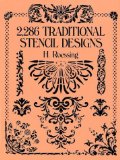

2,286 Traditional Stencil Designs (Dover Pictorial Archive Series) -
Masterfully executed designs in reproductions of two rare catalogs: ornamental borders, corners and frames with intricate floral and foliated patterns, architectural ornaments and design elements, religious symbols and figures, animals, mosaics, landscapes, much more. Invaluable to artists and craftspeople working with textiles, wallpaper and other decorative items.
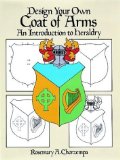

Design Your Own Coat of Arms: An Introduction to Heraldry -
Design your own personal coat of arms. Detailed, easy-to-follow instructions make it easy even for beginners to fashion emblems that reflect family origins, traits and accomplishments. Decorate plates, mugs and stationary or create wallhangings, sew-on patches, T-shirt decals, pin-on badges and much more.
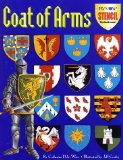

Coat of Arms -
Why did knights of the Middle Ages have coats of arms? What did the different symbols and colors mean? Could anyone have one? Even girls? Here's a fascinating first look at heraldry with an accompanying stencil so that readers can create a shield with their very own coat of arms.
 It's Easy To Etch Glass And Mirrors With This Complete Sand Etch Kit
 - Create monograms, spiritual expressions, gifts for special occasions and many other permanently etched designs on glass, mirrors,ceramics, tile and metal with this easy-to-use sand etch kit. The kit contains a can of non-flammable and non-ozone depleting aerosol propellant, a jar of sand etch abrasive that is reusable, a sand etch sandblaster nozzle, an instructional booklet and a reusable stencil. Personalize and decorate non-porous surfaces the easy way, just like a professional, without the need for expensive training or equipment. This kit is manufactured by Armour Products, a U.S. company that has been producing etching kits and supplies for over 25 years. The kit is suitable for ages 18 and up. For hundreds more craft, art and hobby products, including other etching kits and materials, be sure to visit our National Artcraft Storefront. We have the creative component you need.