Hi, Thanks for visiting my website. My name is Will and if you have questions
or would like to
contribute projects or ideas you can contact me
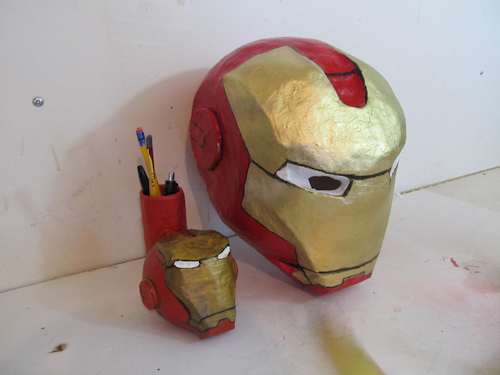
How to Make the Iron Man Helmet
This is a tutorial on how to make a nice looking Iron Man helmet. It is a pretty easy project and it comes out great. All you need is a few basic supplies like a balloon, flour, water and paints.
And the video tutorial showing how to make this is at the bottom of this page.
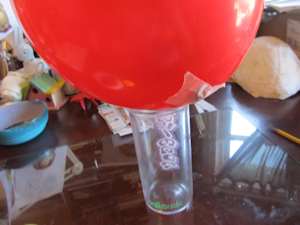
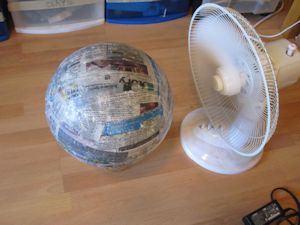
Inflate a 12 inch balloon to about full size. It has to be quite a bit bigger than your head. Picture it being large enough so your head can fit comfortably into it. Tape it down to some kind of a bowl or mug so you can work on it easily.
Notice the air nozzle on the balloon. It is placed in a very specific place. This is righ about at the chin of the helmet. This is important because the shape of the balloon will be very suitable this way. It gives a good helmet shape.
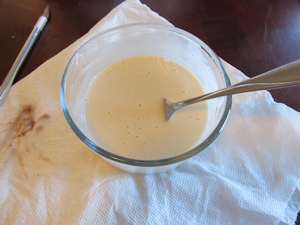
Let's mix up some paper mache. It is simply two cups of flour and two cups of water. Mix it up nicely so it is creamy and smooth. Throw in a tablespoon of salt. This salt will prohibit mold growth and keep the helmet fresh and clean.
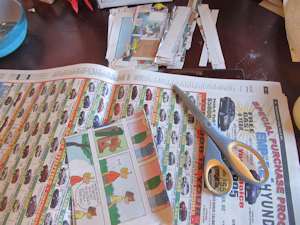
Tear or cut up a whole lot of strips of newspaper or paper towel. We use newspaper in this tutorial but paper towels work well also. Just use strong paper towels so they don't tear under the soupy effect of the paper mache.
Cover the whole balloon in strips of paper mache. Overlap each strip by about a 1/3 over other strips. The more overlapping of the strips the stronger the helmet. Now let this first coat dry. You can use a fan to greatly accelerate the drying process.
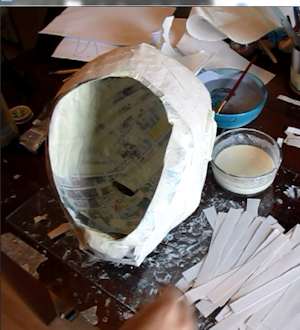
Cut out the bottom of the helmet with scissors. Remember where the air nozzle is and use that as the chin. You will see how the helmet is a natural shape for a helmet and can see where you should cut out the bottom to fit your head in it. Try it on so it is a comfortable fit. Cut out more if needed.
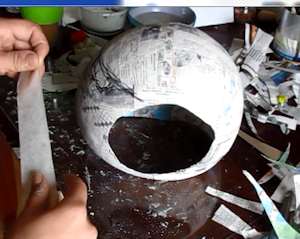
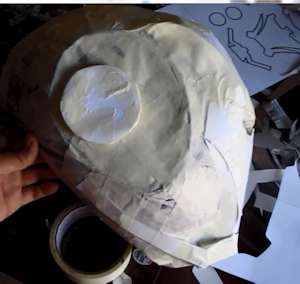
Next cut out the sides of the helmet. These are kind of like earholes but much larger. Picture the holes being where the ears are. But they are oval. In the picture the chin is on the left of the helmet. And see how the eyeslots are drawn on the paper mache? this helps in placing the earholes.
We do this to flatten out the sides of the helmet. It is a much better Iron man shape. Otherwise the helmet is shaped kind of like a basketball!
It will help a lot if you draw the shapes on the helmet. Draw the chin and the eyes.
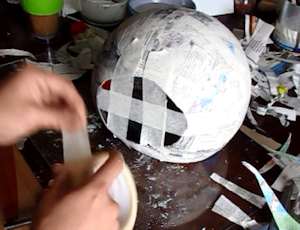
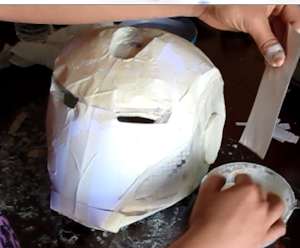
Now use masking tape to tape off these two earholes. Cover them completely with tape and do a layer on the inside as well as the outside. This creates our nice flat helmet sides.
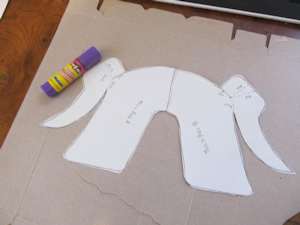
Now cut out the template pieces and apply them to the helmet. This is the top section the face section, round ears, chin and chin extra straps.
The template packet shows you how these are attached and where they go on the helmet.
Take your time with this part. This will give you a very nice helmet shape.
And use pleny of masking tape!
You can watch the video at the bottom of this page to see exactly how these pieces go on the helmet.
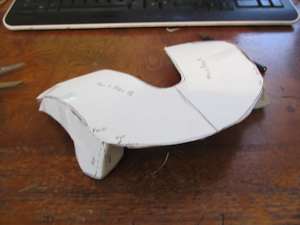
Here is a look at the side of the helmet.
Here is one tip you should think about when it comes to the template. I printed mine up on cardstock. This is a thicker type of paper much like index cards. You can put it right in the printer and print up on it. Its readily available at office supply stores. They sell it just like printer paper. But if you don't have cardstock you can simply print up the template, cut out the pieces and glue them to cereal box cardboard. That works just as well.
And the template packet shows this but you are folding the template pieces into shapes so they stand up off the balloon. This picture shows it.
Do you like making projects and exploring a variety of hobbies?
Sign up for my free newsletter. I give you regular updates on hobbies and projects you can make. it is totally free and I don't share your email with anybody.