Origami Banner

Home

Home

Youtube graphic
I have a youtube channel with over 700 Videos!

Become a Patron


Will
Hi, Thanks for visiting my website. My name is Will and if you have questions
or would like to
contribute projects or ideas you can contact me Will

Make an Origami Bonsai Tree

Technically this isn't a pure origami project because we are cutting the paper and using other techniquest that are not used in origami.

But something I really like about this project is that it kind of touches upon two different disciplines: Origami and Bonsai.

You just need a few basic supplies to make this project and I have a video that shows you exactly how to do all the various parts including the pot, trees, flowers and leaves.

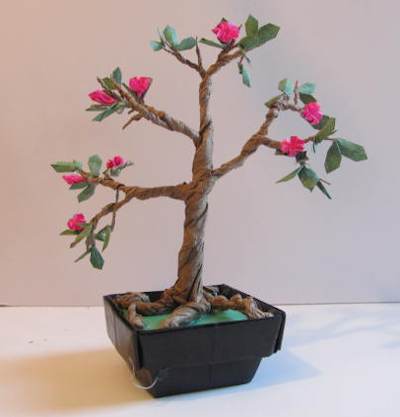
One clever thing about this project is that the tree is made from a brown paper lunch bag.

In this web tutorial I will not take you through the whole process step by step. It is a bit too complex. I will give you an overview of what to do. If you want to make this you can watch the video.

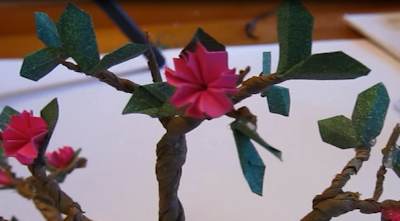
The completed project

The origami bonsai tree

There are four different main parts to this project: The Tree, the pot, the flowers and the leaves. I show you how to make all these.

Materials Needed:

  • 1 - 12 inch square of paper for the pot
  • 1 - small brown paper lunch bag for the tree
  • 1 sheet of green paper for the leaves. We will cut it into one inch squares
  • 1 sheet of colored paper for the flowers. We will cut it into one inch squares
  • Some kind of glue for attaching stuff together
  • 1 piece of green paper that goes under the tree roots
  • Mod podge or white glue to seal things.

Brown paper bag as the tree

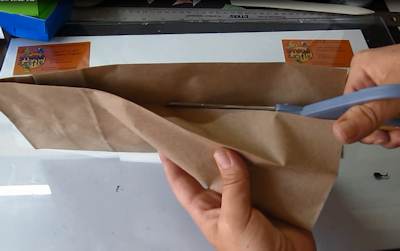
A brown paper bag is perfect for the tree. We make a series of cuts in it. Some initial cuts are then crumpled and twisted to make the trunk and major branches.


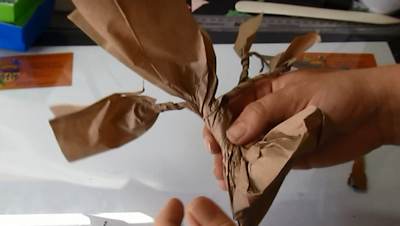
crumpling the tree

Ok, this is how it is starting. The flat bottom part of the bag is the flat bottom part of the tree where the roots are. We have twisted the trunk and have started the branches.


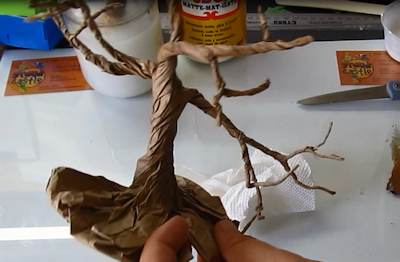
The tree

Ok, as we move up the tree you cut it some more and crumple smaller and smaller branches. Then you would also do some cutting and crumpling with the roots.


The pot

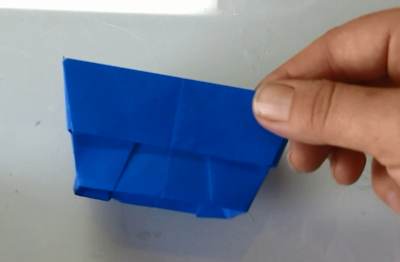
The pot is folded, traditional origami style from a twelve inch square of paper.


Flowers and leaves

The only thing remaining to make is the flowers and leaves.


One inch squares of paper

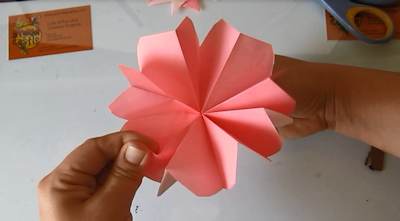
The flowers and leaves are folded from one inch squares of paper. You can use the same colors as we use or you can mix it up. Also, if you want some real variety you can vary the one inch size a bit. Make a few that are a bit larger and make a few that are a bit smaller than one inch.


The flower fold

The video has step by step instructions on how to fold the flowers and the leaves. And we use larger paper to make it easier for you to see.


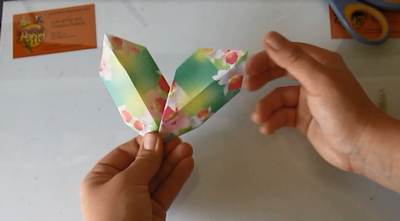
The leaf pattern

The leaf pattern.


Watch the Video here:


MORE PROJECTS

Make a Bonsai Tree out of Wire

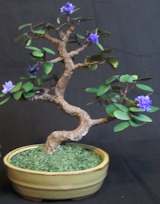
I show you how to make a realistic looking bonsai tree out of simple materials like wire, aluminum foil, and pencil shavings. How to make a wire bonsai tree.


Make an Origami Tulip

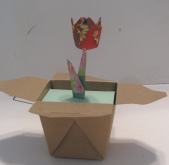
This is an easy beginner fold that comes in two parts - the flower and the stem. You just need two equal size squares of paper. I recommend you add a little pizazz to the project like I have shown here. Fold an Origami Tulip


Bonsai For Free Tutorial

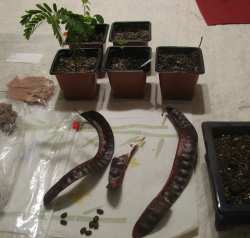
This is all about harvesting your own tree seeds and growing your own bonsai from them. I have some great tips and hints for you so you know exactly how to do it and how to make it successful. Bonsai for free