![]()
I have a youtube channel with over 1000 Project Videos!

Hi, Thanks for visiting my website. My name is Will and if you have questions
or would like to
contribute projects or ideas you can contact me 

![]()
I have a youtube channel with over 1000 Project Videos!

Hi, Thanks for visiting my website. My name is Will and if you have questions
or would like to
contribute projects or ideas you can contact me 
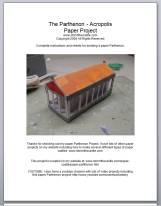
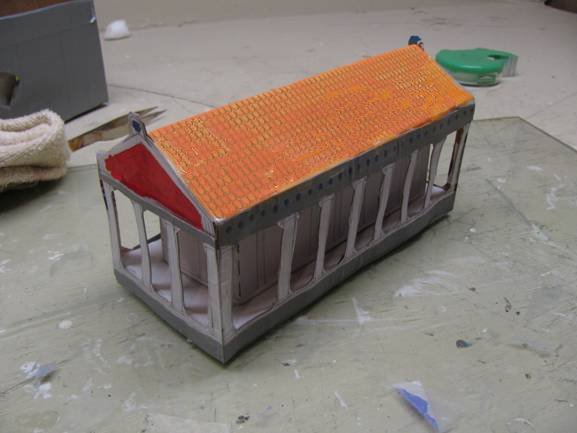
This is a complete paper project on how to make a paper Parthenon. I have the full instructions here on this webpage and I also have them in a downloadable Microsoft Word document. You can download the booklet and print it up then cut out all the pieces and glue or tape them together. This is a fun and easy project to do and make.
I also have a youtube video that goes along with this project. The video shows this project, tells a little bit about it and also has some footage of the actual Parthenon. It is at the bottom of this page.
Thanks for checking out my paper Parthenon Project. I have lots of other paper projects on my website
YOUTUBE: I also have a youtube channel with lots of video projects including this Project
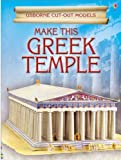
Available on Amazon: Make This Greek Temple (Usborne Cut-out Models) by Iain Ashman (2008-04-25)
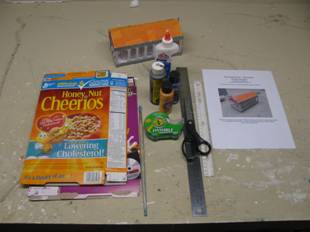
What you need to make this project:
There are five pages of parts for this paper Parthenon project. You should cut out the pieces and glue them down to the cereal box cardboard then cut the shapes out again.
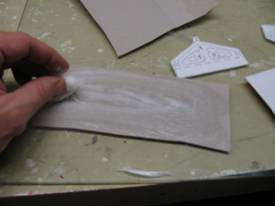
I use a cotton swab to apply the glue evenly to the cardboard, then I place the cut out paper piece on it and press it down smoothly. The picture below shows how to do it.
Solid Lines - Solid lines are cut lines
Dotted Lines - These are fold lines. You do not cut them you fold along the line.
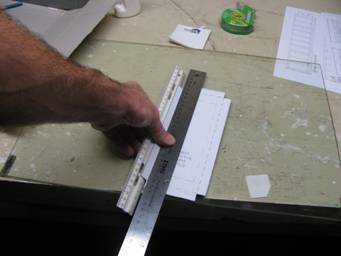
Tip for folding along dotted lines:
I use two rulers to make the fold nice and straight. The picture below shows you how I do it.
This assembly assumes you have already cut out and glued all the pieces to cardboard and now you have all the pieces ready for assembly.
1. Fold the base pieces so it looks like the base in the picture below:
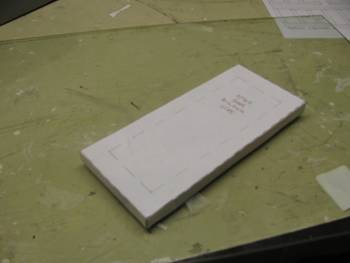
2. Assemble the two pieces that make the inner building then glue them to the base.
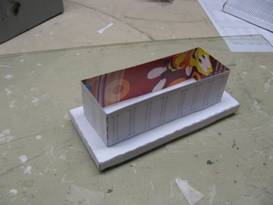
3. Tape or glue the sides of roof to the base of roof:
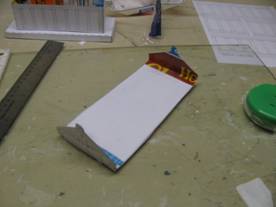
4: Tape or glue the roof onto this so the roof unit is complete.
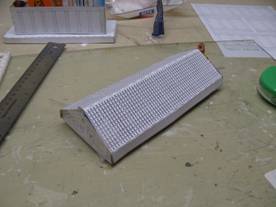
5: Secure the roof to the inner building by running glue along the top.
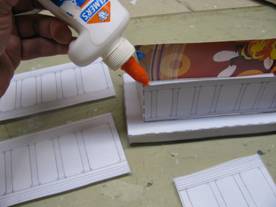
This is what it will look like:
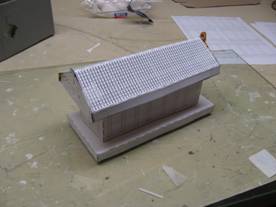
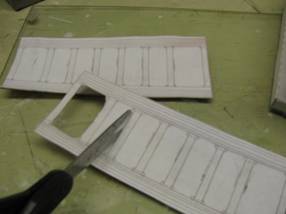
6: If you haven't done it already you should cut out the spaces between the pillars on the four outer wall sections. Be careful and take your time with this. It can be a bit tricky to get it to look really nice.
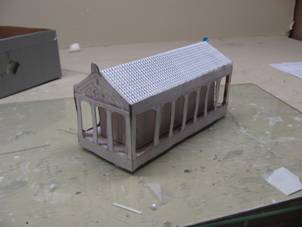
7: Now glue all four sides (or tape) to the outer edge of the building. It will look like this:
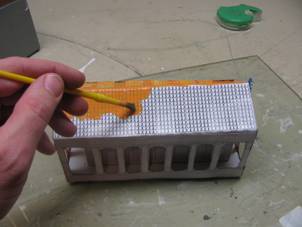
8: You are now ready to paint! Have fun with the painting and thanks for building this project. If you send me a picture I will post it to my website!
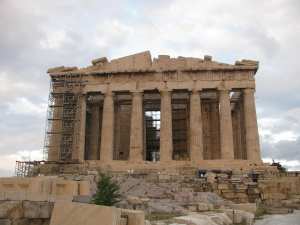
I have pictures of the parthenon that I took while on vacation in Greece. You can check out those pictures on my website here. Greece
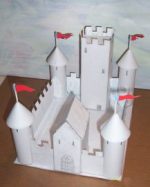
Make a Paper and cardboard Castle
If you are looking for an easier castle to make you might want to try this one! - Make a castle
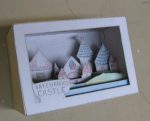
A Tatebanko Castle: Tatebanko is the almost lost art of Japanese Paper Dioramas. This is a complete kit that you download, print up and make. It is a castle scene inside a box. Easy to make and should take about an hour. You just need the basics like scissors, glue and a cereal box or two. Make a Tatebanko Castle
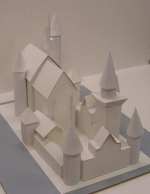
I have a more challenging Paper Castle. It is the famous Neuschwanstein Castle. If you are looking for a more dramatic castle this project is for you. The Neuschwanstein Paper Castle Project
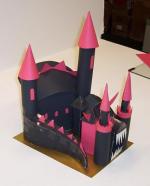
The Black Dragon paper Castle- This is my latest paper castle project and currently the castle is completed but the tutorial is not. You can check on the progress of this project here: The Black Dragon Paper Castle