![]()
I have a youtube channel with over 1000 Project Videos!

Hi, Thanks for visiting my website. My name is Will and if you have questions
or would like to
contribute projects or ideas you can contact me 

![]()
I have a youtube channel with over 1000 Project Videos!

Hi, Thanks for visiting my website. My name is Will and if you have questions
or would like to
contribute projects or ideas you can contact me 
If you watched the video for this project you saw me crack open that egg and fry it up in a very manly pan! LOL
Here are some bonus materials that show you how I made these special effects. It took a little bit of effort but was well worth it.
Part 1 of this tutorial on making the dragon egg is here
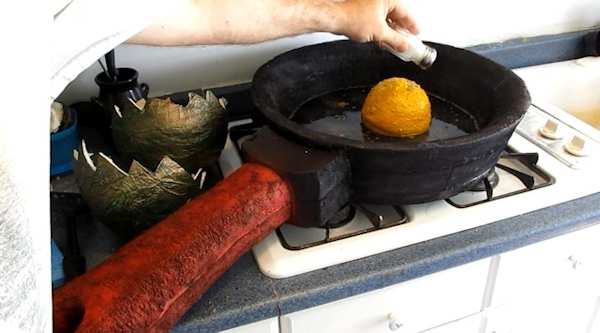
The yolk turned out to be a bit challenging because I didn't want to just use a spherical object. I wanted the yolk to plop into the pan and settle down a bit like a real yolk would do. There are probably a hundred different ways to do this but here is how I did it.
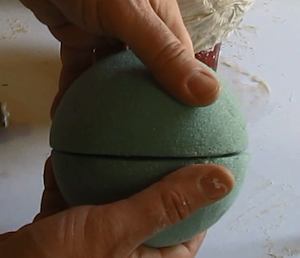
I glued together two foam hemispheres to make a ball the desired yolk size. You could use anything spherical like a softball.
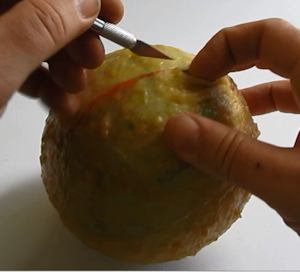
Then I painted it with several coats of latex rubber. Allowing it to dry between coats. I used a product called Mold Builder: (Amazon: Mold Builder Liquid Latex Rubber 16oz/473ml )
Once that was all dry I cut a large slit in it and removed the foam sphere from inside. Now I have a hollow rubber ball.
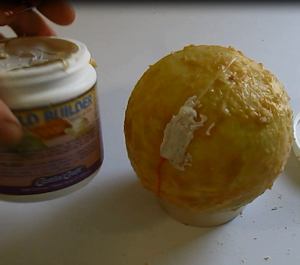
And I resealed the slit with the latex rubber . But I left about two inches of the slit still open so I could....
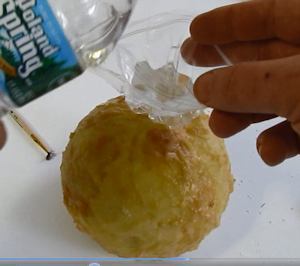
Then I inserted a ziploc bag into the slit and filled it about half full with water. I then sealed the bag and tucked it all right into the egg yolk. Now the bag, half full with water makes the yolk sag nicely.
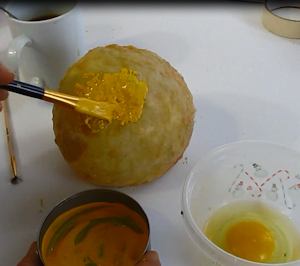
Then paint the yolk a nice yolk color. It is mostly yellow with just a little bit of orange mixed in.
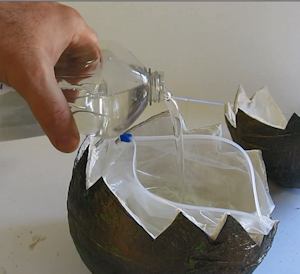
Now to bring the whole egg together I cut the egg into two halves ragged like this. Kind of flintstone like. I taped a gallon ziploc bag into it and poured clear dishwashing liquid into that. The dishwashing liquid is the white of the egg.
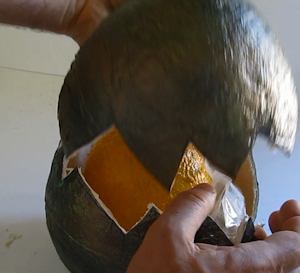
Put the yolk we made right on top then put the egg back together.
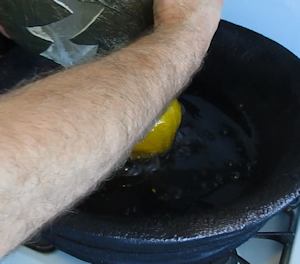
Now it is ready for the video. I "cracked" the egg on the side of the pan and poured ou the yolk and white! Yay! Breakfast.
![]() One thing remains. How did I make that big ole frying pan! Continue on and see
One thing remains. How did I make that big ole frying pan! Continue on and see
Do you like making projects and exploring a variety of hobbies?
Sign up for my free newsletter. I give you regular updates on hobbies and projects you can make. it is totally free and I don't share your email with anybody.