This project keeps materials and work pretty simple. It uses paper mache and other found objects. This shield is part of a series of projects on Spartan 300 armor. I also have a video tutorial that goes along with this. You can watch that video here.
I also have some other 300 Spartan equipment projects which currently include a helmet and a spear. I will also be making a shield and the chest plate. The projects are here: Make a Spartan Helmet - Make a Spartan Spear - Make Spartan 300 Vambraces (ArmGuards) - Make Spartan Leg Guards
And I have lots of other cardboard and paper mache weapons and armor projects.
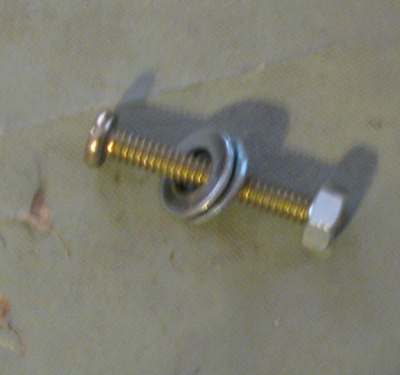
You need four bolts to attach the handles inside the shield. Here is the bolt I used. It includes a nut and two washers. It is important that you use washers so the bolt doesn't pull out of the shield when used.
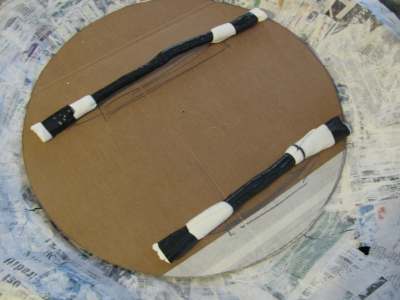
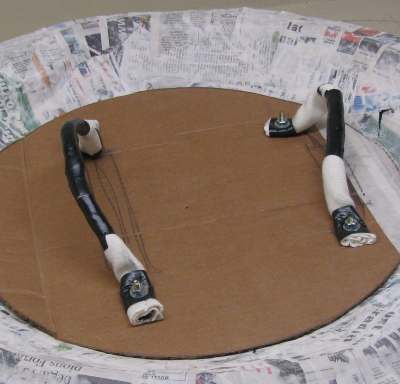
Tape up your two pieces of cloth so they form roundish handles as shown in this picture. Right now they are just laying on the cardboard ring inside the shield.
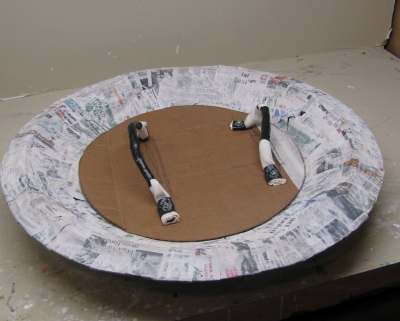
I put an extra circle of cardboard into the inside of the shield. You can see this in this picture. This adds extra strength to the shield. Just measure, cut and put it right in. You don't have to glue it. The bolts will hold it in place. I will show you this in the next step.
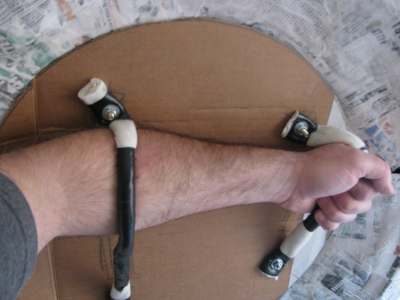
This picture shows the position of the straps. The strap on the right is smaller for your hand to grasp and the one on the left is larger so you can fit your arm through it. I will show you a bit more about this.
Layout the straps on the cardboard. Put them in the desired location.
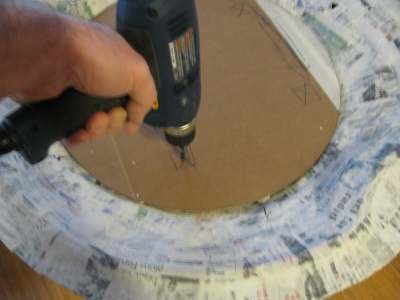
Then drill through everything but do not try drilling through the actual straps. It won't work because of the cloth. Use some kind of a tool like an awl to punch holes in the straps.
Finally, bolt the straps down. Put the bolts through the front of the shield so the nuts are on the inside of the shield. Make sure you use washers to protect the shield from the bolts pulling through. Tighten them up and your shield is done and ready to be painted.
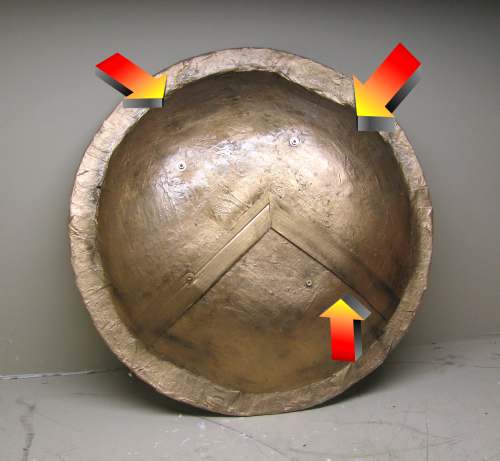
Let's paint this shield. I painted the whole thing Gold color from a spray can. Then I used spray paint black to do some highlighting. The arrows show where I applied black as highlighting just to give it some form. The center of the shield is pretty much black free. This gives it a good look. Once the paint dried I used a Crystal clear enamel to seal it and give it shine. Have fun and if you make this shield be sure to send me a picture so I can put it on my website.
 Krylon 1000 Premium Metallic Spray Paint, Gold Krylon 1000 Premium Metallic Spray Paint, Gold
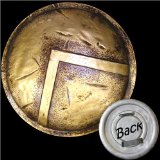  King Leonidas 300 Spartan Greek Replica Shield Pro New King Leonidas 300 Spartan Greek Replica Shield Pro New
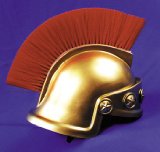  Spartan Helmet Gold Only Costume Accessory Spartan Helmet Gold Only Costume Accessory
|


