
Home

I have a youtube channel with over 1000 Project Videos!


Wills Pinterest !


Hi, Thanks for visiting my website. My name is Will and if you have questions
or would like to
contribute projects or ideas you can contact me 
Make a paper and Cardboard Castle: Neuschwanstein Page 3
The first page of this tutorial is here
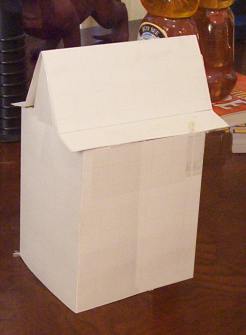
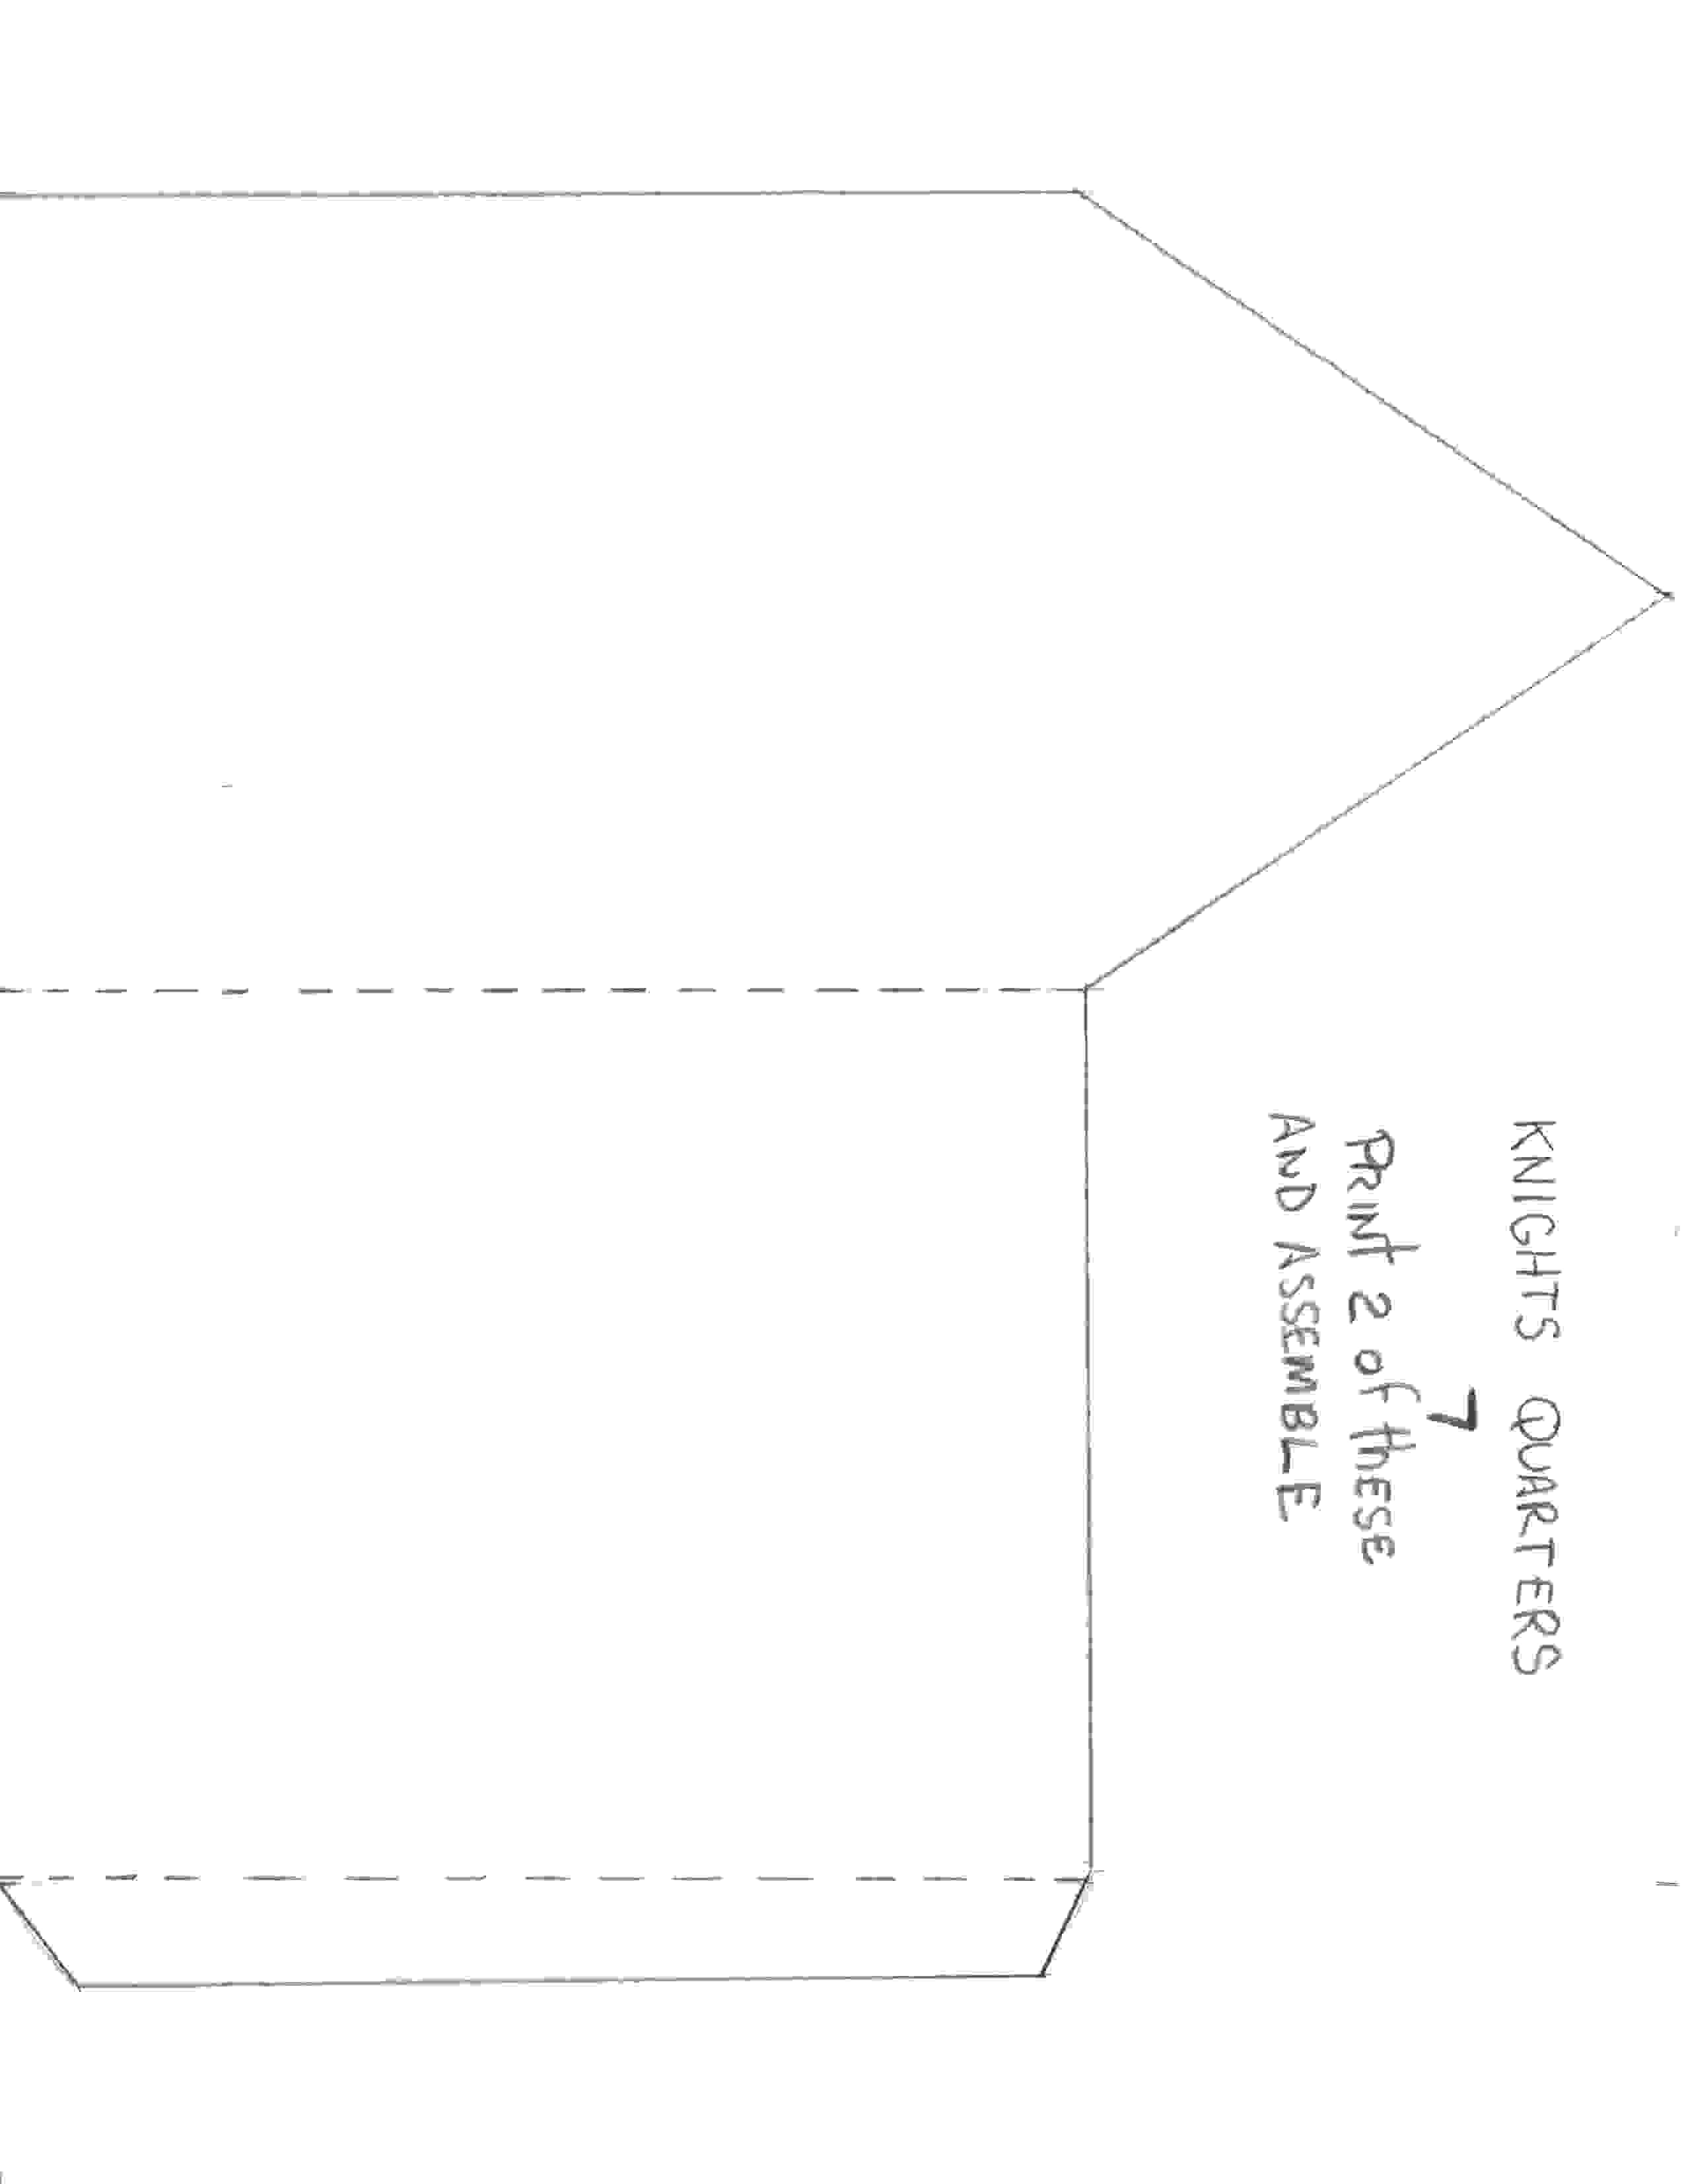
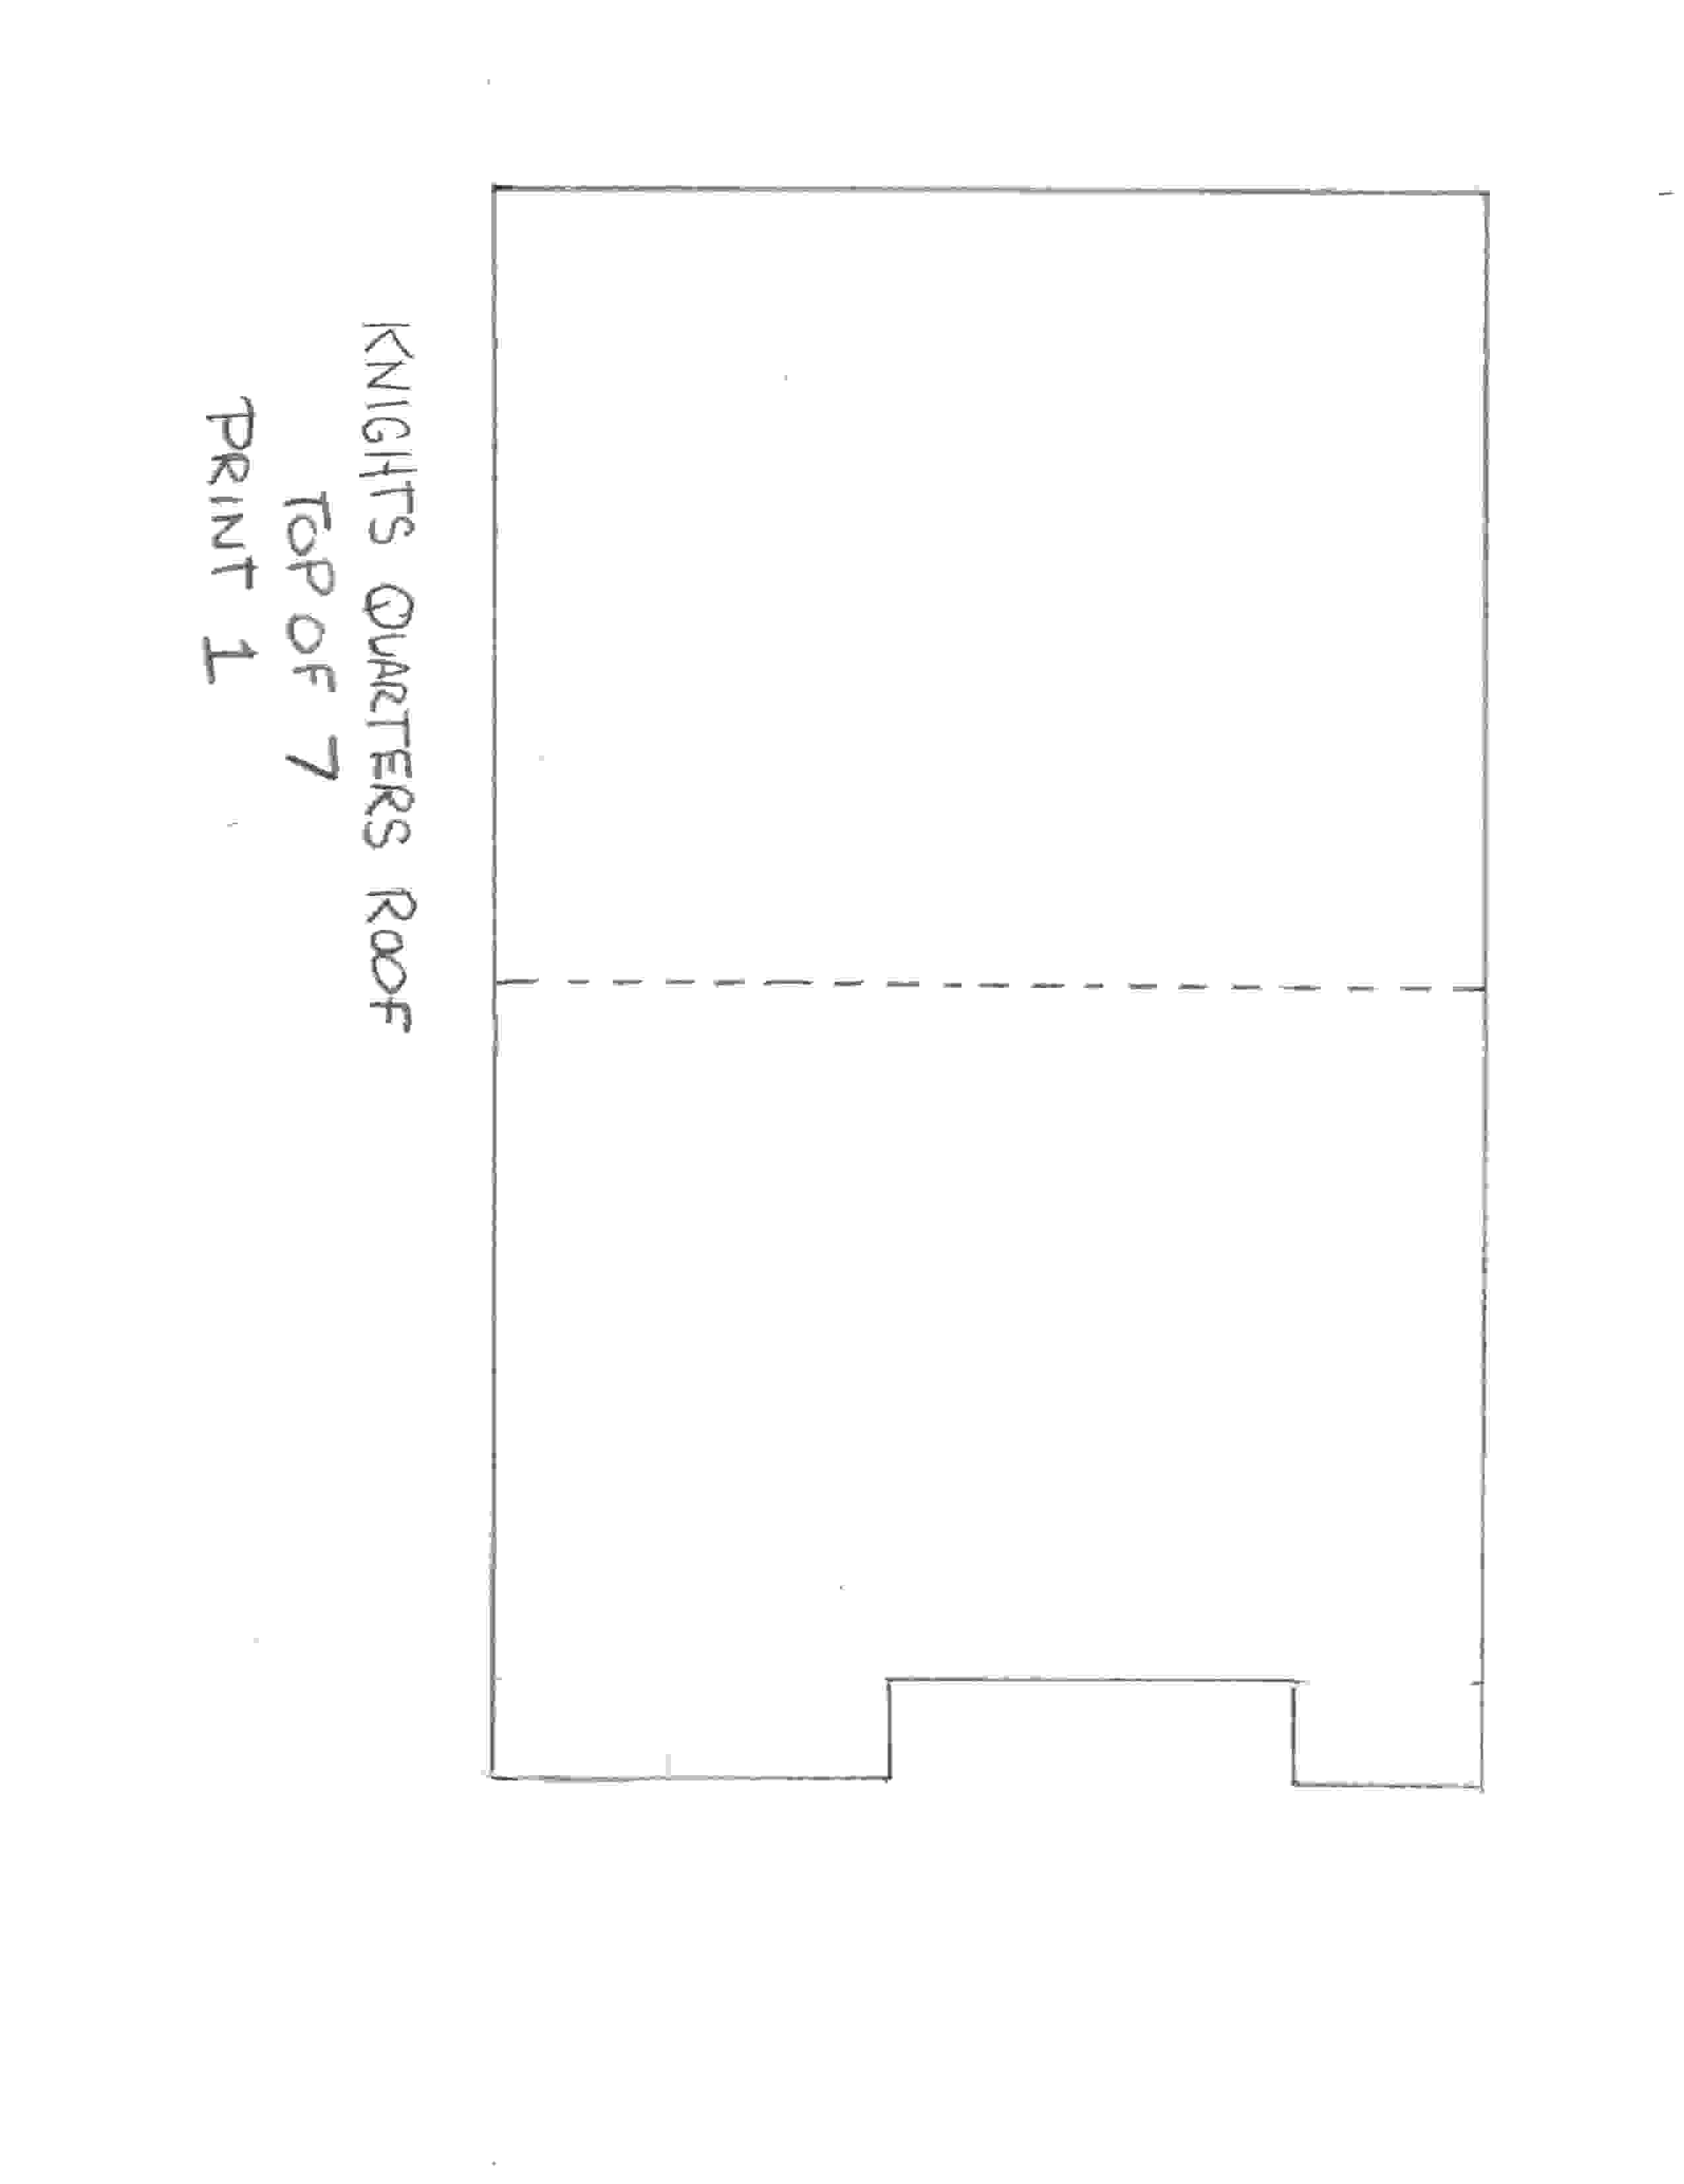
Now lets Make structure 7 (The Knights Quarters)
This structure is composed of two parts:
The Knights Quarters Building Print up 2 copies of this and assemble them together
The Knights Quarters Roof - Print 1 copy and affix it to the top of the building
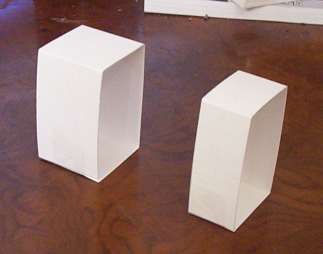
Here is what the Knight's Quarters looks like. In my picture I have already added the two thin towers. You haven't done those yet and don't worry about them for now. We will do them later. Notice how the slot in the roof is on the right side of the building.
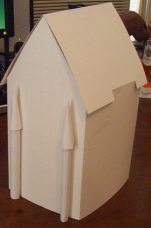
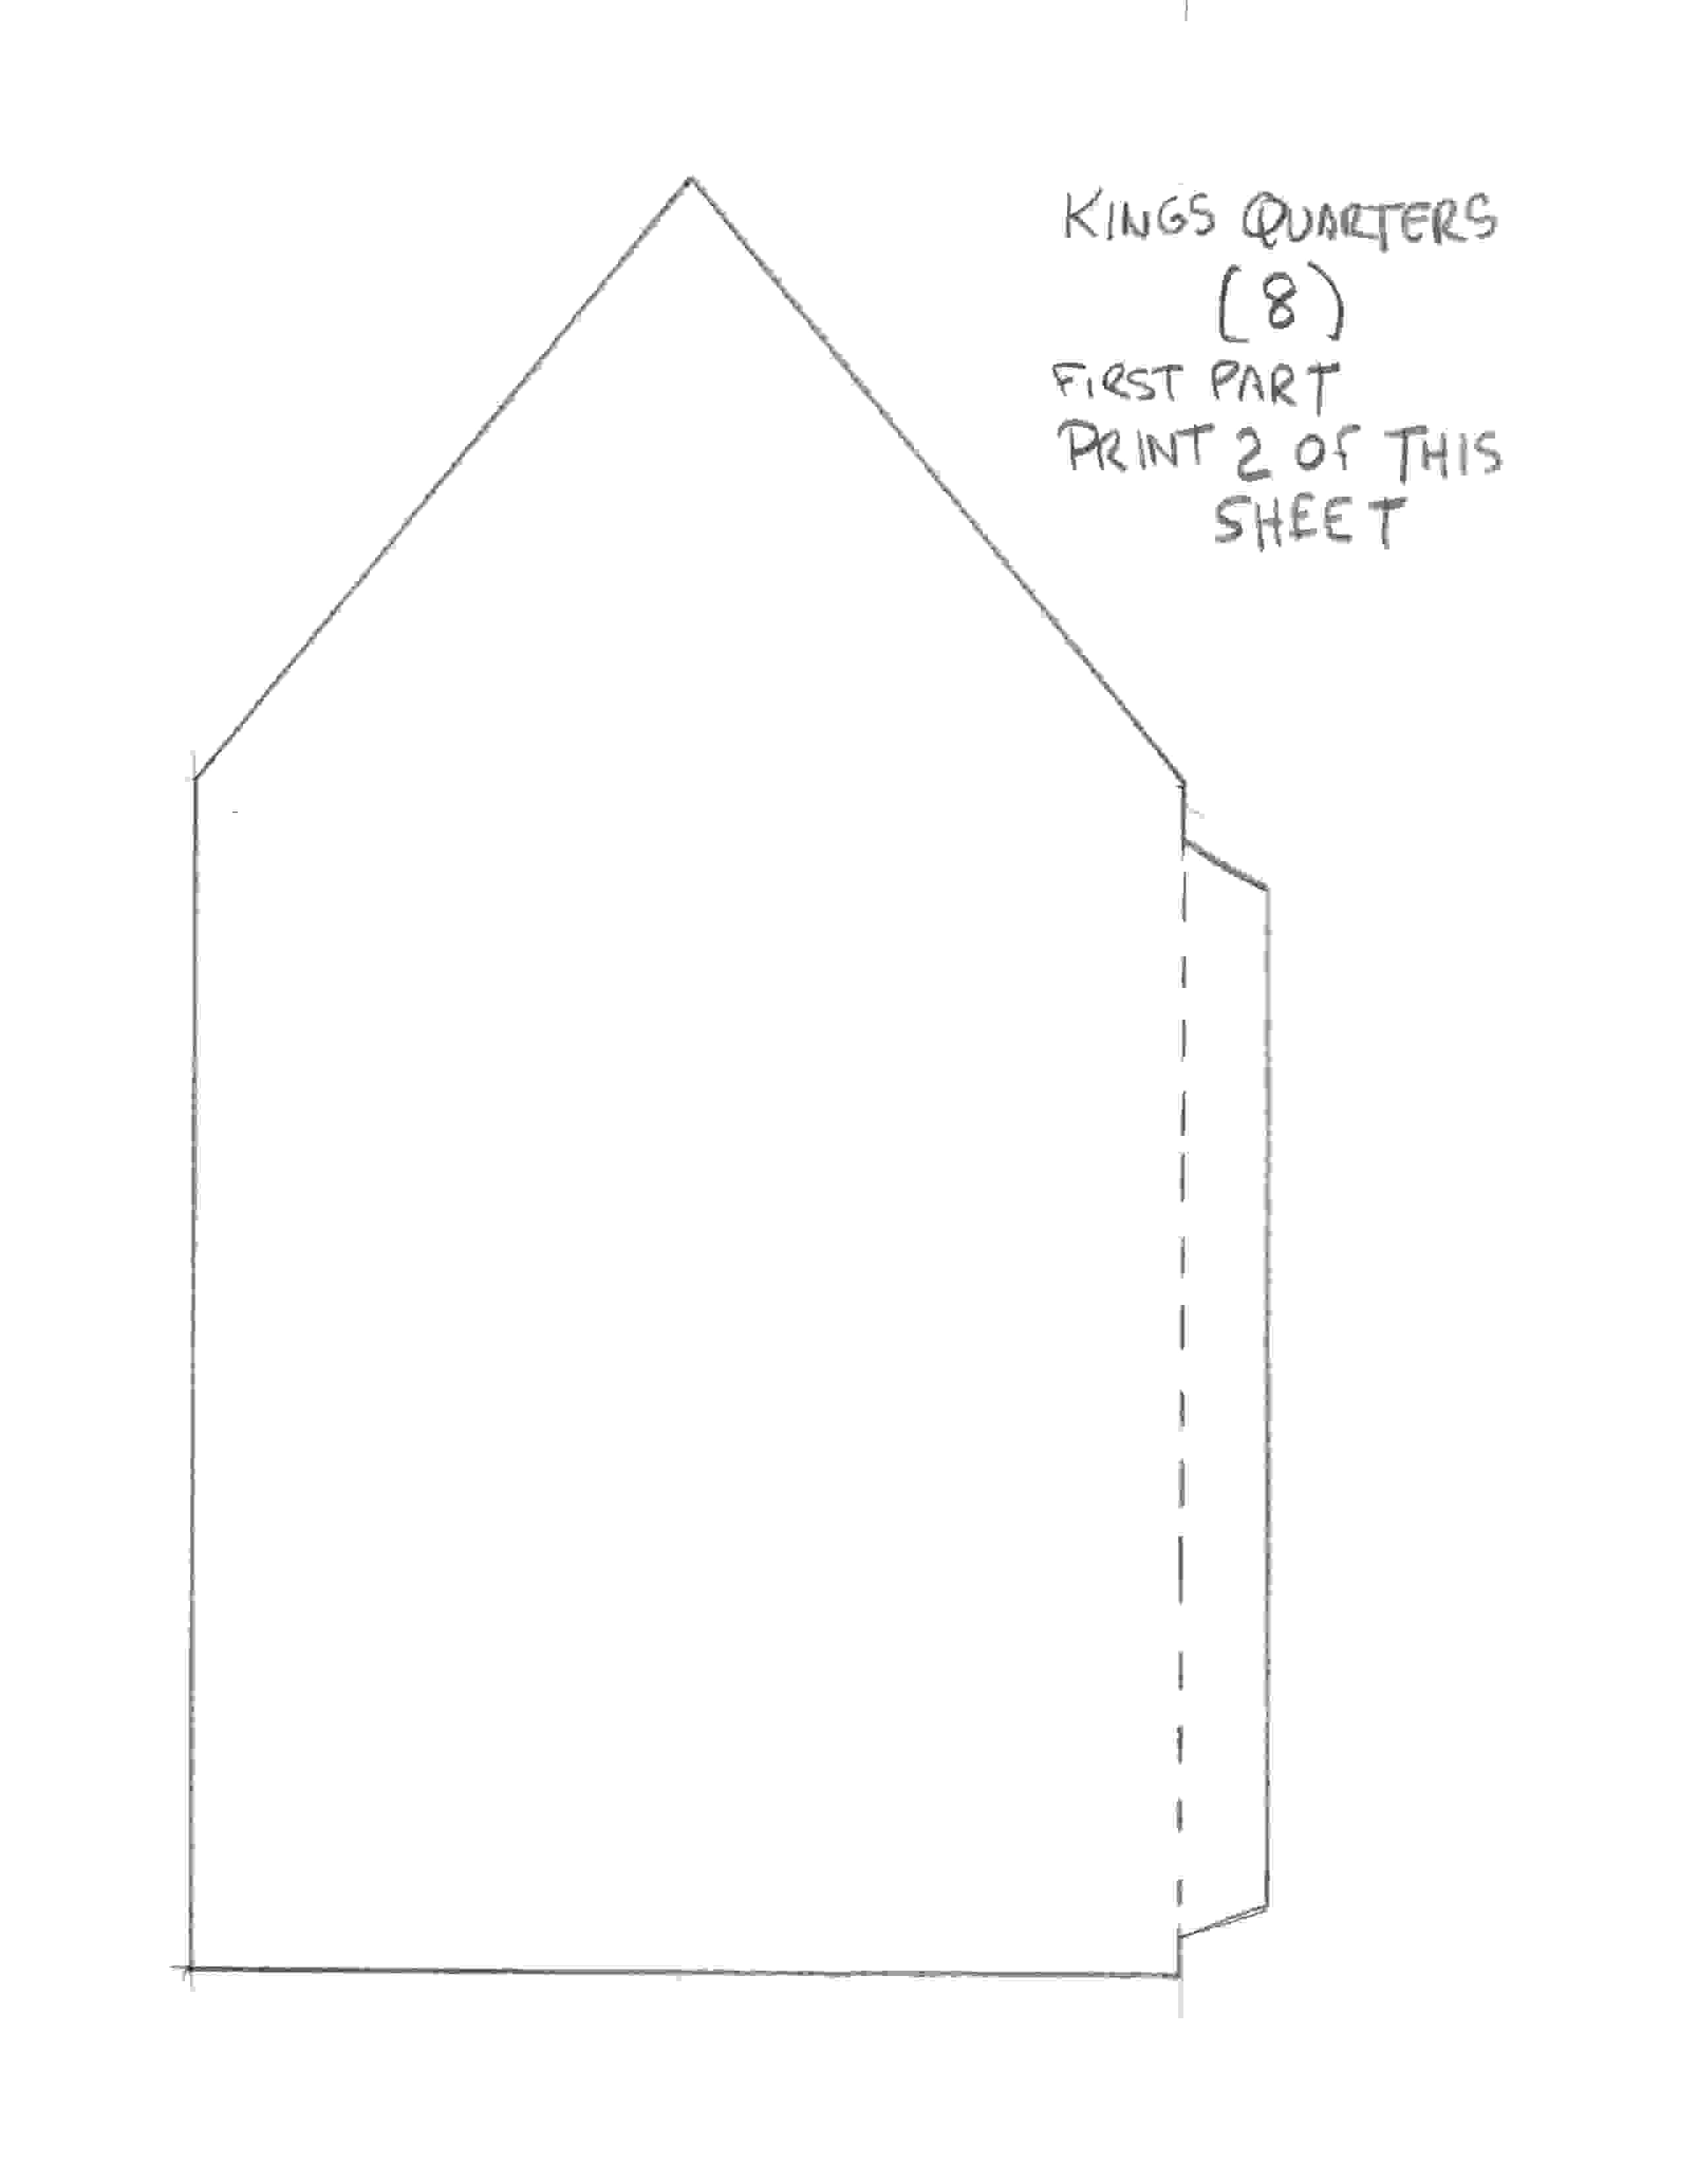
Now lets make Structure 8 (The King's Quarters) This is a pretty big building so I had to break it up quite a bit to fit it onto sheets of printer paper.
Print up two of each of these:
Kings Quarters 1
Kings Quarters 2
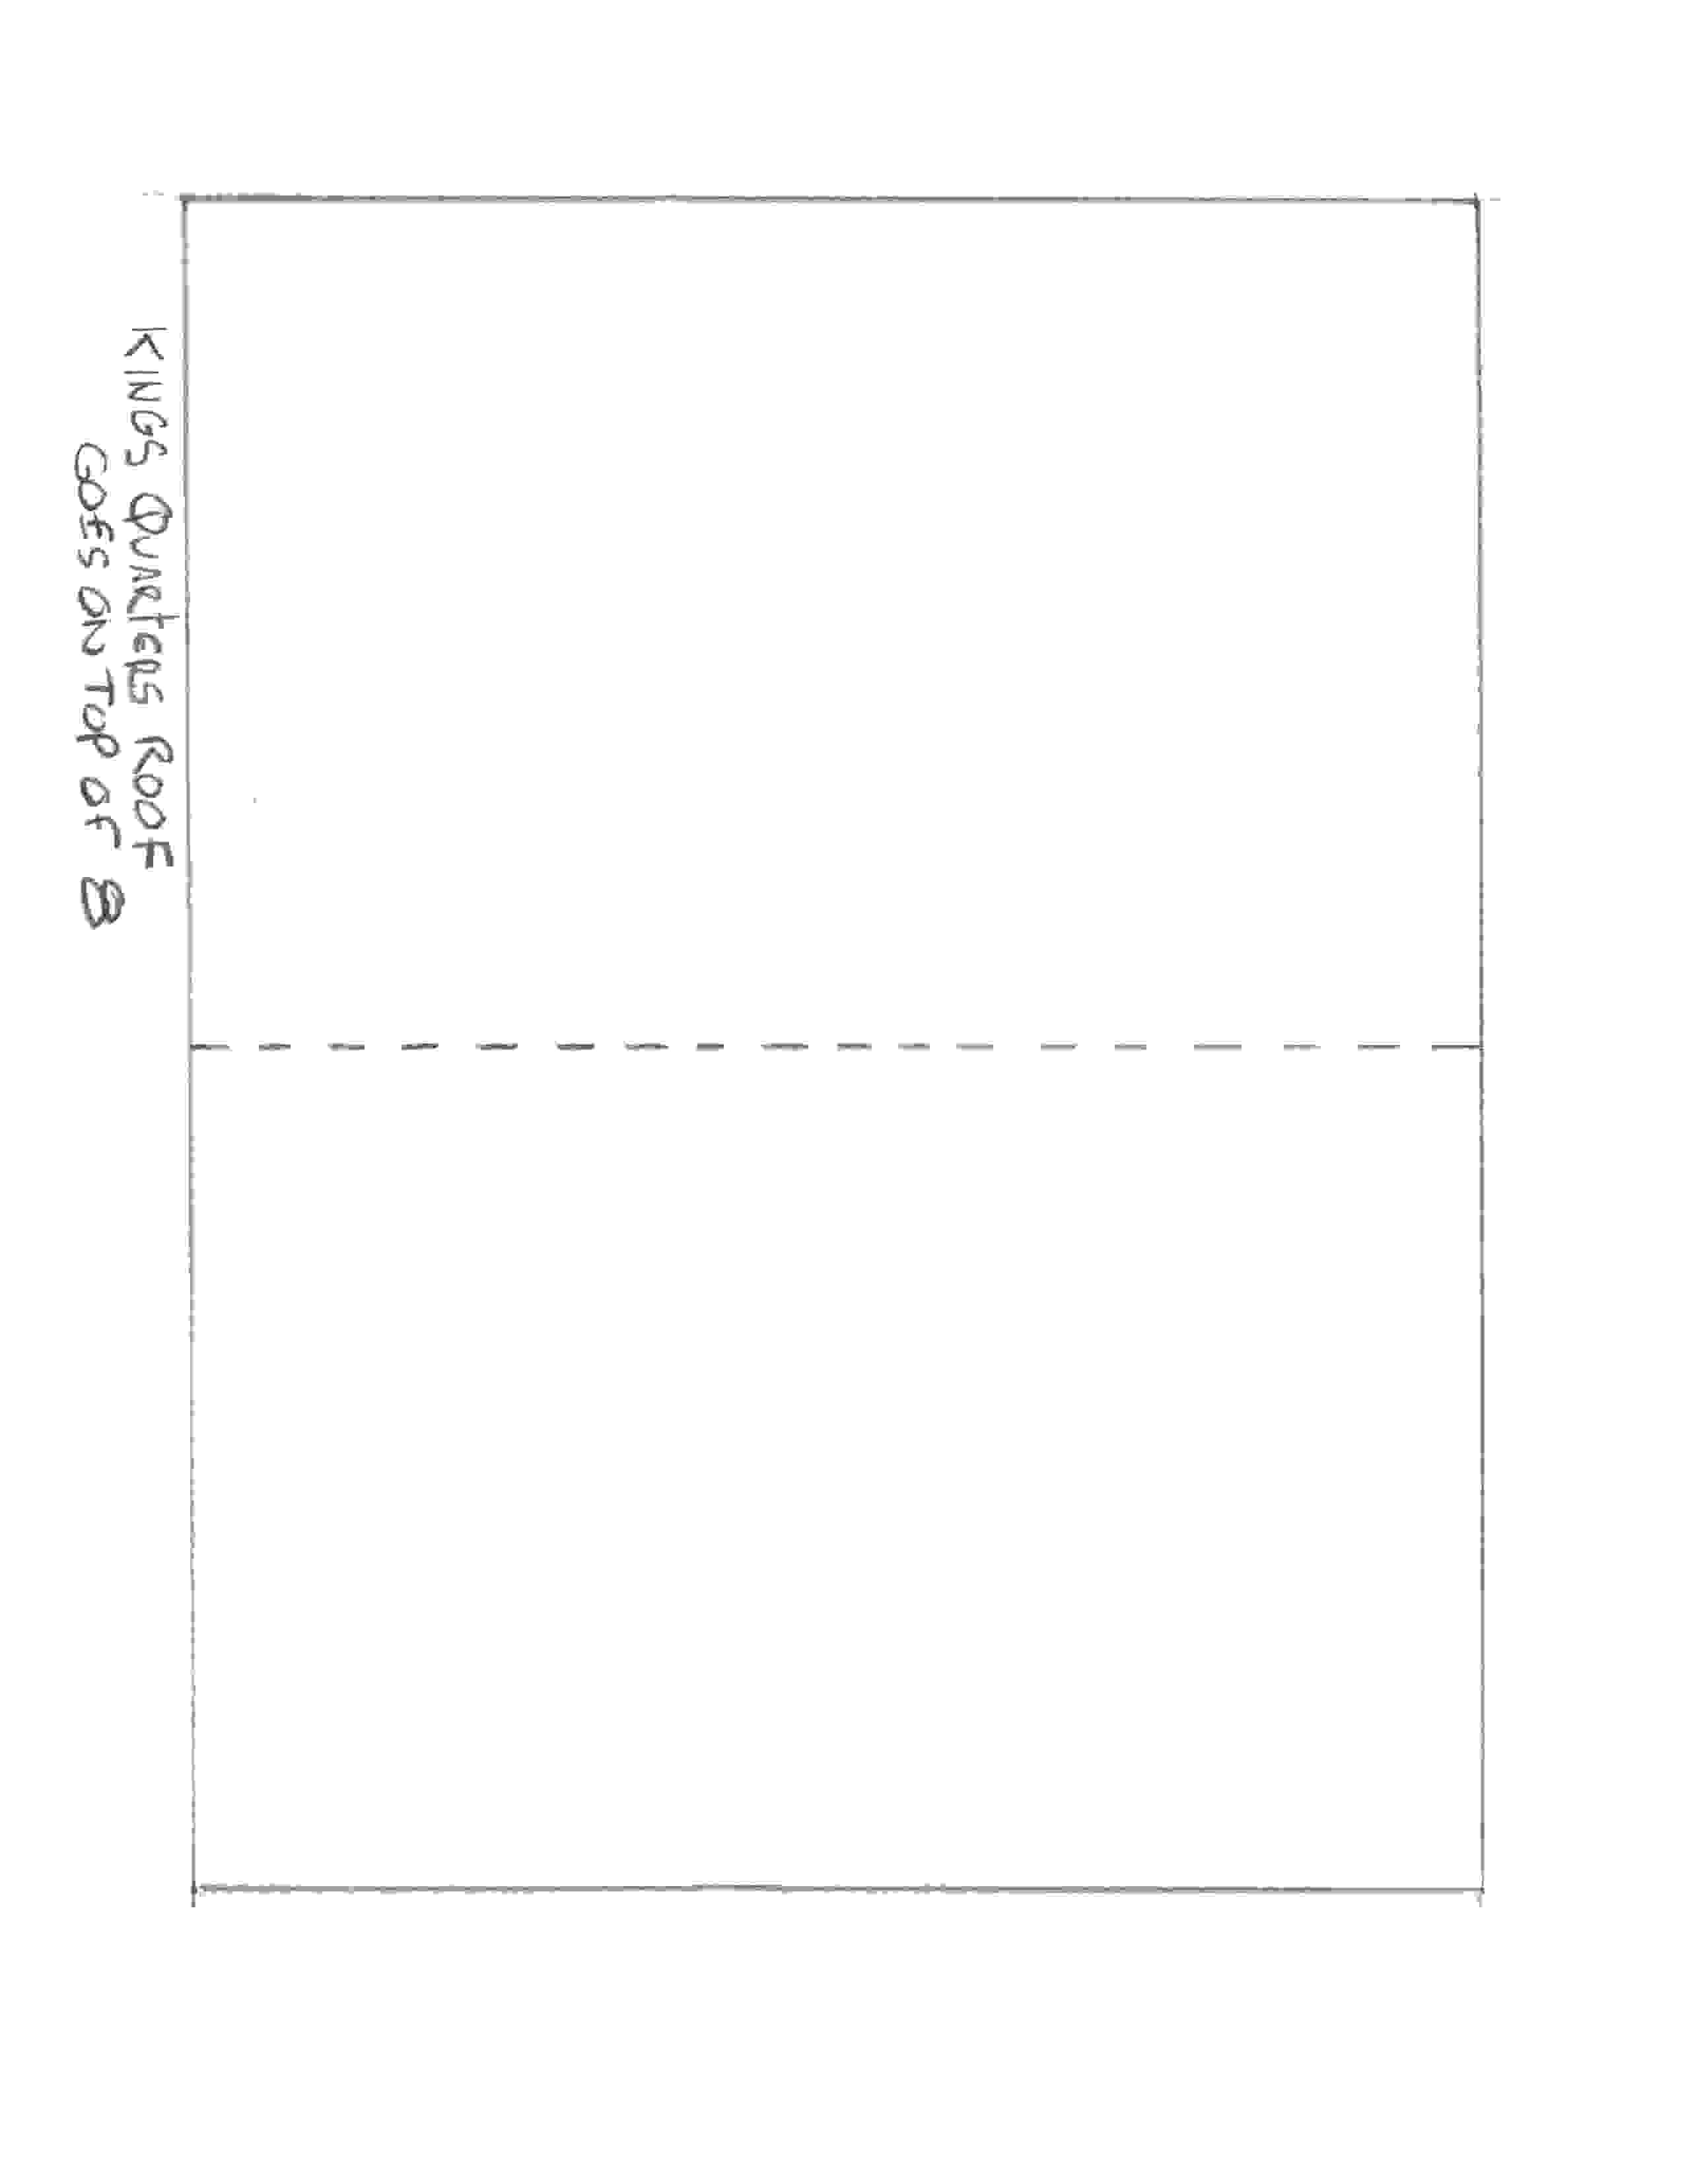
Now print up only one copy of the roof and attach it.
Kings Quarters Roof
The picture at left shows how the building should look when you are done. Affix it to your Castle Floor plan in position 8.
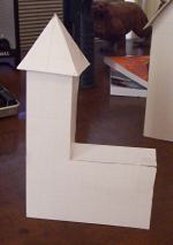
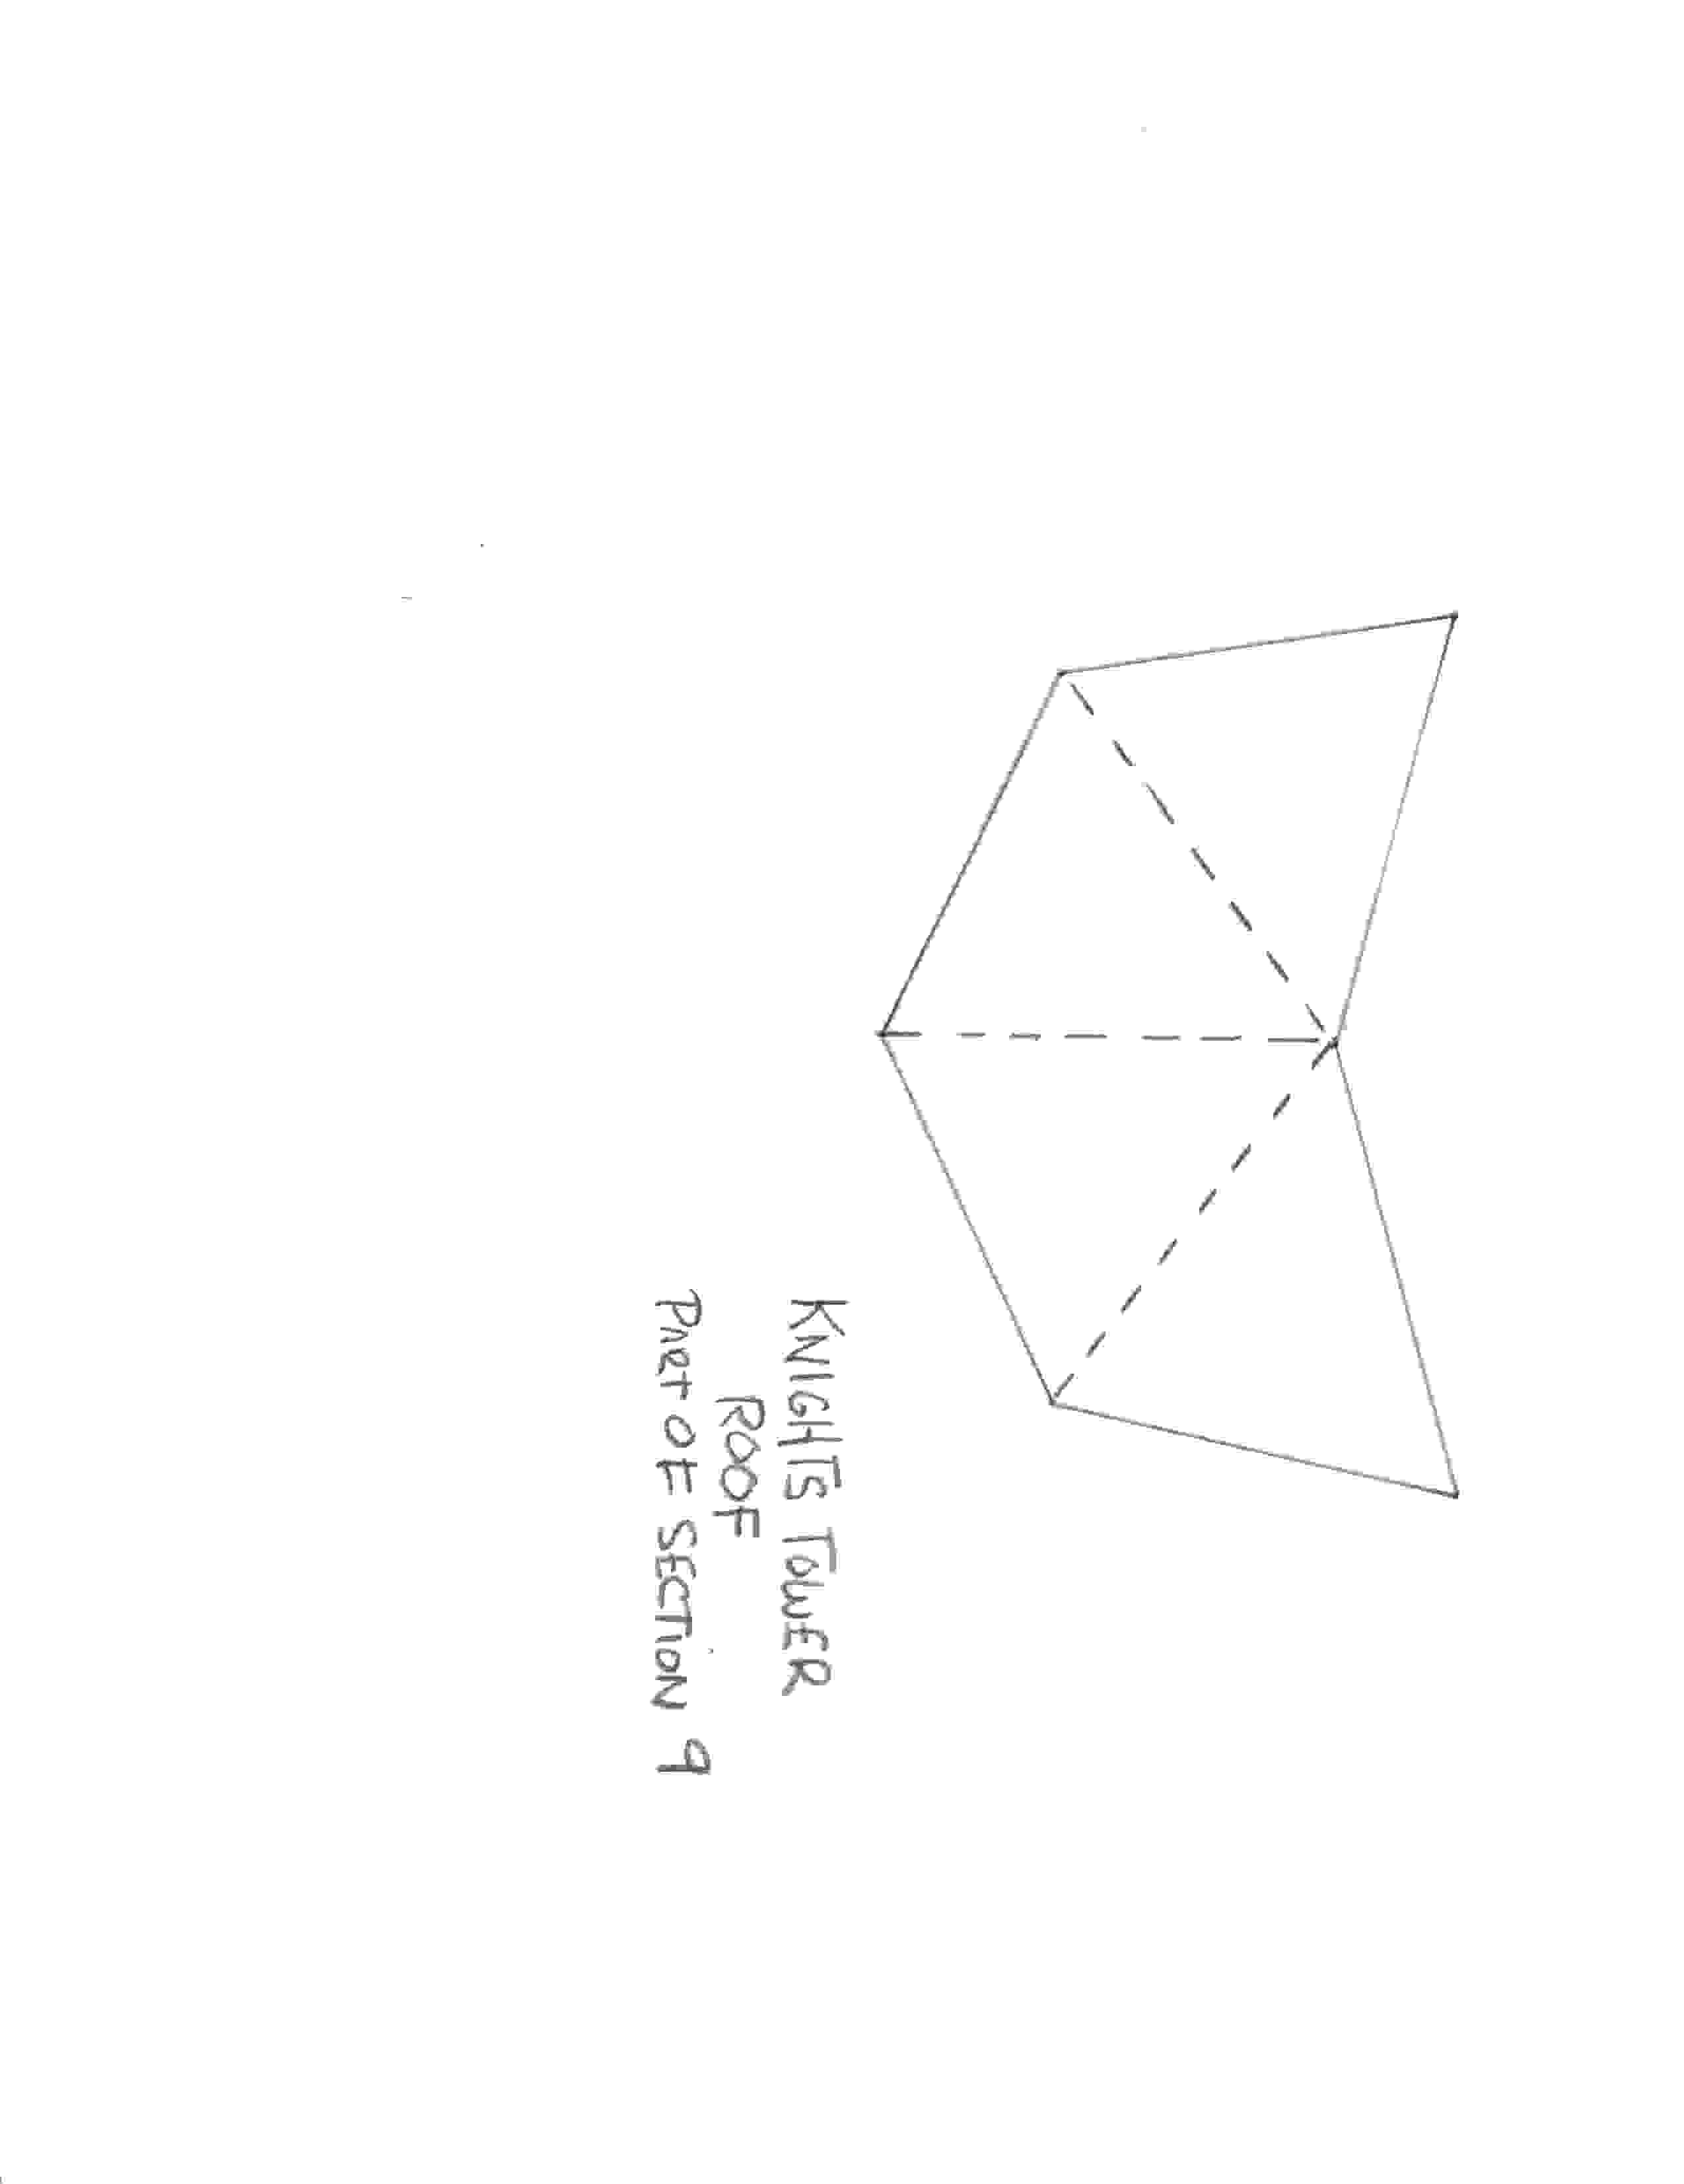
Now Lets Assemble the Knights Tower (This will go in position 9 on your Castle Floor Plan)
Print out one of each of these:
The Knights Tower
The Knights Tower Roof
Assemble them and place them on your floor plan as shown in the pictures below. The first picture shows the assembled tower and the second picture shows how it stands right up against the Knights Quarters. And notice how it fits nicely into the slot in the Knights Quarters Roof.

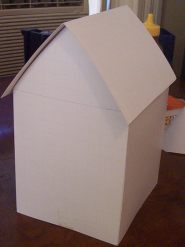
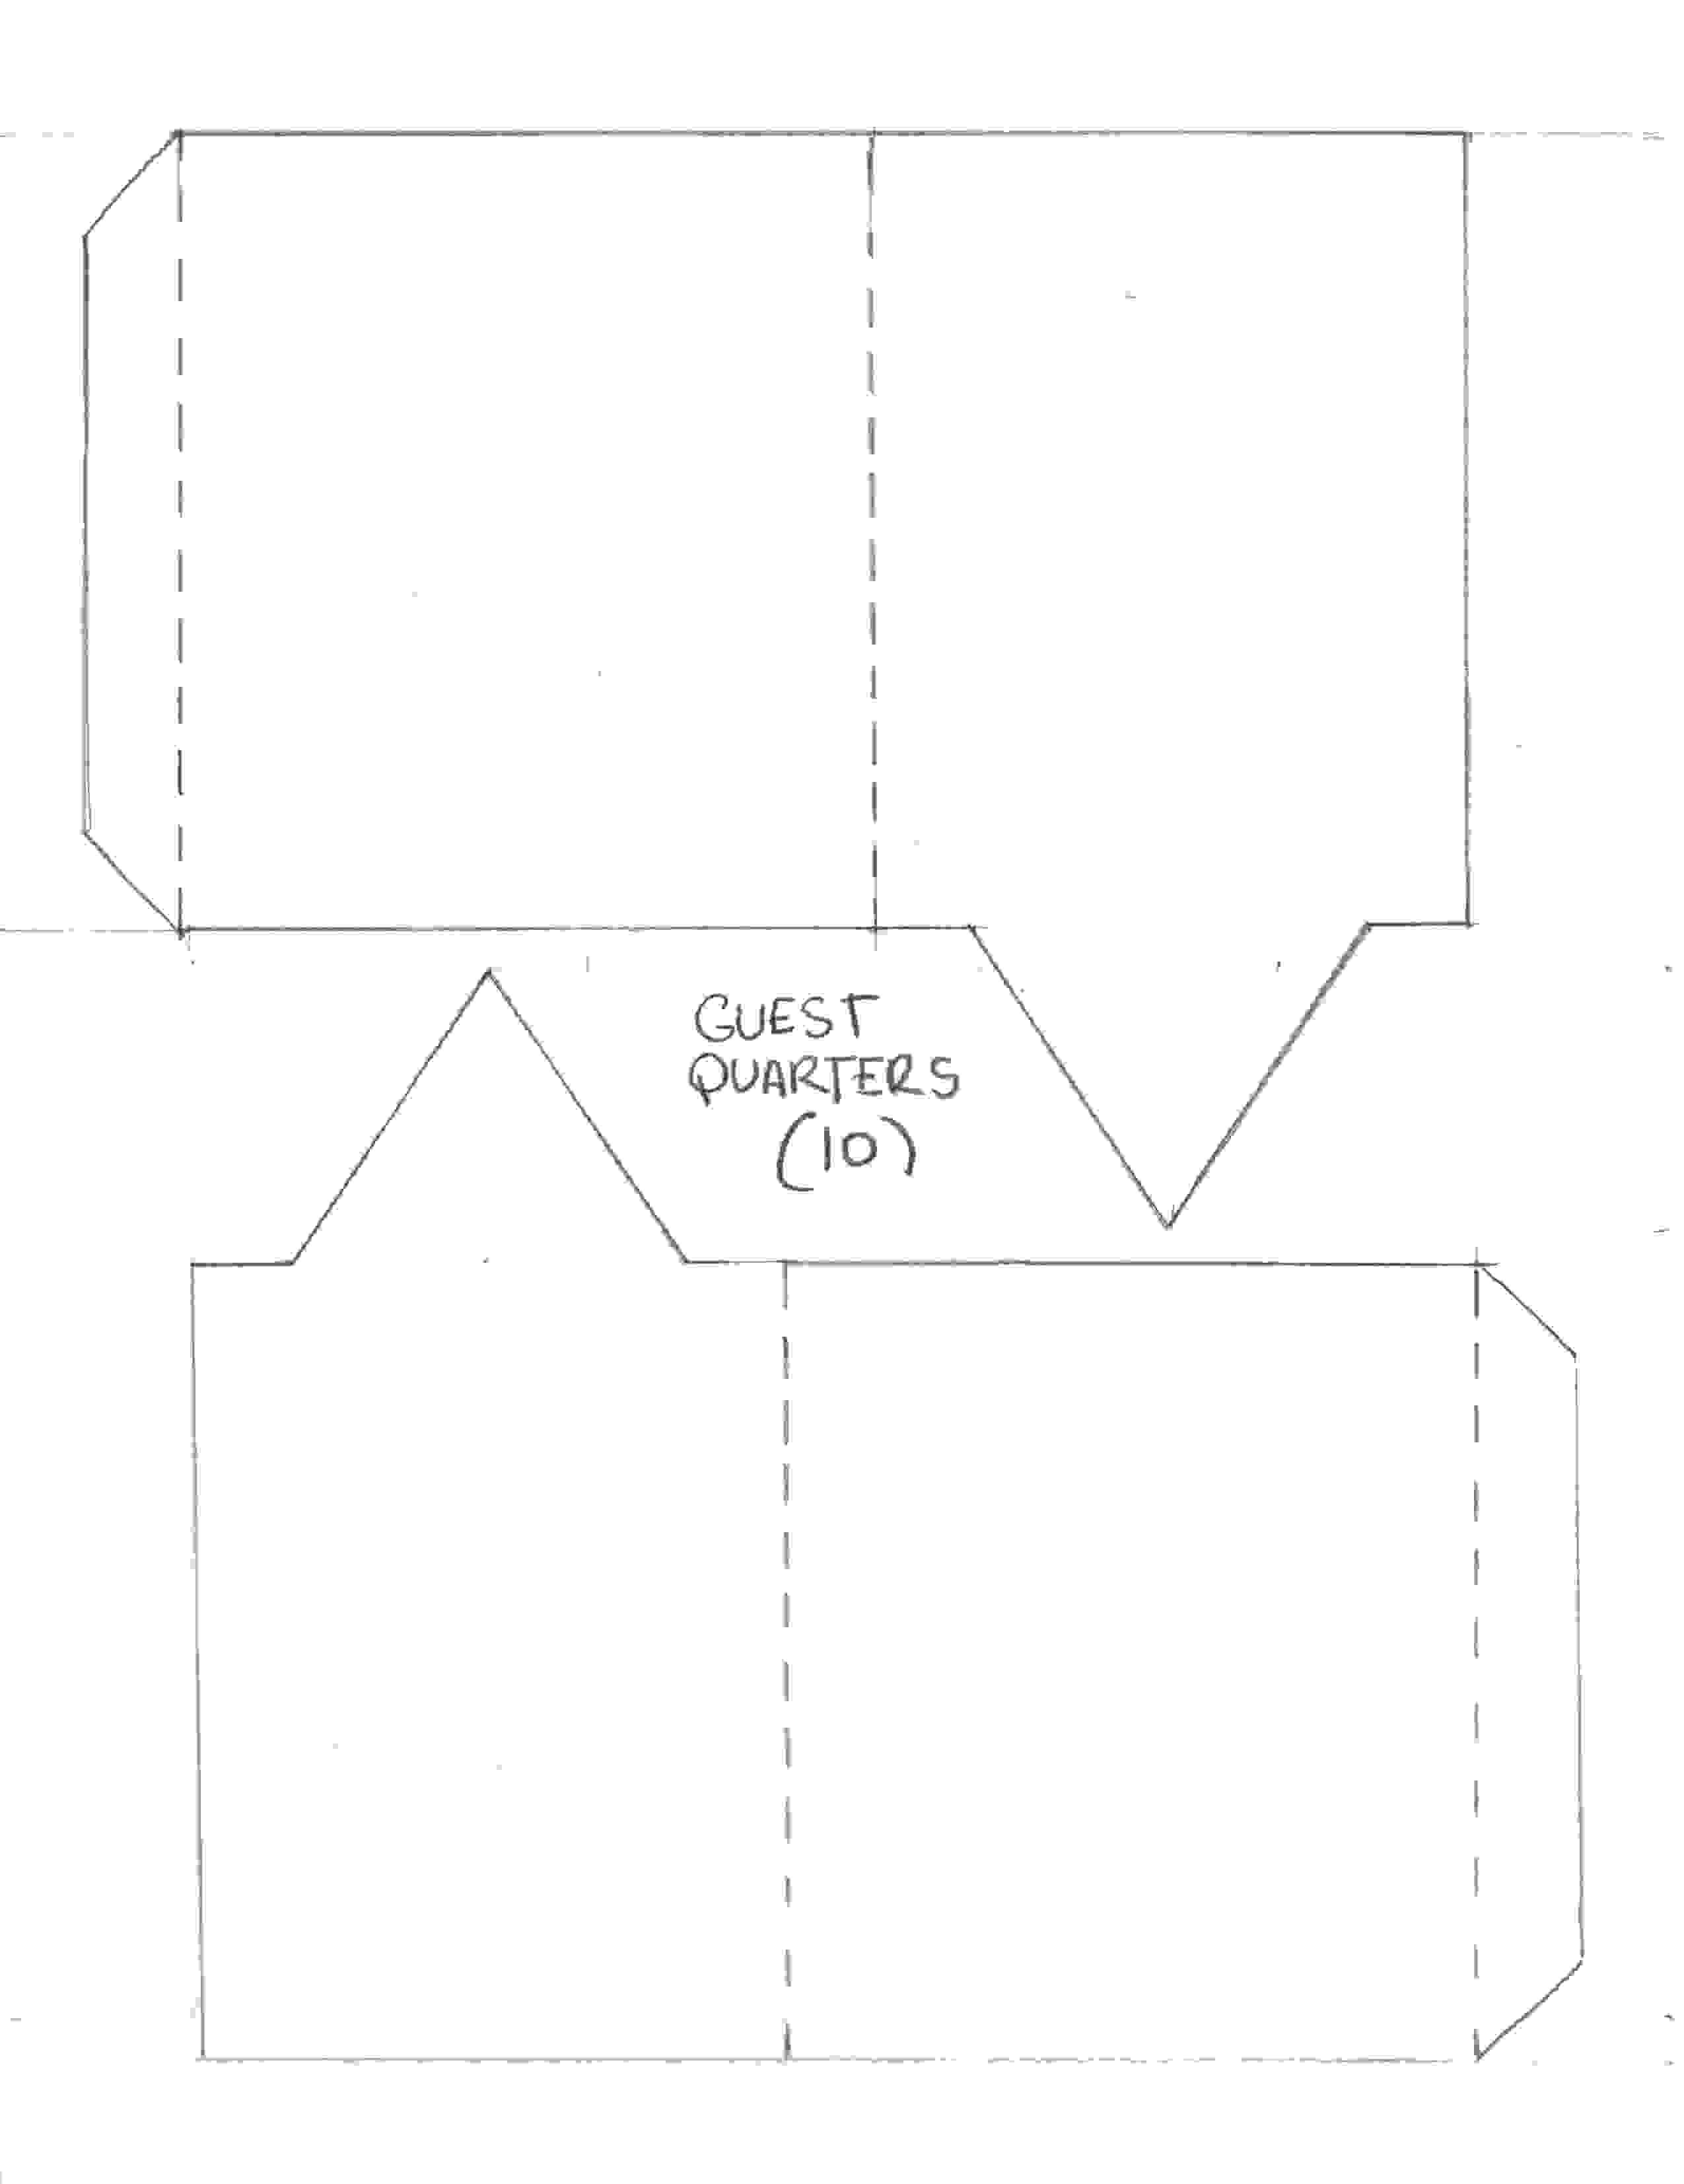
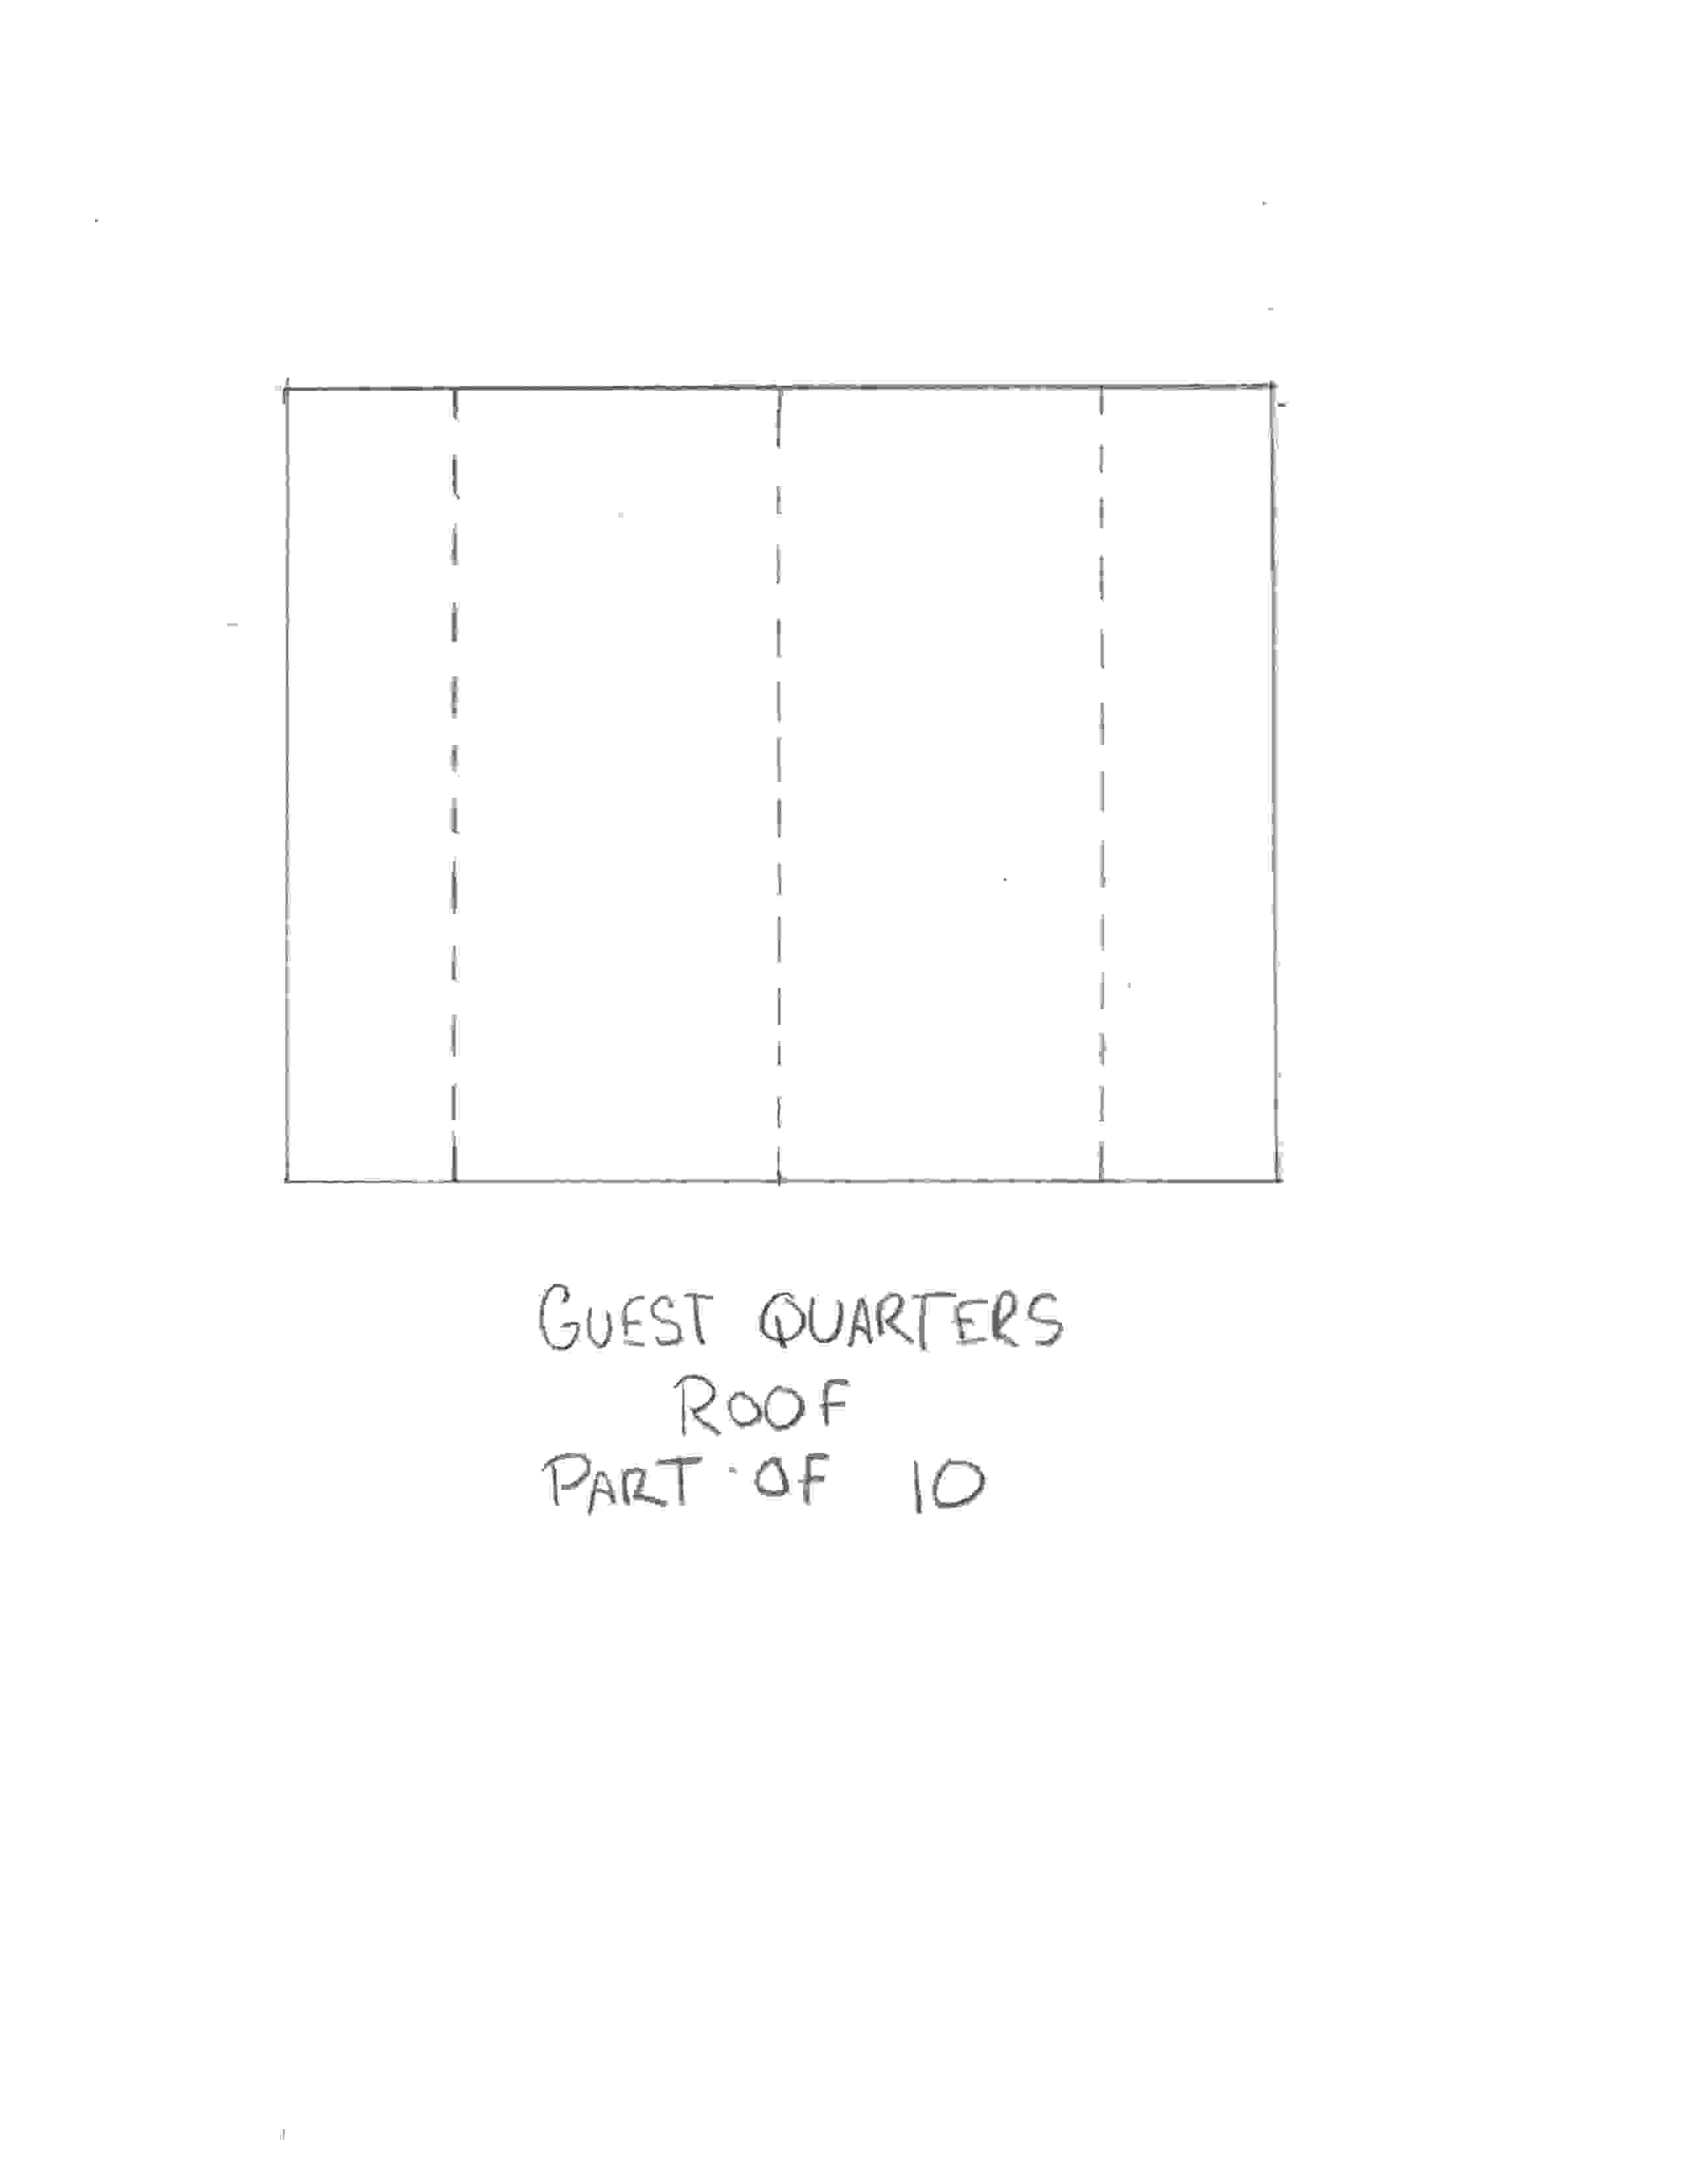
Now let's make the Guest Quarters (10):
Print out one copy of each of these:
Guest Quarters
Guest Quarters Roof
Print them out, affix them to your board or cardboard and build the guest quarters. It should look like the picture below. When you are done gently tape it to your Castle footprint at position 10,
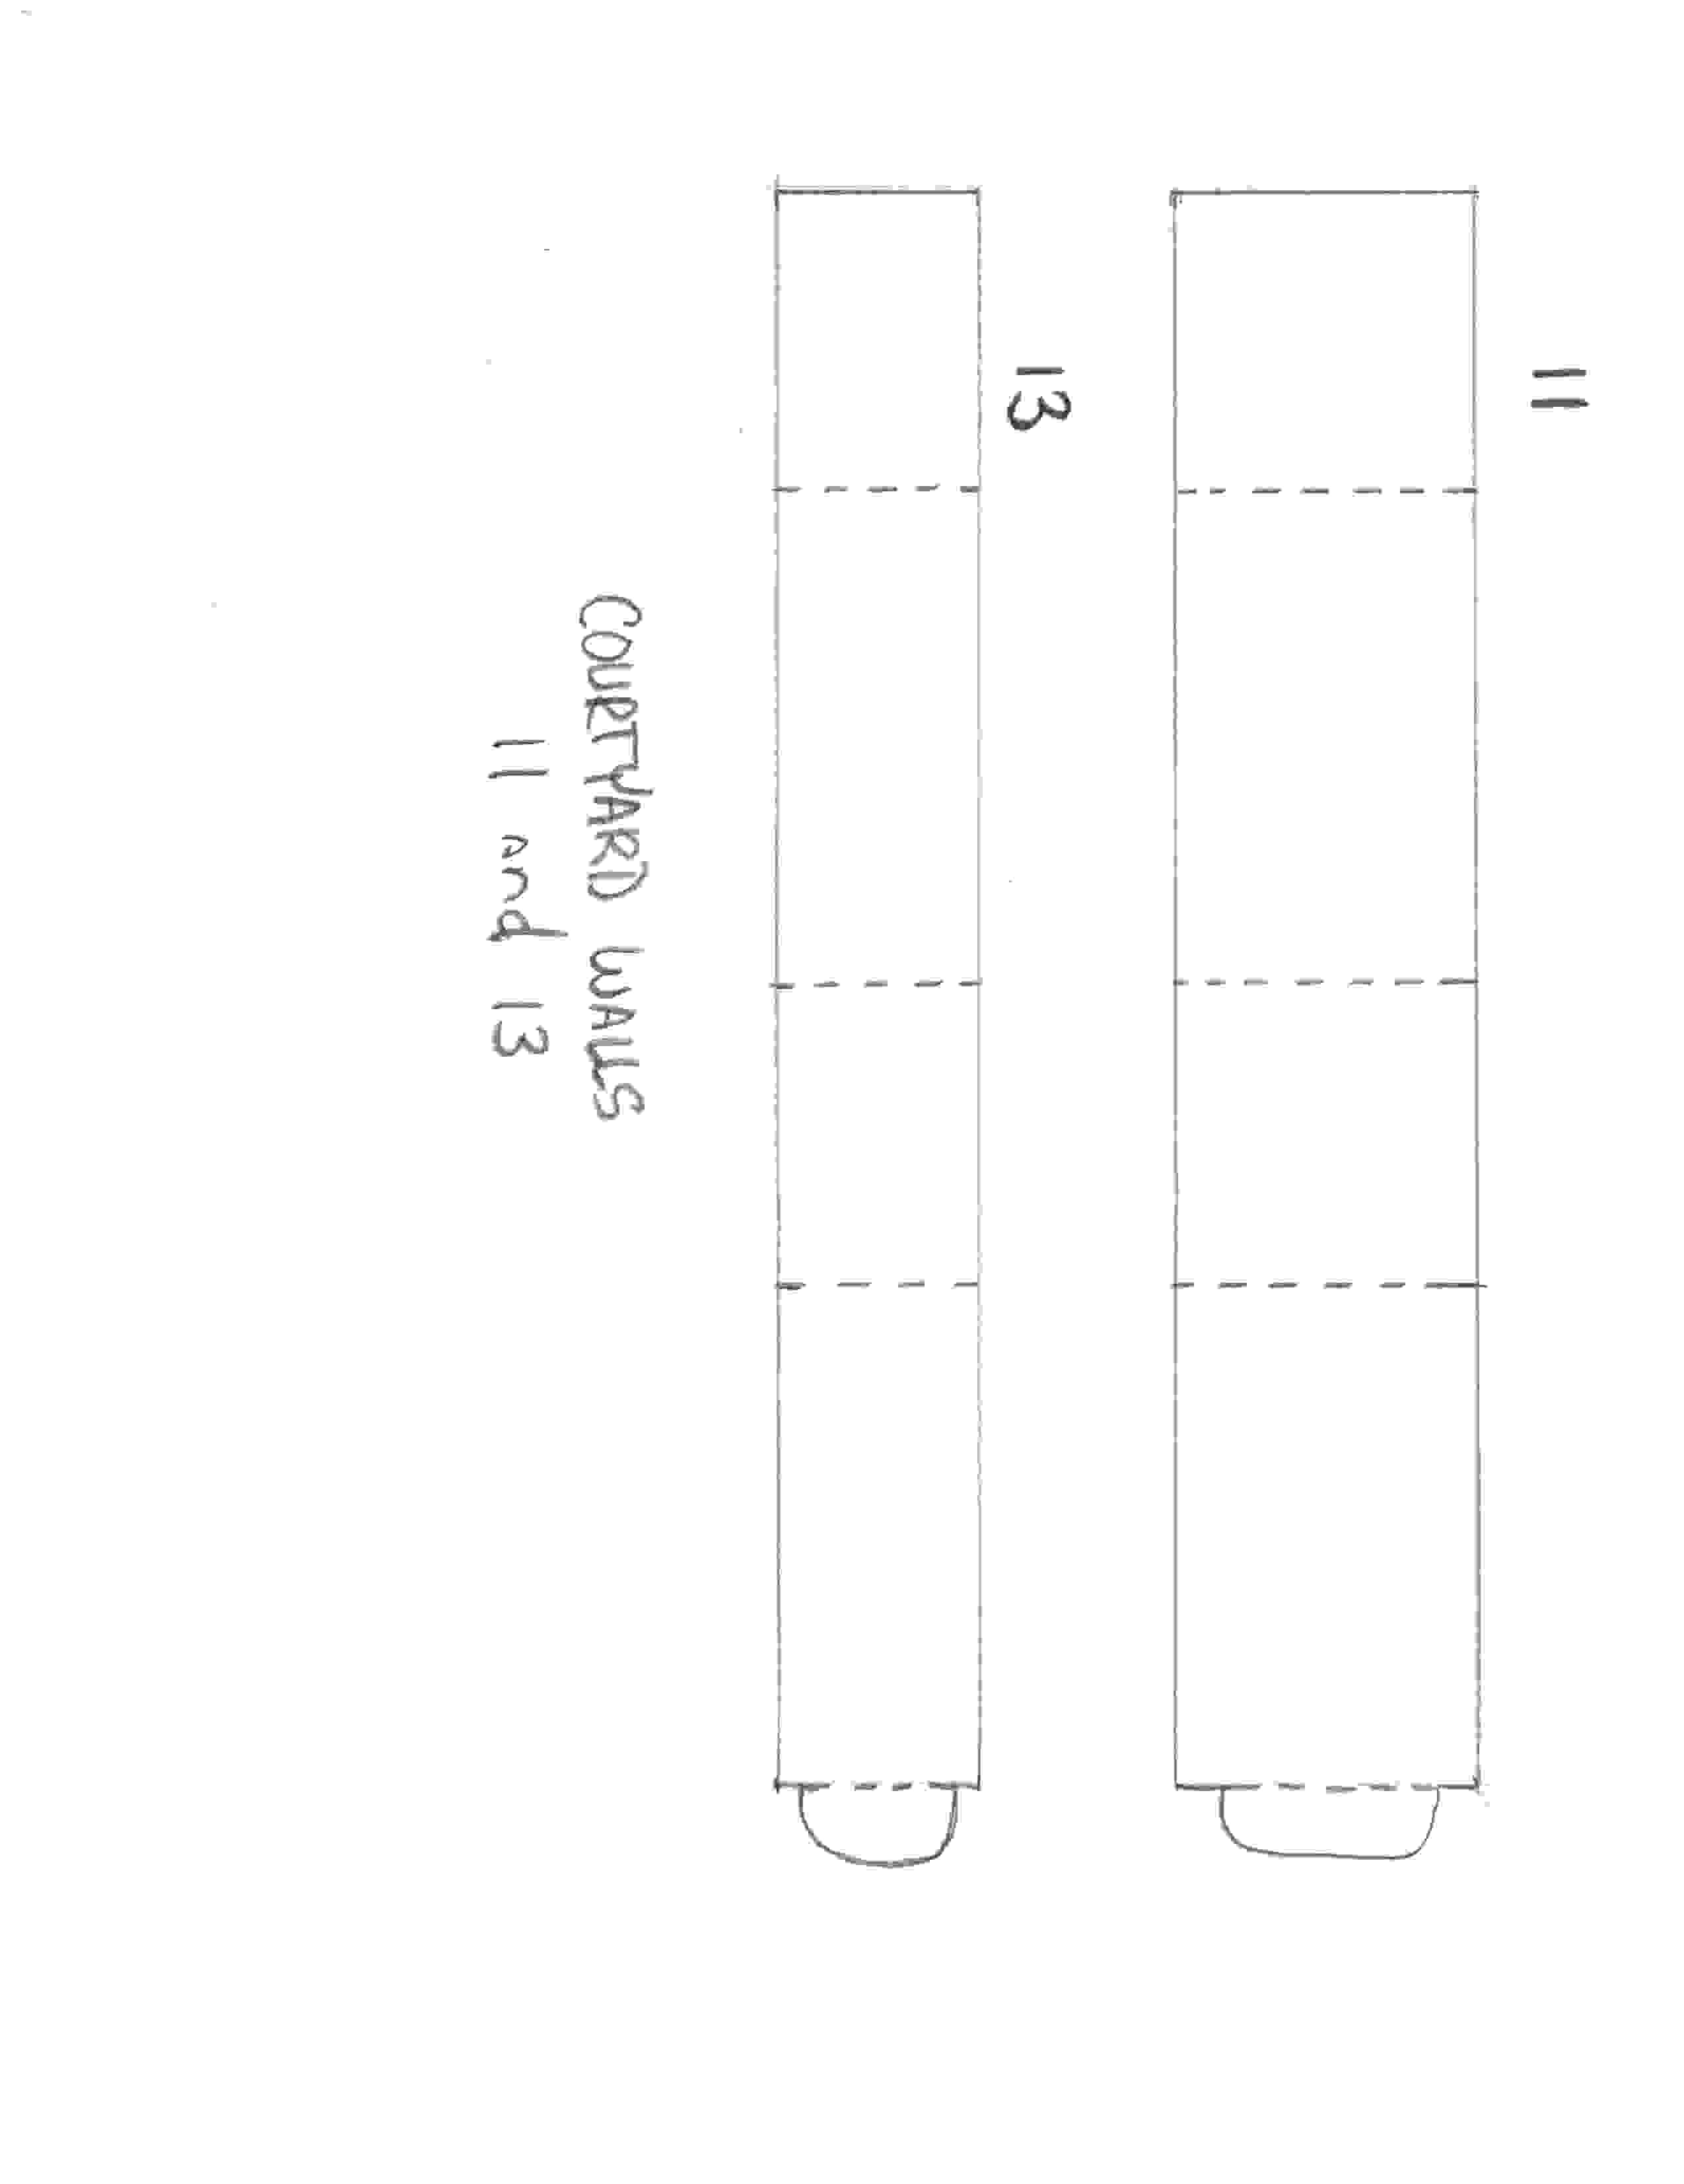
Now let's do the Courtyard Walls 11 and 13.
These are on the same sheet of paper so just print up one copy. Cut them out, affix them to your cardboard then assemble them and affix them lightly to your castle footprint. The Guard Tower (12) will go between them so you may need to move them a bit once the Guard Tower is in place.
Print out Courtyard Walls 11 and 13
Here is what they look like: ( 11 is on the left and 13 on the right)
 We are getting close to finishing this castle. Hang in there. Next we do the guard tower then a couple more towers and we are done! Continue with this paper castle
Box Creations Corrugated Castle - Markers Included
- includes 4 markers for decorating
- double lock tabs for extra stability and strength
- folds down for easy storage
- no sharp edges
- strong 32ECT board for extra durability
Easy Playhouse Castle
What kid doesn't dream of being a king or a queen, a price or a princess or even a gallant knight? This is the most versatile,castle in the market as well as good old time fun. It is the only reversible castle that serves as an arts and craft activity and provides a safe play environment for your children. Easy Playhouse's reversible design offers twice the creativity and twice the fun. Watch the kids use their little hands and big imaginations to create a place of their very own. Our Castle has only two pieces that can be assembled in 5 minutes or less. Made in the USA.
