Make a paper and Cardboard Castle: Neuschwanstein
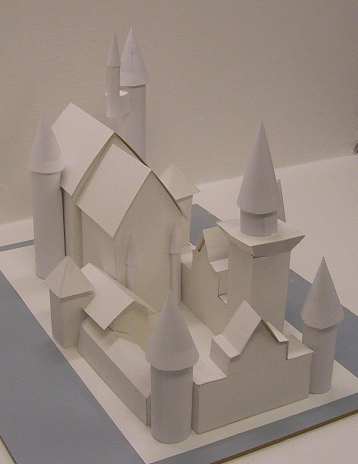
Here are a couple of different views of this paper castle project:
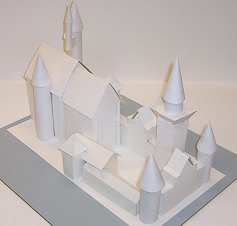
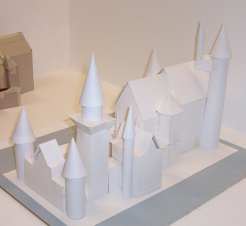
This is a complete tutorial on how to make this copy of Neuschwanstein castle with paper and cardboard. You can use posterboard or even cereal boxes to make this castle. I also have a youtube video of this castle if you want to take a look at it.
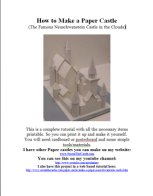
The castle project is complete. You have everything you need right here on the next few web pages including downloading the pictures to print out.I have also completed a word document of this project so you can download and print up the entire thing as a booklet . I recommend you download it and read it. The whole document is 42 pages long and you don't really have to print the whole thing. You can just print pages 17-42 because these are the actual castle parts. The first 16 pages are instructions with pictures.
Download the Booklet Here - I also have this booklet in pdf form
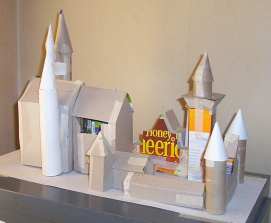
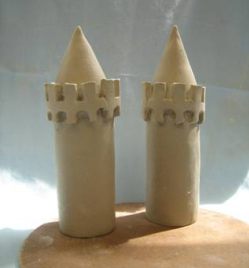
Want to experiment with building your own paper castles and paper/cardboard projects? What I usually do is just grab some empty cereal boxes and start roughing out a shape. This is a good first step because it allows me to work out a lot of the basics without spending too much time. I can easily make changes with a little masking tape, cutting and plenty of cardboard. The picture shown here on the left was the first cardboard prototype of this castle. You can probably tell that I like Honey Nut Cheerios!
Some General Tips before you begin making this castle.
This castle is a bit more challenging than my first castle but it is still pretty easy. What I have done is broken it down into small sections so all you have to do is make each small section one at a time and affix it down to the base. And everything is geared to a sheet of paper that is 8 1/2 by 11 so you can print it up on your printer. The reason why this castle is not that hard yet looks really good is because I have broken it down into building each of the structures one at a time then gluing or taping them down to the base. There are no complex or difficult to understand folds. And it still looks quite beautiful but I can't really take credit for that. That credit goes to the architect who designed the original Neuschwanstein!
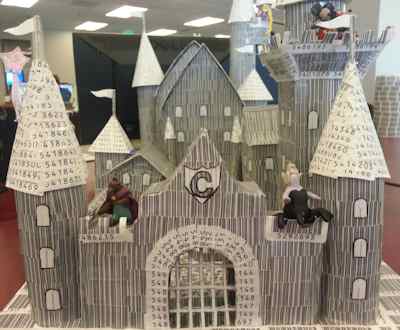
Let's get creative! How about making Neuschwanstein castle and decorating it with bar code labels? Yes, this is exactly what a web visitor did. You have got to check out this project! Really quite wonderful.
The bar coded Neuschwanstein castle
Can you make this Neuschwanstein Castle? You sure can!! Here are pictures submitted by web visitors of castles they made from these plans.
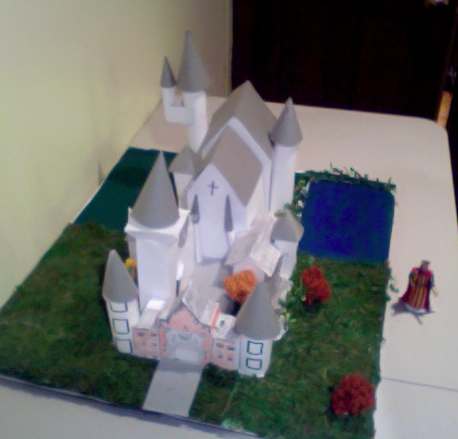
This one was made by Natalia and Paloma for a History project. It came out great and my thanks to them for sending the picture!
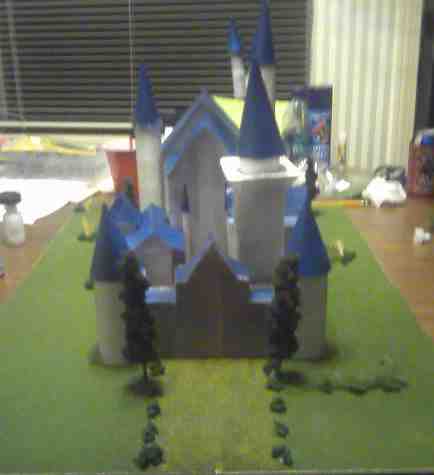
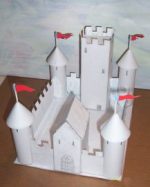
This castle was built by Hunter. My thanks to him for the terrific job and to Vanessa for helping him with the castle and for sending me this picture. I really love the blue color he chose for the turrets and the grass and trees came out terrific!
Want to Make this castle out of clay? A web visitor (Frederick) is in the process of using my paper Neuschwanstein castle plans to make one out of clay. Check out how he does it here. A Clay Neuschwanstein Castle
Here is a wonderful, creative and colorful Neuschwanstein Castle made from my project. This castle was made by the students of 1^ B of Don Minzoni school in Ravenna, with the coordination of Ms De Benedictis. Thanks to Ms. Benedictus and her students for the wonderful castle and the pictures! See More Pictures here
Here is another great example of the Neuschwanstein castle. In this one they used Stone Effect spray paint to make it look real. It was built by David F., his wife Jana, and their daughter Marissa. Thanks for the great pics. You can see more pictures and learn how they added special effects here: Flores Neuschwanstein Paper Castle
About the cardboard or poster board
You can use either poster board (you will need 3 of them but get 4 just in case) or you can use cereal boxes and depending on the size of the box you should be good with 6 of them.
About fixatives and glue
This project is designed for you to print out a sheet, affix it to your cardboard then cut it out. This is the best way to do this. And you have several options for affixing to the cardboard. you can use glue stick which works the best. You can also use paste which works great. Or you can use common white glue which works fine but just make sure you use it very sparingly. If it gets globby it will tend to wrinkle your castle. Nothing worse than a wrinkled castle!!
Coloring the Castle - I have left the whole castle blank and it looks really great this way but you may want to color and decorate your castle. I recommend you do this with the plain print outs either before of after you glue them to the cardboard. Once the castle is built it is very hard to decorate with pencil or crayon. But you could do some decorating with water colors after it is built. I have a learning sheet about this castle and pictures so you can make it more authentic by painting or coloring it the way the real castle is.
The Castle Base: It would be better (for strength) if you can glue the base of the castle to a thicker corrugated box type cardboard. If you don't have any then cereal box cardboard will be fine.
Extras: Here are some suggestions for making your cardboard and paper castle better.
- Add a blue construction paper moat around it
- Make another building and add it into the model.
- Add small toy figures
- Paint a small garden on the inside of the castle
- Paint the courtyard a dirt or sand color
- I have a teeny tiny catapult project that you can build and storm this castle with!
Okay! Let's Start Building This Paper Castle
Materials you need to make this paper castle
- 3 paper towel tubes
- 2 bathroom tissue tubes
- 3 sheets of poster board or 6 cereal boxes
- white glue, glue stick, or paste
- Cellophane or masking tape
- Scissors
- Ruler
- A Pencil
- Colored pencils, crayons or water colors (optional to decorate your castle)
***I recommend that as you build each building unit you affix it lightly to the base with just a piece of tape or two for now. And continue doing this. Once you have all the pieces completed then you can look at it and tweak it around a bit before you glue or tape it down permanently. This will also help with the small differences between your castle and mine and with variations in printers and how the pages are printed.
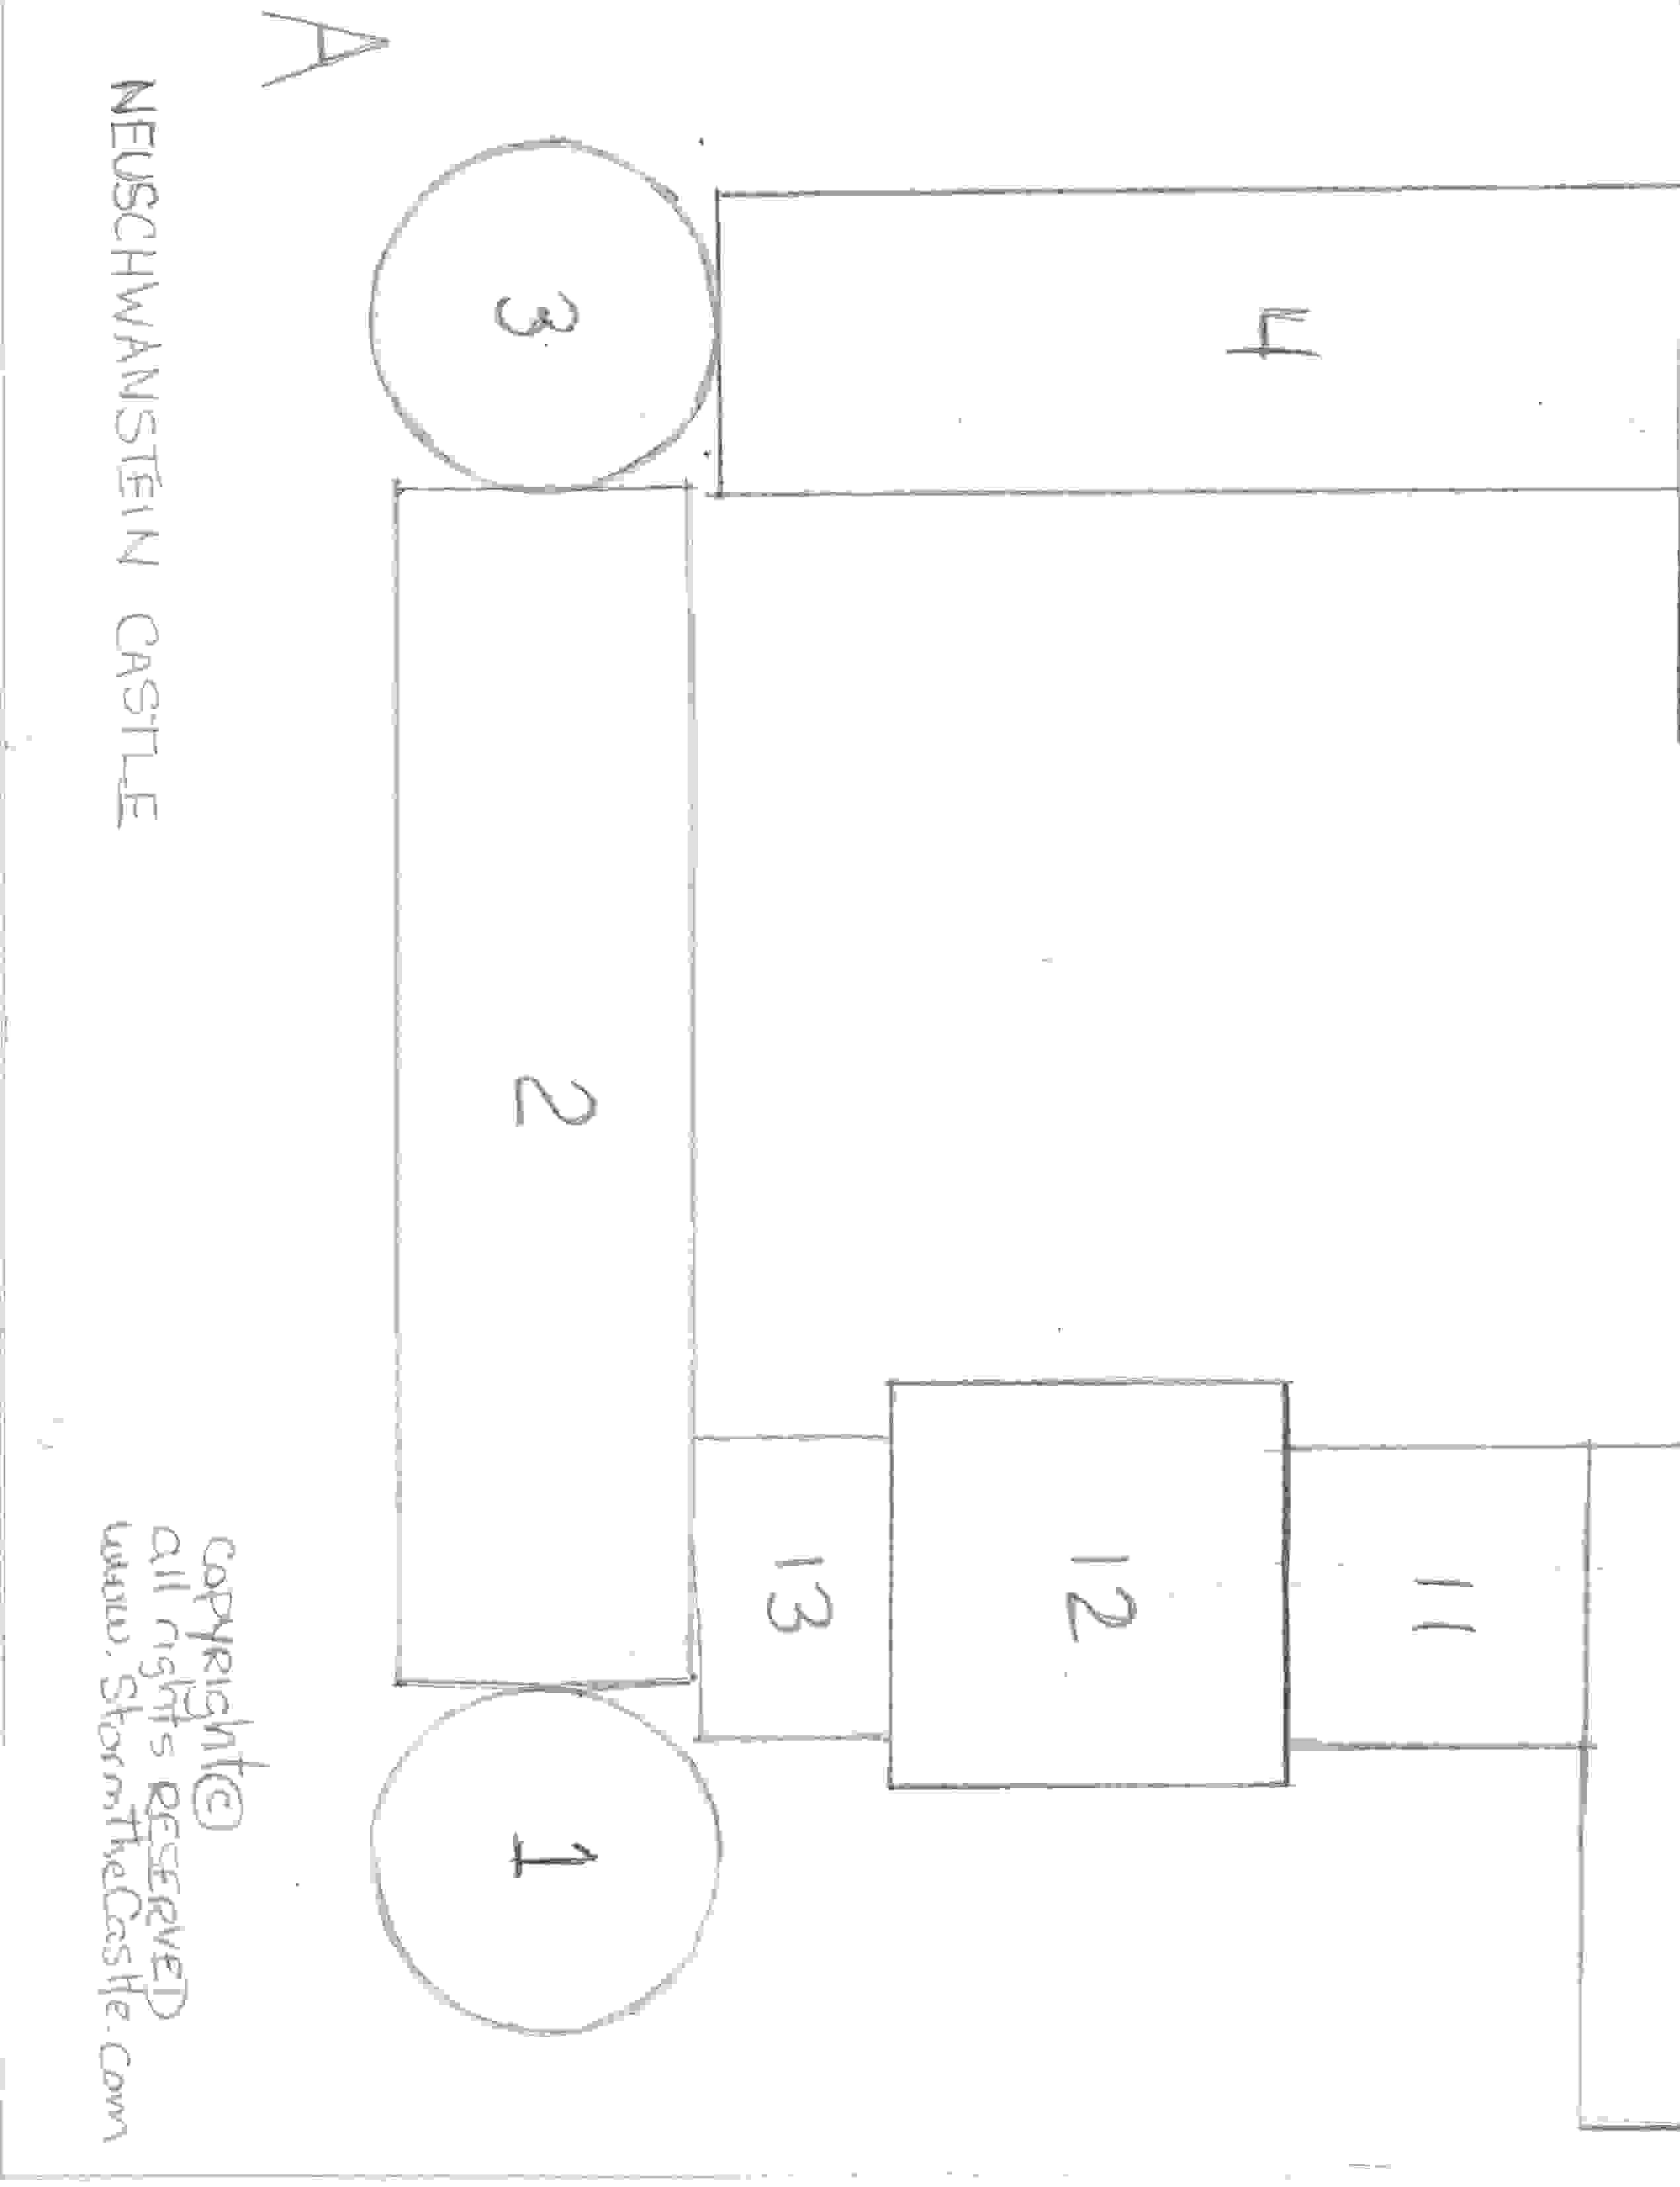
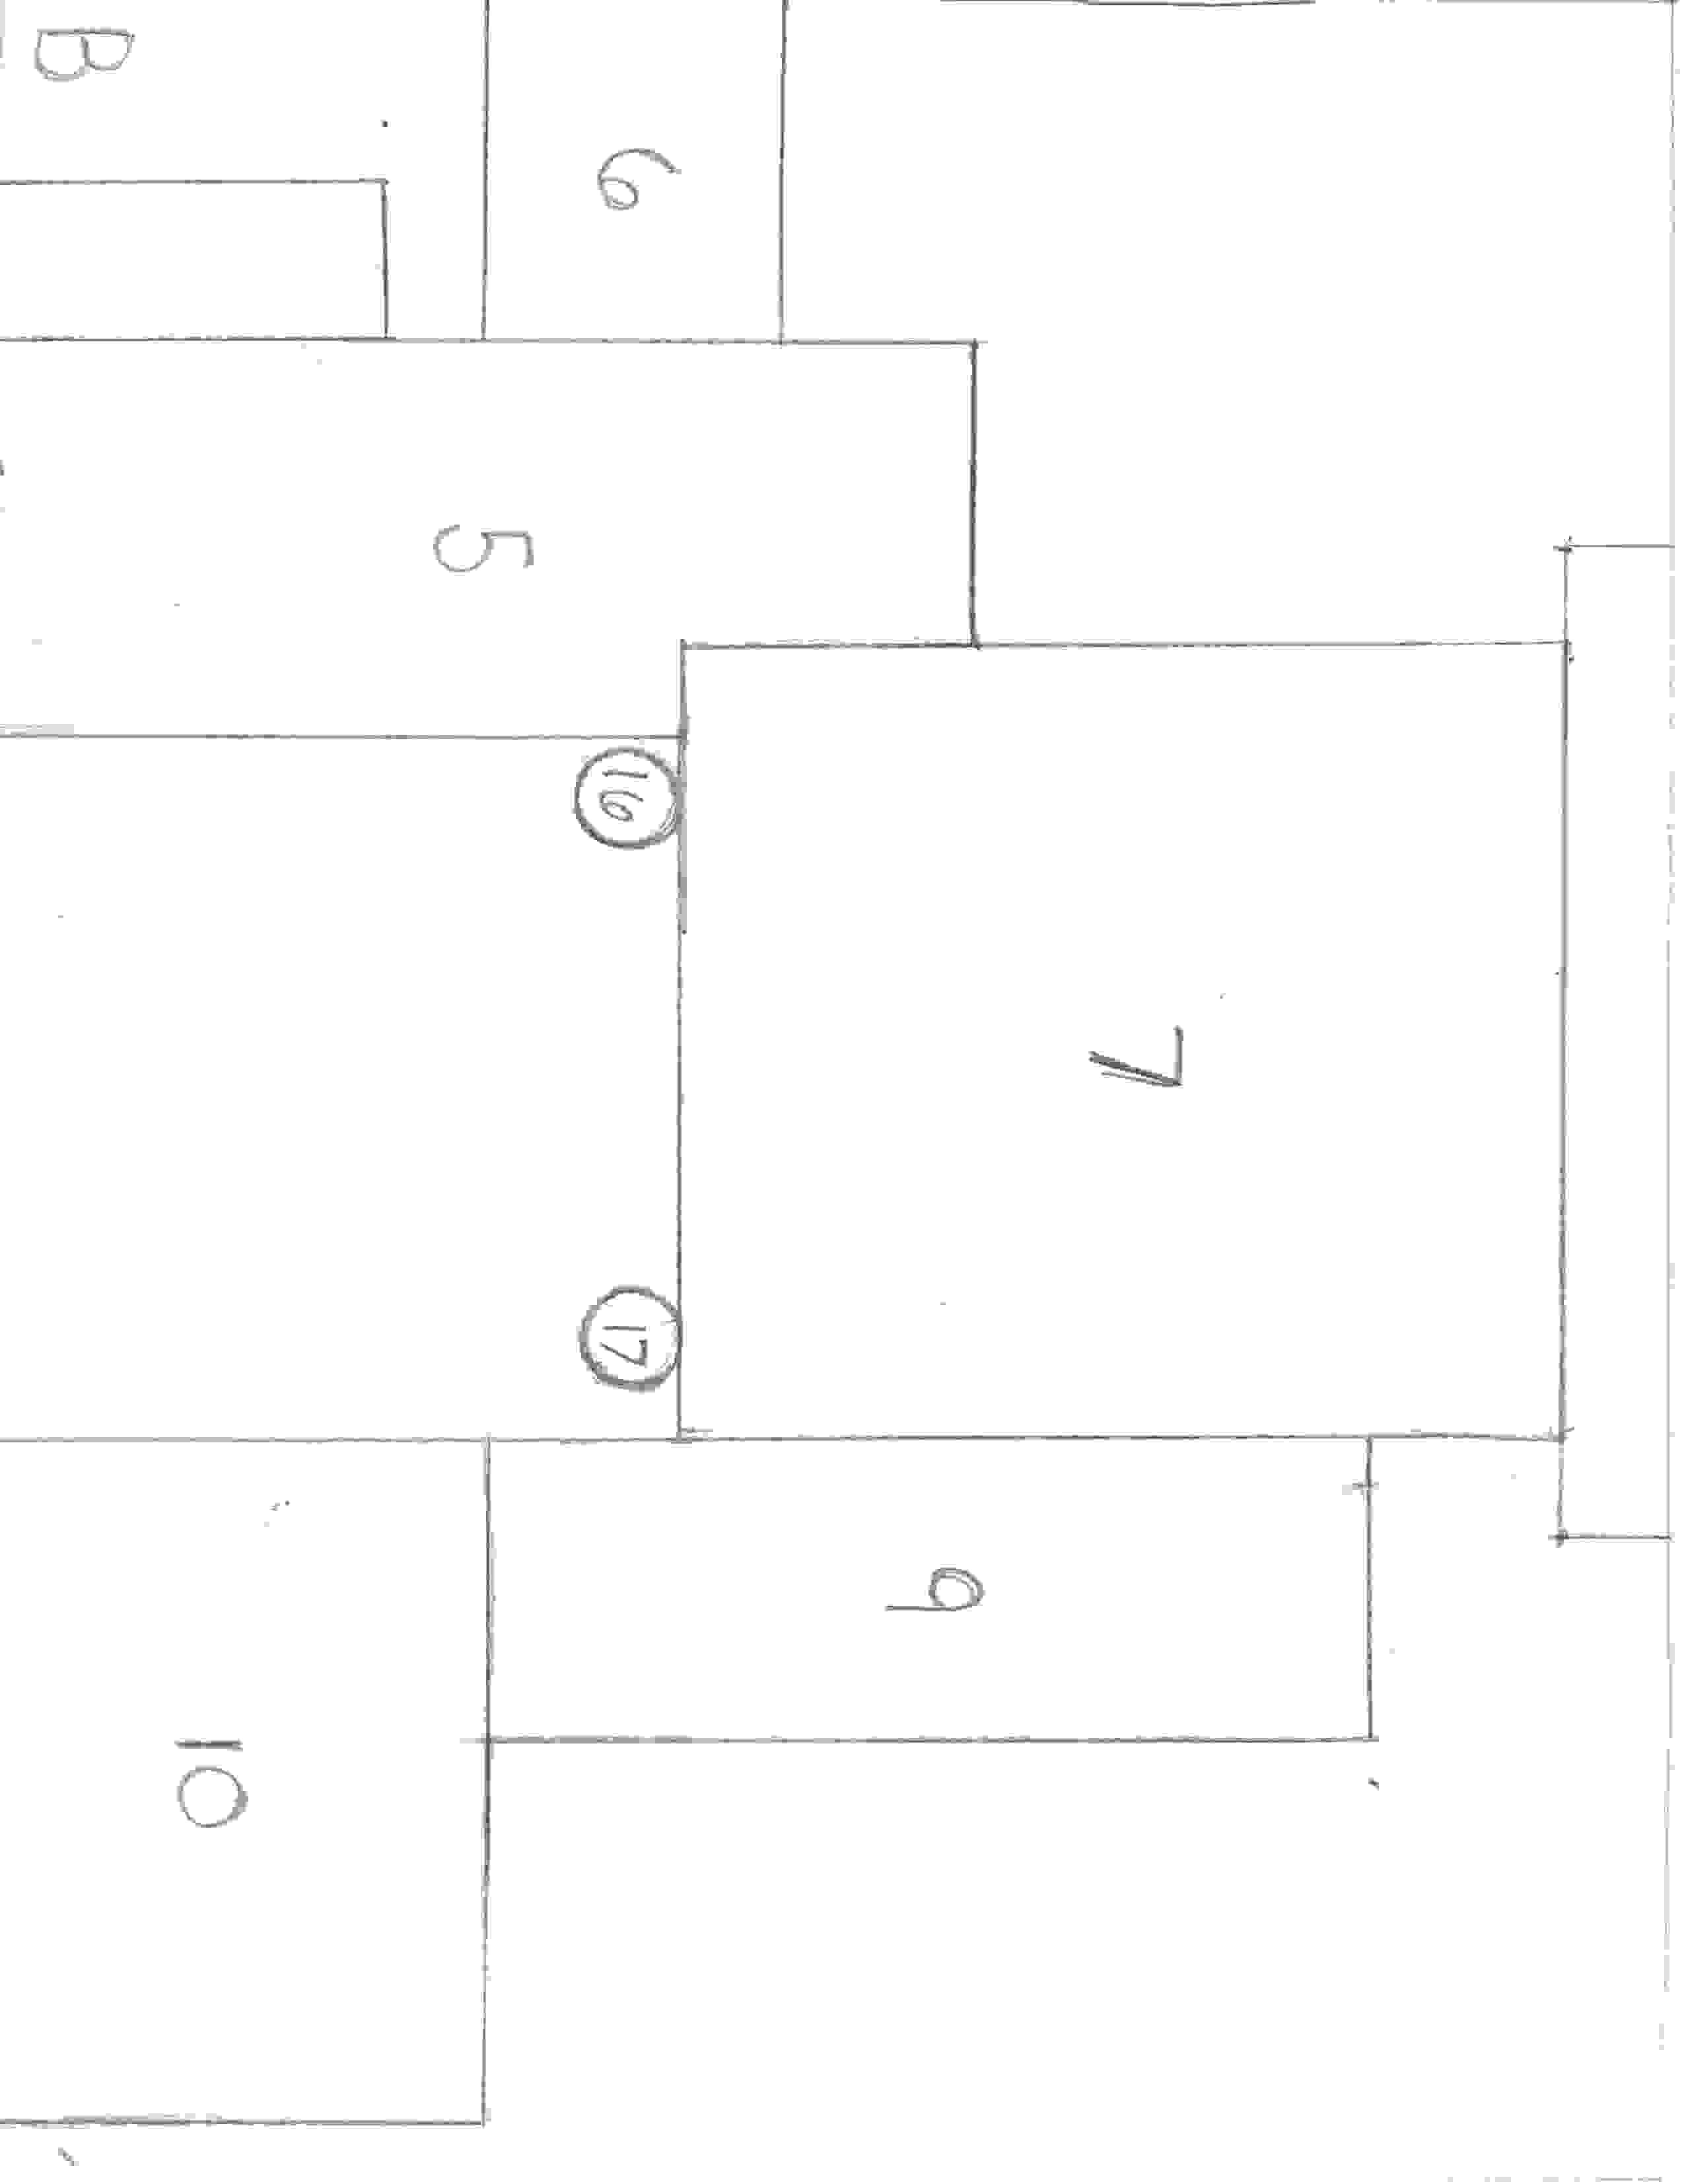
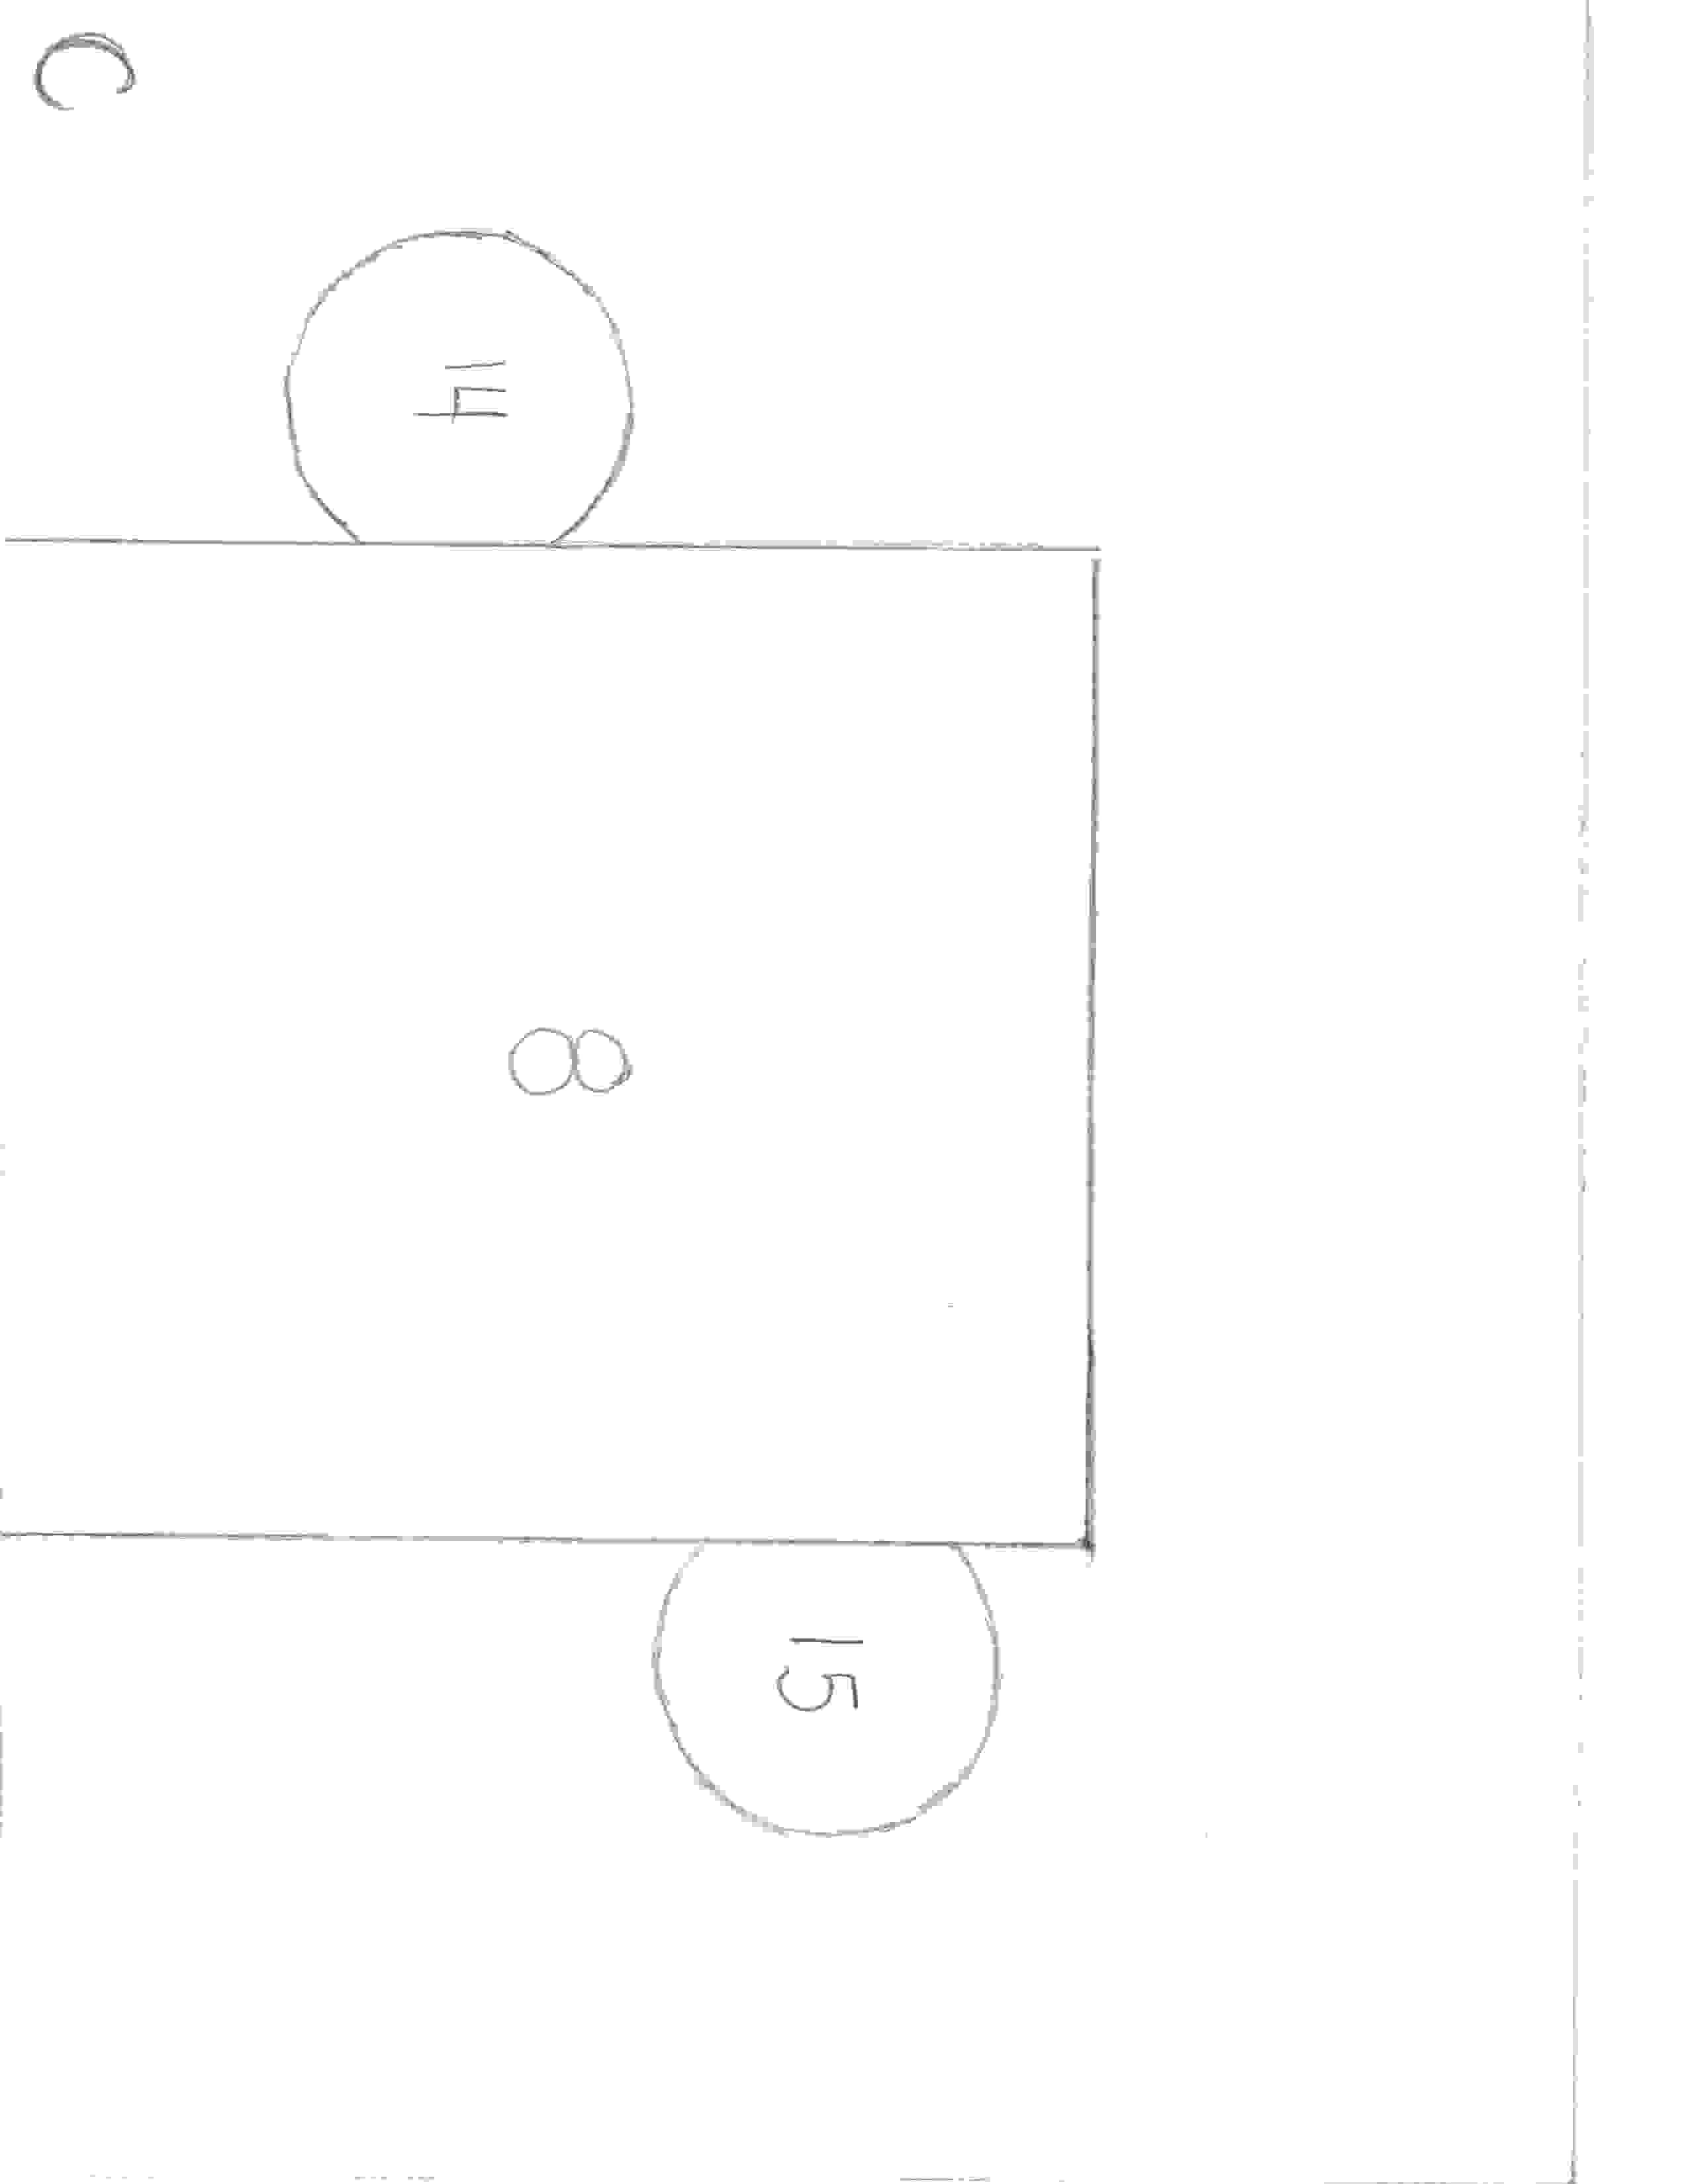
These three images are the base of the castle. Print them out and tape them together then tape or glue them to a nice solid piece of cardboard. You can tape them to posterboard but something more durable and stronger would be better so it is easier to move and carry your castle. You will be gluing the parts of the castle right onto this base.
Base A - Base B - Base C
When they are taped together they should look like this:

There are seventeen numbers on this base. These are the different structures you will make and in that order. We will make all 17 starting at 1.
 Let's continue and start making the first structure
I have more paper castle projects!
Make a Paper and cardboard Castle
If you are looking for an easier castle to make you might want to try this one! - Make a castle
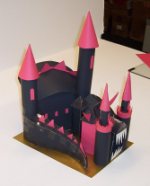
Black Dragon Paper Castle
Or if you want to build a paper castle that is a little more creative and exciting then you might want to try this one.. Black Dragon Paper Castle
BUY A PAPER CASTLE KIT
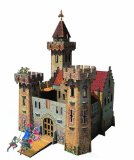
Clever Paper Knight's Castle with Figures
- Skill Level: 2
- All pieces have a 3D texture finish for an authentic appearance
- Includes two squads with fifty-three figures with foam stands to bring your castle to life
- Historically accurate to complete your Medieval city
- Easy assembly: no glue or scissors required
Cut & Assemble Caernarvon Castle
(Note from Will: I have made this paper castle and you can watch a video of it on my youtube channel right here: Caernarvon Castle Paper Diorama
Make this Medieval Castle by Usborne
This was the first paper castle I ever made. It was given to me as a gift and I have been hooked ever since.
Printed on stiff card, this book contains templates to cut out and construct a superb model of a 14th century castle crammed with authentic detail. The model includes miniature characters for re-creating castle life, including market stalls and jousting knights as well as a portcullis that lifts and falls. The base of the model measures 59 x 46cm.
Make this Wizard's Castle by Usborne
Using only glue, scissors or a craft knife, this book demonstrates how to make a historically-accurate model of a wizard's castle. In addition there are cut-out characters to add to the lively scenes.


