![]()
I have a youtube channel with over 1000 Project Videos!

Hi, Thanks for visiting my website. My name is Will and if you have questions
or would like to
contribute projects or ideas you can contact me 

![]()
I have a youtube channel with over 1000 Project Videos!

Hi, Thanks for visiting my website. My name is Will and if you have questions
or would like to
contribute projects or ideas you can contact me 
Astronomy and telescopes are one of my absolute favorite hobbies. In this tutorial I show you a little bit about making your own Newtonian Reflector telescope. It's not very difficult and you can do it with very basic materials and tools. But you will need the actual reflector mirror and a second smaller mirror. I have included a link to the actual place where I bought my mirror so you have that option if you want it. I also have video tutorials that you can watch. It is at the bottom of this page. |
Let's take a look at the actual completed telescope .
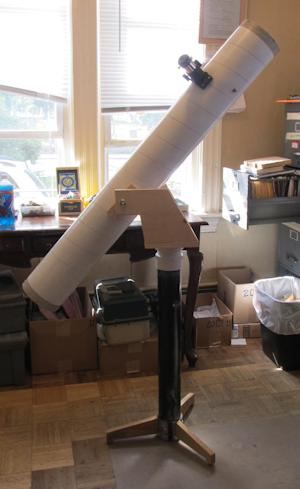
Here is the tube assembly. It is called the "Optical Tube Assembly" or OTA.
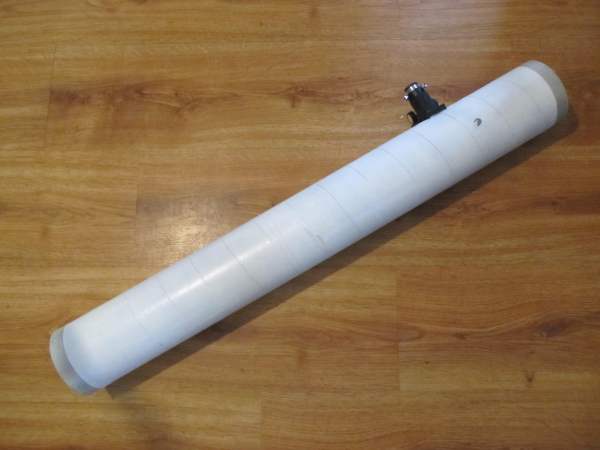
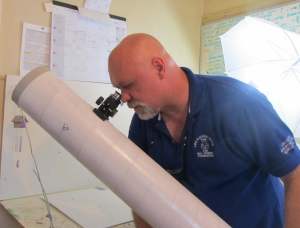
So you get a sense of the size of it this is me with it!
To understand how this telescope works lets take a look at how a newtonian telescope works.
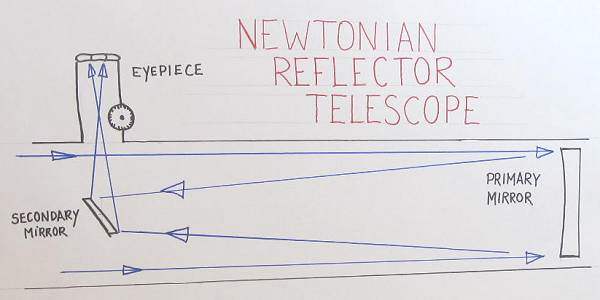
You can see in the picture that there are four different components to this type of telescope: The Tube itself, The eyepiece, the Secondary mirror and the Primary Mirror. We make these four things and put them together to get a telescope.
This type of telescope setup is called a newtonian telescope because it was actually invented by Sir Isaac Newton himself. Yup. It sure was. So, if you make one you are paying a little bit of homage to him.
You can use a product called Quikrete tube. But I am not sure about the sizes of these tubes. They make 8" 10" and larger. This 4 1/4 inch telescope I am making would use a 5 or 6 inch tube so you have to check see if they have that size. They carry lots of these at every hardware store and Home Depot and Lowes. Bring a measuring tape with you because this kind of tube varies a lot in actual diameter. the 8 inch tube can actually be anywhere from 7 to 9 inches. So just pick through them and find something suitable.
Blacklite Telescope Tubes - This is a company that makes Telescope tubes with Kraft Paper. Much stronger than cardboard and these tubes are specifically designed for telescopes. I don't think they carry tubes for 4 inch telescopes but they do have them for 6, 8 and 10 inch scopes.
Amazon does have some stuff but I am not 100% sure about it. They are Kraft tubes. But I can't tell how sturdy they are. You can take a look at them here:
 5 x 52" Custom Kraft Mailing Tubes
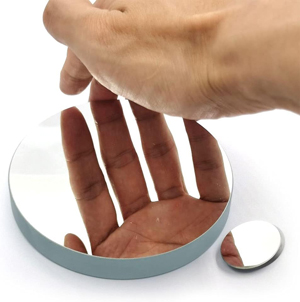
4 and 1/4" telescope mirror and secondary is now available on amazon! Yay!
Check it out right here on Amazon
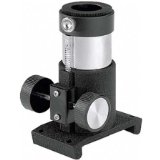
The focuser assembly - This is a little mount that holds the eyepiece. It has a knob on it so you can adjust the focus by moving the eyepiece in and out. (This exact focuser is a 1.25 inch and it is available on amazon here: Orion 13031 Basic 1.25-Inch Rack-and-Pinion Telescope Focuser
Making The Mirror Mount:
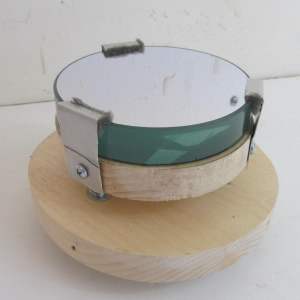
The mirror mount is the most complex part of the whole setup. And it really isn't that difficult. It is simply a thing that holds the mirror firmly in place while still giving you an easy way to adjust the angle of it.
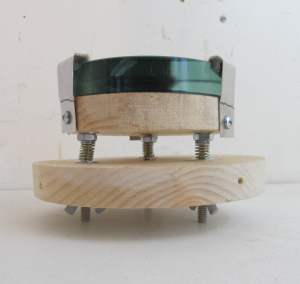
This adjustability is done with three bolts that have springs on them. They have wingnuts on the bottom so you can easily adjust them.
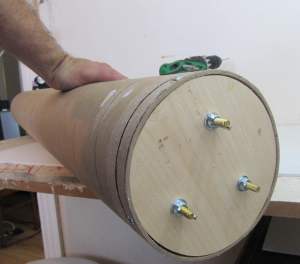 This is that mirror mount installed in the tube of the telescope. The wing nuts are right there and it makes this very easy to align the telescope.
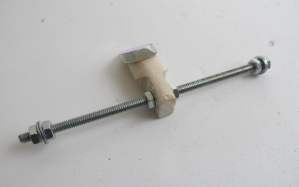
Getting the light to bounce from the big mirror through the eyepiece we make this little setup. Its a piece of wood and a threaded rod that holds the little secondary mirror.
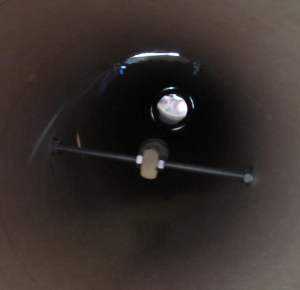
And here it is mounted inside the tube.
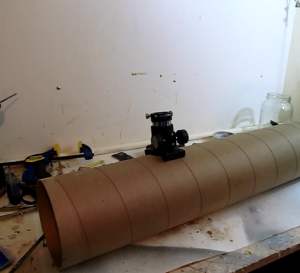
The only thing remaining to build the telescope is to mount the eyepiece holder in the correct spot.
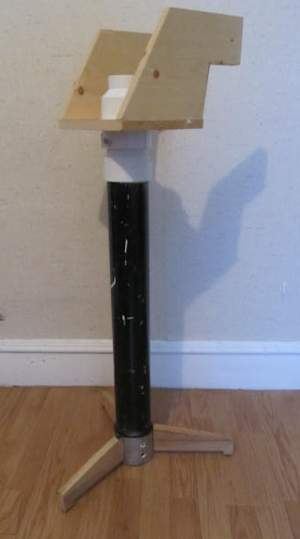
And here is a look at the mount.
And that's pretty much it. From there we would adjust some of the screws (like the wing nuts) to align up the light path exactly straight. This is the first part of this tutorial. You can watch the videos below or continue on to the second part of the tutorial here
Part 1:
Part 2:
Part 3:
Making Your Own Telescope (Dover Books on Astronomy)
Complete, detailed instructions and numerous diagrams for constructing a do-it-yourself telescope. No complicated mathematics are involved, and no prior knowledge of optics or astronomy is needed to follow the text's step-by-step directions. Contents cover, among other topics, materials and equipment; tube parts and alignment; eyepieces, and related problems; setting circles; and optical principles. 6 plates. 100 figures.
Building an astronomical telescope offers the amateur astronomer an exciting challenge, with the possibility of ending up with a far bigger and better telescope than could have been afforded otherwise. In the past, the starting point has always been the grinding and polishing of at least the primary mirror, a difficult and immensely time-consuming process. But now that the Internet has brought us together in a global village, purchasing off-the-shelf goods such as parabolic mirrors, eyepieces, lenses, and telescope tubes, is possible. There are also a vast number of used mirrors and lenses out there, and it is now possible to track them down almost anywhere in the world. Online stores and auction houses have facilitated commerce regarding all sorts of useful optical components at a reasonable price. This is a book about making telescopes from available parts. It provides guidance on where to look and what to look for in selecting items useful for telescope making and explains how to assemble these components to produce an excellent instrument on a tight budget. At one time, many amateurs made their own telescopes from home-made parts. In today's rushed world, that has almost become a lost art. The Internet offers a wonderful alternative to either buying a pricey scope fully assembled or making your own from scratch.