Part 2: Making the Rubber Mold
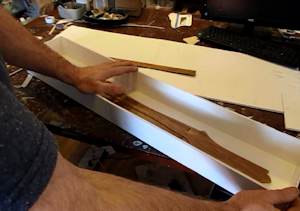
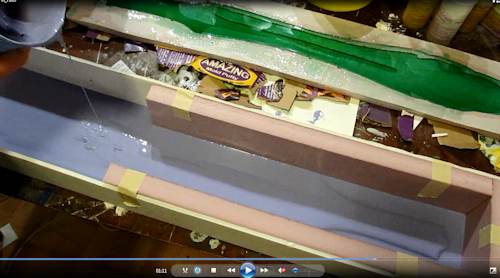
Make yourself a box out of foamboard or cardboard. It should be at least 3 inches in height. Make it large enough so the wooden sword model willl seat flatly inside with one inch of border all the way around.
Seal it up with masking tape. You want it to be reasonably water tight so the rubber doesn't ooze out. And glue the sword model down right to the base of it.
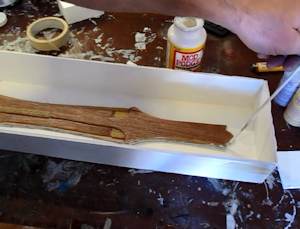
This picture shows the model sealed down into the box. It is glued down with a spray on adhesive. And in this picture I am sealing around the edge of the sword where it meets the foamboard. I am doing that with Mod Podge. It is an extra step that is optional. It prevents the rubber from seeping under the sword. But it is ok if that happens. You can trim it away at a later step.
Also, to reduce the amount of rubber needed in the pour you can add some blocks of something just to fill in the dead space in the box. You can see here that I have placed several pieces of pink foam. Remember to keep around 1 inch of space all the way around the sword. But anything more than that can be filled in with something. Just about anything from wood to foam to cardboard. It is just filler.
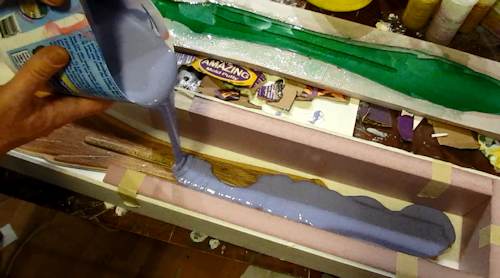
Ok, Mix up equal parts of the OOMOO Rubber and pour it slowly into the mold, do a thin stream and get it to pour into all the little cracks of the sword.
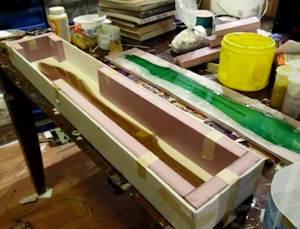
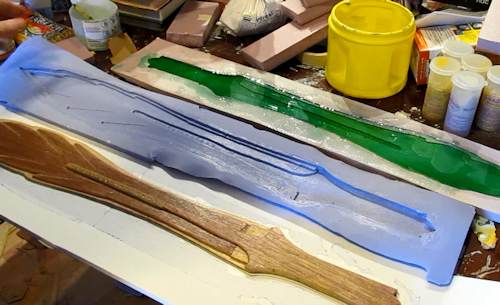
The pour is almost done. You can see the handle on the right side of the mold is showing through. We want to pour some more so that handle is covered with more depth.
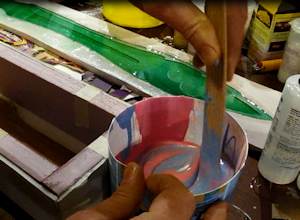
Mixing the oomoo is pretty easy. You just put equal amounts of the two parts in a container and slowly stir it. One portion is pink and the other is blue. Wen mixed they make a purplish color.
Ok! Once that Rubber has cured you can take apart the box and gently remove the rubber mold. It looks great. And it is ready to cast the acrylic into .
 Continue with the tutorial Continue with the tutorial
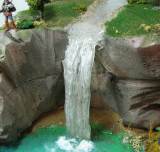
Make a waterfall for a diorama
Not a real waterfall but sure looks real. Easy to make and comes out terrific. I also have a tutorial on how to do water effects like ripples and waves and a tutorial on how to make this complete diorama called "The Secret Grotto" Make a waterfall for a diorama

Do you like making projects and exploring a variety of hobbies?
Sign up for my free newsletter. I give you regular updates on hobbies and projects you can make. it is totally free and I don't share your email with anybody. |