Hi, Thanks for visiting my website. My name is Will and if you have questions
or would like to
contribute projects or ideas you can contact me
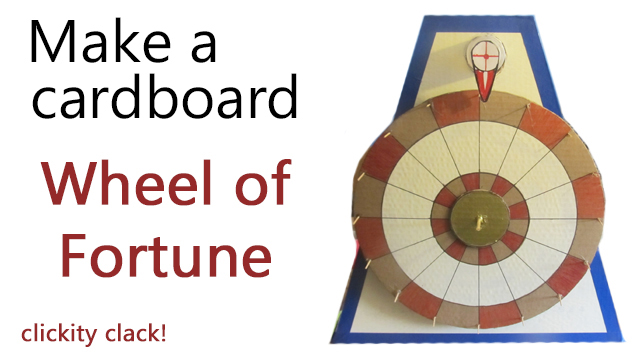
Make a spinning wheel of fortune
This is a fun and easy cardboard box project you can make. It doesn't take a whole lot of supplies and I show you how to make it step by step and I even have a video tutorial for you to watch.
You probably could also call this a raffle wheel or a casino wheel.
It is easy to make this project with a few basic supplies and one of the most important things about something like this is the clickety-clack sound it makes when you spin it. I will show you how to get a very nice, and reasonably loud sound out of it.
Materials and supplies for this project:
Cardboard! A big box is needed, something at least 21 inches in size not including the flaps on the box. You need those too. With the flaps this project needs about 30 inches of box size.
2 small disposable plastic cups. - not mandatory but it helps with the sound volume
Paint - any kind you like
1 plastic straw
1 wooden dowel that slides inside the straw
Let's Get Started!
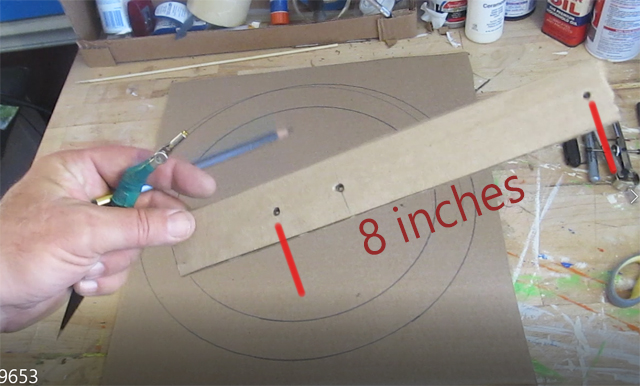
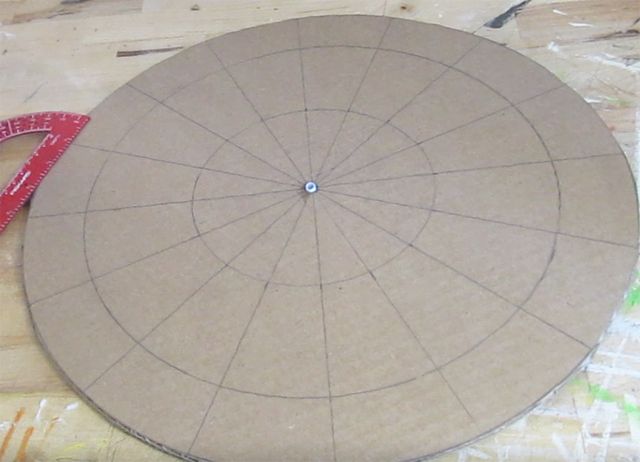
My wheel of fortune is 16 inches in diameter. Make yourself a compass out of cardboard and use it to draw your 16 inch circle on cardboard. Make two of these circles.
Make two of these 16 inch circles and glue them together, one right on top of the other. Having a layer of two will make the wheel much stronger and it will prevent warping and bending.
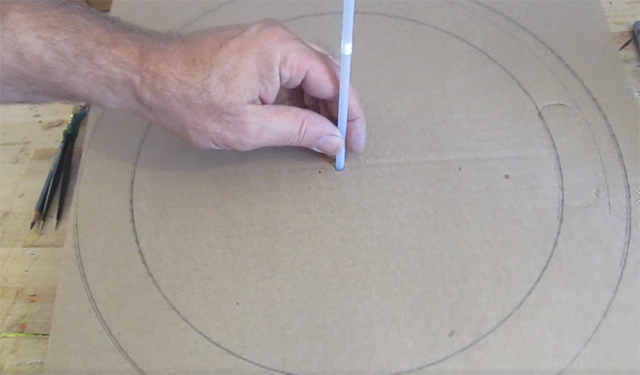
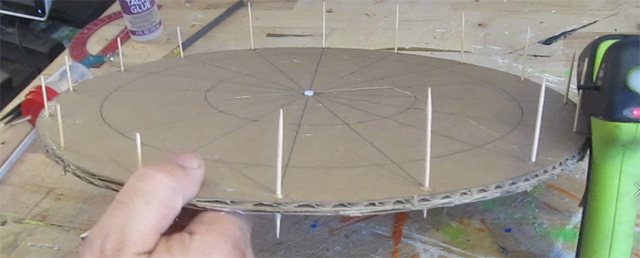
Pierce a hole right in the center just large enough for the straw to fit and glue that straw right in. Do not use hot glue for this. It will melt the straw.
Once the glue has dried trim the straw both front and back. This straw is a bearing that the wheel will spin on. It works quite well.
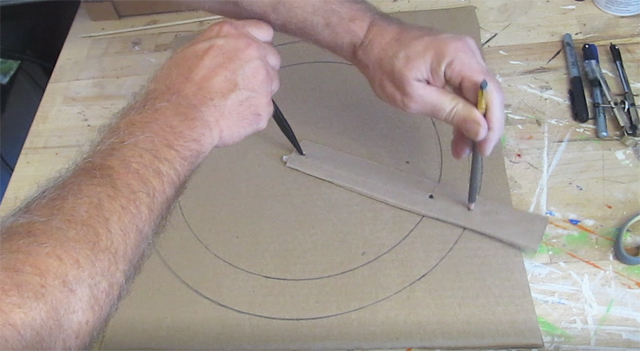
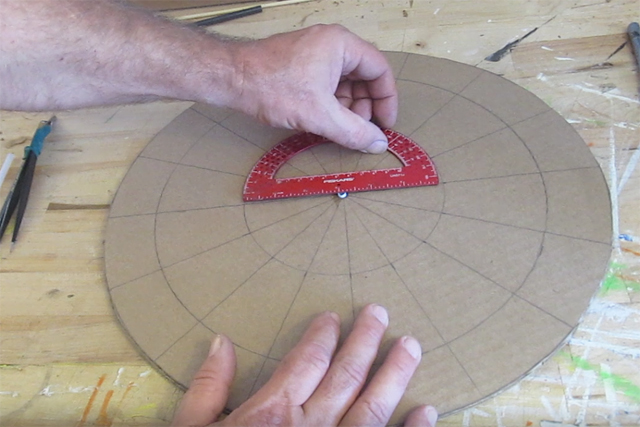
To get the nice even 16 divisions on the wheel I used a protractor. You can use a protractor or just estimate the lines. And, of course, You don't have to do 16 divisions. You can make as many as you like.
For 16 divisions it would be every 22.5 degrees on the protractor.
Pre-pierce small holes at those sixteen lines and about 1/4 inch in from the end. Glue in toothpicks. If possible, use hot glue for this. Make sure the toothpicks are solid and go all the way through both layers of cardboard, for strength.
Once the glue has dried trim the toothpicks. On the top of the wheel they should be about one inch in length. And on the bottom side trim them as short as possible.
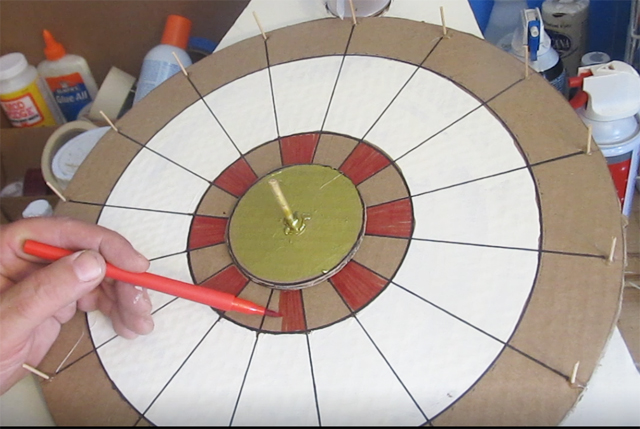
At this point you can go ahead and paint the wheel. I waited until my wheel was mounted but that made things a bit awkward. So go ahead and paint it then set it aside. We will next work on the stand for this wheel.