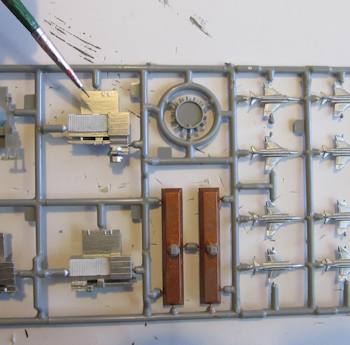
One of the things that you can do is paint the parts while they are still on the sprue. This is a good technique that will make it easier for you and the model will come out looking better.
This is optional though. I will often only paint some of the smaller parts. If you carefully look through the assembly instructions you will different parts that are difficult to get at once they are assembled. It makes sense to paint these ahead of time.
And, particularly for the smaller parts, it is so much easier to paint them while on the sprue because you can hold and turn the sprue while painting.
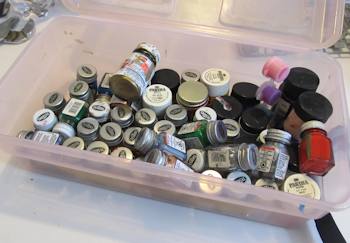
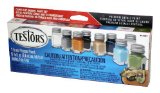
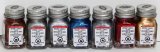
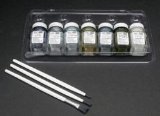
About Paints: The model companies make enamel paints for models and I use a lot of them. You can also use plain old acrylics if that is what you have. You can tinker a bit with the acrylics and water to get the consistency you want. And you can mix paints to get a wide variety of colors.
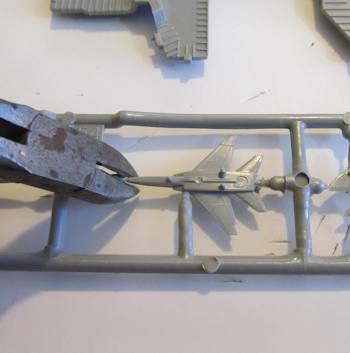
Now it's time to start building the model. You have to remove the pieces from the sprue. Don't remove them all! Just remove them as you need them for each step. If you remove them all you will lose track of which part is which! Use a pair of side cutters or a sharp hobby knife.
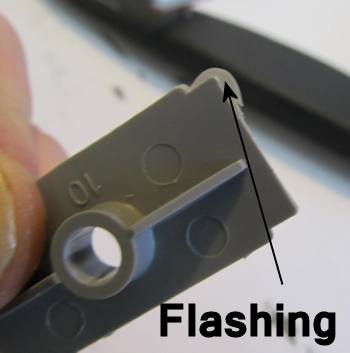
And let's take a look at something called flashing. This is excess plastic on the parts. This is unwanted and it is caused by the injection molding process of making the sprue. In places a little bit of extra plastic will flow around the parts.
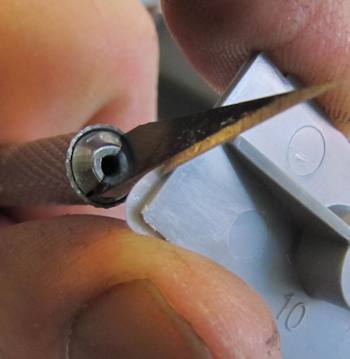
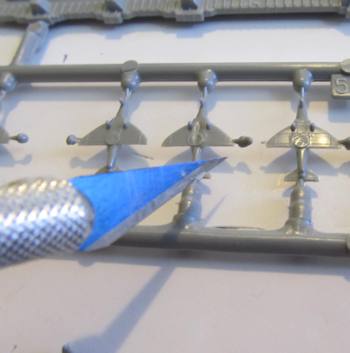
Trim this flashing with a sharp hobby knife. And carefully examine parts as you are assembling the model. Sometimes the flashing is very slight. You should still trim it! Otherwise it will give you difficulty in assembly.
I do a scraping of almost all the parts using my hobby knife.

An emory board or a small file is also very useful for handling excess plastic and flashing.
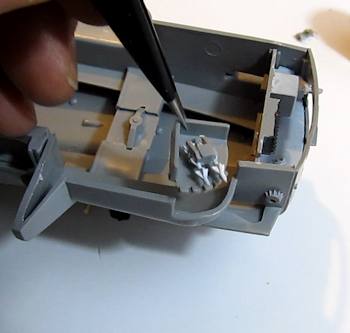
 Ok, you want to start the actual building of the model. Once the parts are prepped, removed from the sprue, and cleaned of any flashing you go ahead and glue them together by the steps in the assembly instructions! Ok, you want to start the actual building of the model. Once the parts are prepped, removed from the sprue, and cleaned of any flashing you go ahead and glue them together by the steps in the assembly instructions!
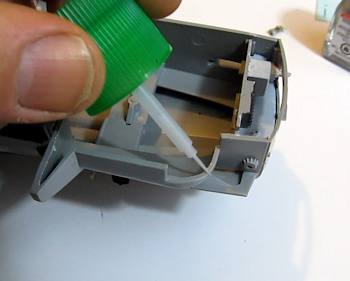
Apply a thin layer of glue to the parts and stick them together.
You don't need a whole lot of glue. And this glue (plastic cement) works differently than what we normally think of. This cement actually melts the plastic. Yup, so the pieces actually melt together.
Here I now put the cemented pieces together.
About Plastic Cements
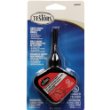
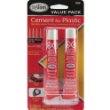 This is the cement you will probably use. It is the work horse of plastic model making. (Cement Glue Value Pack Testors 2-7/8 fl oz tubes This is the cement you will probably use. It is the work horse of plastic model making. (Cement Glue Value Pack Testors 2-7/8 fl oz tubes ) And it is quite adequate. But, These tubes are a bit unwieldy and a bit difficult to control. As you build models you will want to use some other options. ) And it is quite adequate. But, These tubes are a bit unwieldy and a bit difficult to control. As you build models you will want to use some other options.
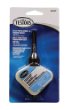
 For example, this is the same cement but it is in a precision tip applicator bottle. This makes it so much easier to apply fine amounts of cement without making a mess. (Testors 3507AT Liquid Cement for Plastic Models, 1-Ounce For example, this is the same cement but it is in a precision tip applicator bottle. This makes it so much easier to apply fine amounts of cement without making a mess. (Testors 3507AT Liquid Cement for Plastic Models, 1-Ounce ) )
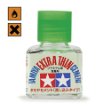 And personally I love this extra thin cement that comes in a bottle with an applicator brush. You can see me using it in the above picture. (Tamiya 87038 Extra Thin Cement Glue Fine Tip 40ml And personally I love this extra thin cement that comes in a bottle with an applicator brush. You can see me using it in the above picture. (Tamiya 87038 Extra Thin Cement Glue Fine Tip 40ml ) )
 And here is a an excellent cement for model making. YOu are going to discover that cementing windows, and clear plastic parts is tricky because the cement fogs it and leaves a residue. This is a specially formulated cement that dries crystal clear. It is made for doing glass and windows on models. ( Clear Parts Cement-1oz And here is a an excellent cement for model making. YOu are going to discover that cementing windows, and clear plastic parts is tricky because the cement fogs it and leaves a residue. This is a specially formulated cement that dries crystal clear. It is made for doing glass and windows on models. ( Clear Parts Cement-1oz ) )
 Okay, Let's cover a couple more important points (continue) Okay, Let's cover a couple more important points (continue)

Do you like making projects and exploring a variety of hobbies?
Sign up for my free newsletter. I give you regular updates on hobbies and projects you can make. it is totally free and I don't share your email with anybody.
|