If you can glue two pieces of rubber together you can make anything.
Materials
- Mask to filter out foam particles
- Dremel hand tool/ bits
- A sharp blade or craft knife.
- Suitable piece of EVA foam mat.
- Metal ruler.
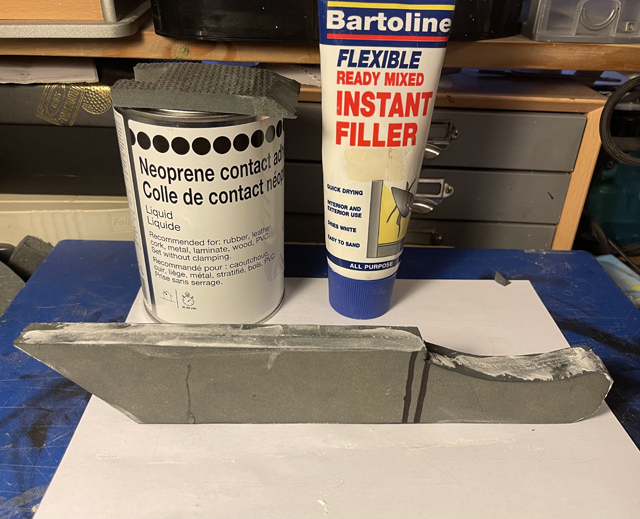
- Contact adhesive of choice. Or hot glue and gun.
- Flexible filler.
- Fine sandpaper. 600+ grit. Or mechanical sander.
- Hot air gun/or hairdryer.
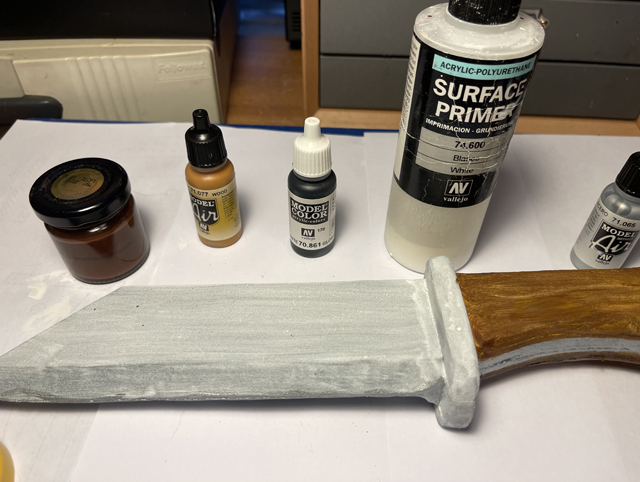
- Vallejo brand Acrylic paints for use by hand or airbrushing.
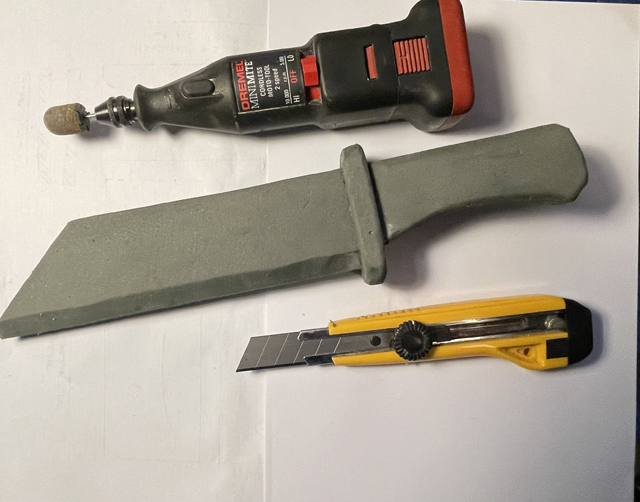
Here are the tools to get us started making the Seax. 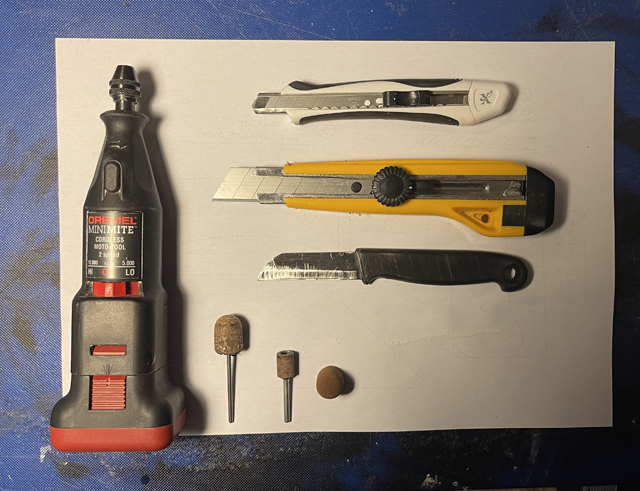
Make a template from card stock or cardboard. (You can print up the one page template here pdf)
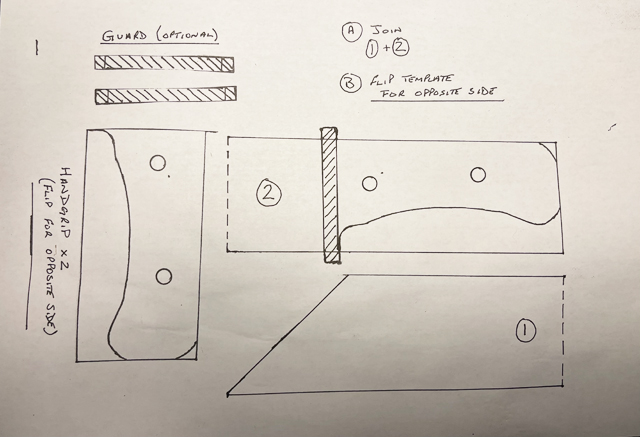
Using your chosen material draw mark out the main pieces. Just flip it over to mark out the opposite side.
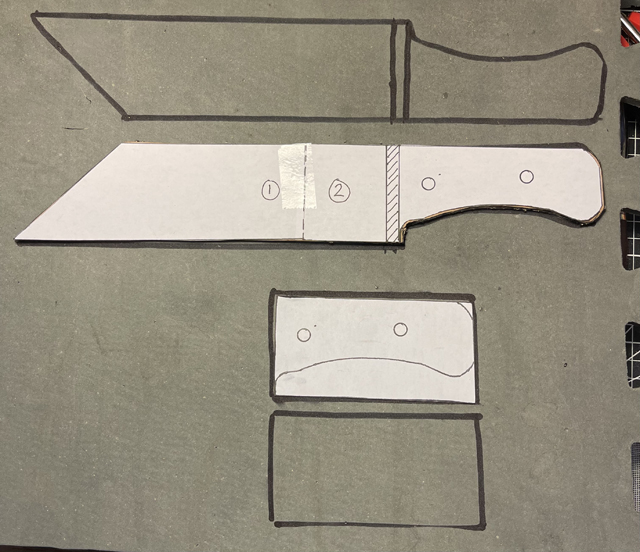
Mark around your an area to designate as being the knife edge.
Cut your pieces out using either a sharp blade or craft knife or if you have access to a bandsaw.
EVA foam floor mat has a smooth side and a textured side. In this example the texture was 'net' style. 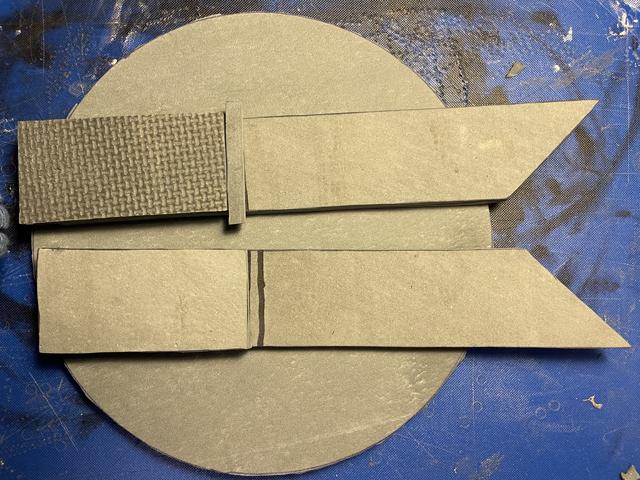
When joining the main two sides together make sure the smooth sides are to the outside. Offcuts of foam mat make useful adhesive applicators which can be just disposed of when finished.
You also have the choice to use the net imprint side to create the scales (hand grips.)
When joining the main two sides together make sure the smooth sides are to the outside. Offcuts of foam mat make useful adhesive applicators which can be just disposed of when finished.
You also have the choice to use the net imprint side to create the scales (hand grips.)
Coat both sides with contact adhesive and allow to go tacky then carefully align pieces and leave to cure. Check the edges for any tiny gaps then using a flexible filler and by just wetting your finger, smoothing it out will save on sanding when it is dry.
Sand down all rough edges.
Using a hairdryer or hot air gun on low power and playing it over the foam will help to seal the pores.
*Tip - watch for the colour becoming slightly darker as it reacts to the heat. Do not stay on one area for too long as it may burn the foam!)
Build up the handle with mat cut in half using smooth side out for both sides.
Or use textured for both sides?
Shape the handle with blade or use a Dremel type mini drill tool to smooth the edges.
Once its smoothed to your satisfaction use the hot air gun/hair dryer to seal the pores on all sanded portions again.
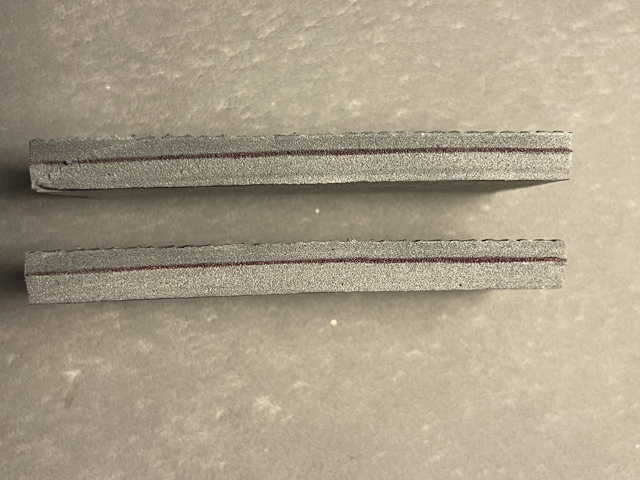
I have left the scales as a full shape making it easier to split into two. I marked a line around for the thickness I required.
These are glued in place and trimmed to fit.
The guard is trimmed from offcuts of foam to size, glued, and sanded to shape.
Using a craft knife at an angle of forty five degrees I trimmed the 'knife blade' then using my mini drill and bit I smoothed it out. (Any holes were filled and sanded.)
Hot air gun reapplied to all cut and sanded parts.
*Tip - The method I have used here is suitable for small knives. However, should you desire something longer then just increase the length of the template between portions to required length. Should you wish to make anything longer then this would require a stiffening piece such as a strip of plywood or a piece of dowelling. Cutting a groove into each side portion just enough to glue the stiffener in place and being careful not to cut all the way through the foam accidentally. When encased securely within the foam carry on filling, sanding and constructing as before.
Painting the Seax
I have used the Vallejo primer to seal all of the EVA. The blade was painted in Vallejo steel.
To make the handle look like wood I applied Vallejo wood paint brushed in one direction. This appears a sand colour when dry. I over-coated this with a dark brown acrylic paint to create the semblance of grain. For different coloured wood effects the paints mix really well.
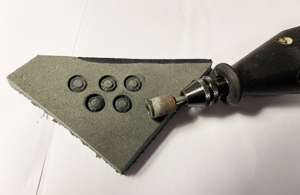 For making the hand grip 'rivets' I used a stone bit in my mini drill to create the illusion and painting the top of each with Vallejo brass colour. For making the hand grip 'rivets' I used a stone bit in my mini drill to create the illusion and painting the top of each with Vallejo brass colour.
Lastly I added some water to black acrylic for a wash and using a sponge to apply it over the blade then using a cloth lightly to dab it off to leaving a mottled look.
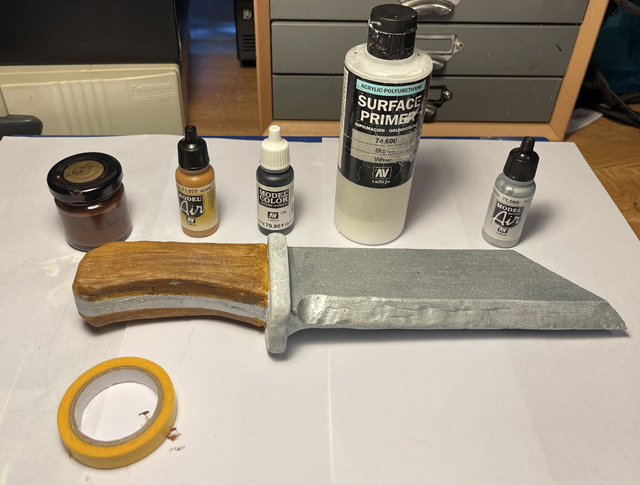
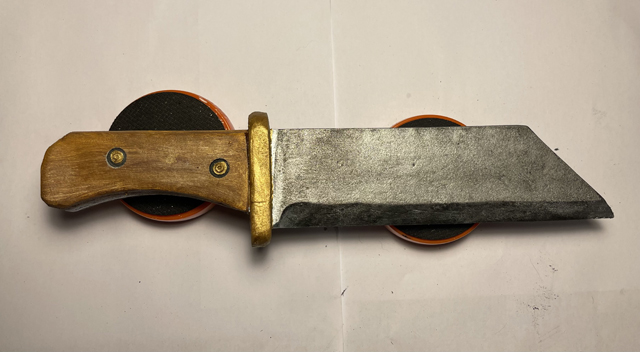
The completed Seax
Make an EVA foam dagger
EVA foam is a thick foam that is terrific for cosplay armor and LARP weapons. Want to get started working with it? This tutorial is perfect. The dagger is strong yet safe. Make an EVA foam dagger.
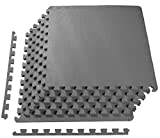
EVA Foam 1/2 inch thick - 24 square feet
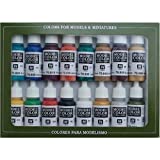
Vallejo Medieval Colors Paint Set, 17ml
Matched Content ad for adsense stormthecastle.com
|


