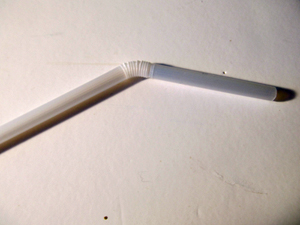
One very important part of making a pulley system out of cardboard is getting it to rotate smoothly and easily with very little friction. We achieve this with a very simple household item: A straw!
Common drinking straws are the perfect size for a 3/16 inch dowel to smoothly rotate inside. The straw acts as a bearing.
You need a strong and stable structure to mount the gears to. This is important.
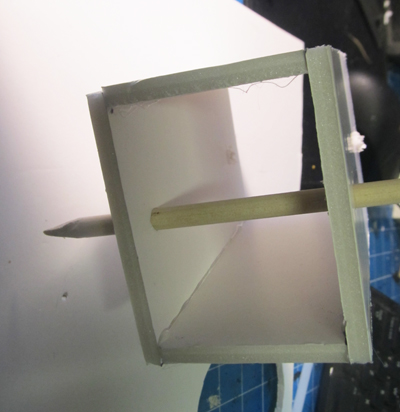
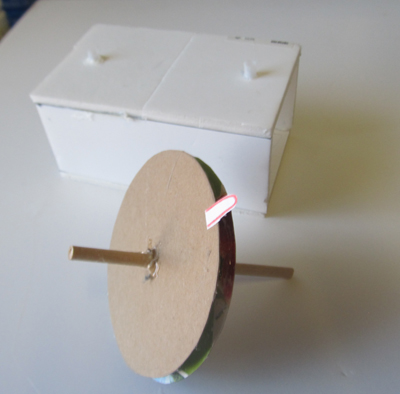
if you were to mount the gears to a single layer of cardboard or foamboard it wouldn't be strong enough to hold the gears straight. The pulling of the rubber bands would quickly deteriorate the structure. This next picture shows how the dowel has been pulled crooked by the force of the rubber band.
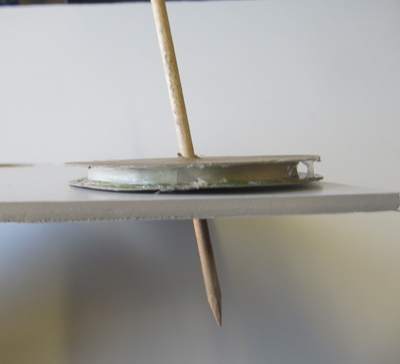
So you have to make a structure for the gears -with some depth to it. This will hold the wooden axle straight.
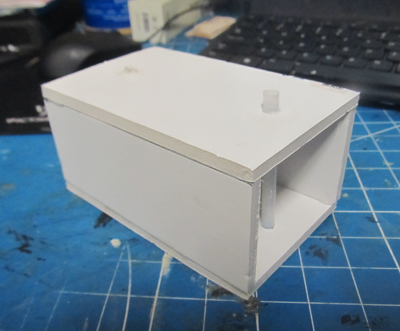
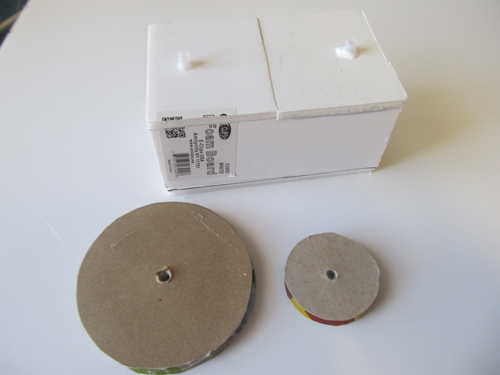
So let's make it. Use a 1/4 inch dowel to perforate a hole straight through both layers.
NOTE: This is a quarter inch dowel. It is larger than the dowel we previously used.
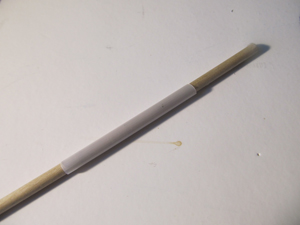
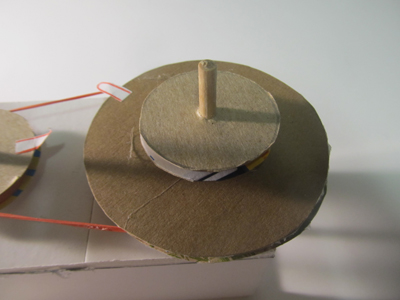
This is because with a quarter inch dowel we make holes that the straw will perfectly slide into like this. The holes are punched and we have slid a straw in.
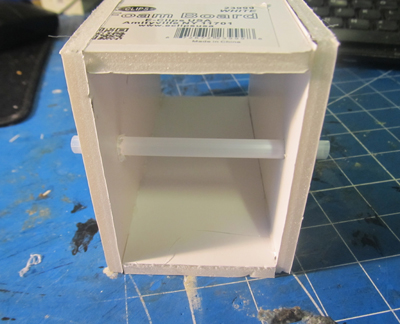
You want the straw to stick out of the surface 1/4 inch. This is important. It will act as a surface for the pulley to turn on. And it will keep the pulley from rubbing on the surface of your box. It holds the pulley up. It is a standoff. Do this for any other straws you insert. They should all be at the same height. 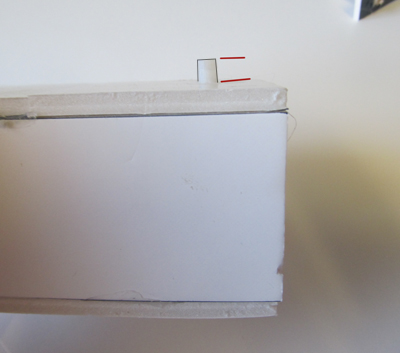
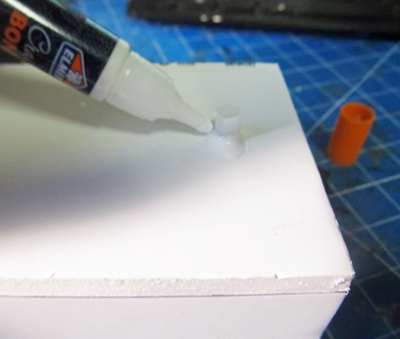
Glue the straw in place. Be careful to get any glue inside the straw. We need to put our dowel in there and have it rotate freely.
Now i went ahead and made a second, smaller pulley using the same techniques and process as the first one. This one is half the diameter of the first one which means if the two are connected it will turn twice as fast.
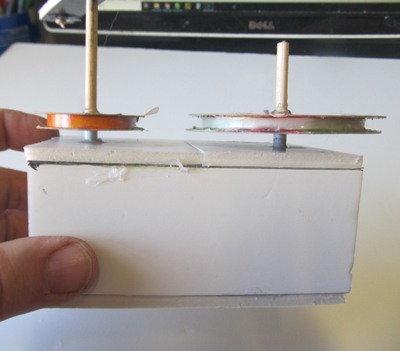
Assemble the pulleys by putting on the 3/16 dowel. But don't glue them yet.
Put them first onto the straws and check the size and fit. Make sure they line up with each other and you have enough shaft. Then you can glue the pulleys to the dowels. But only on the top. Don't put any glue on the underside of the pulley where it would touch the straw.
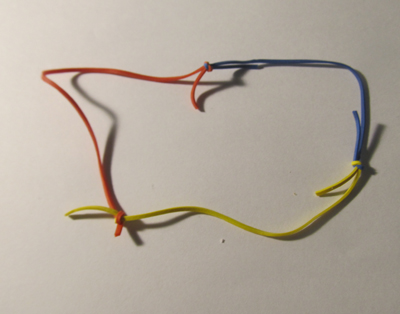
Pick out and install a rubber band.
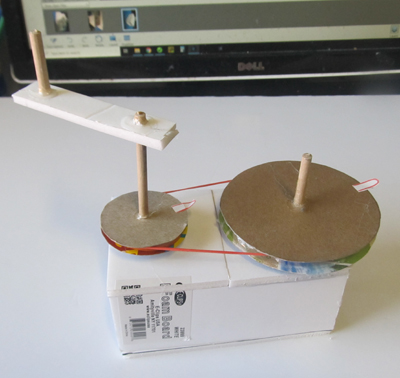
Notice how in the picture above I have place small markers on each pulley. That's to show the rotation. As the smaller pulley is turned one full revolution the larger pulley will turn one half revolution.
The rubber band should be comfortably snug. if it is too loose the pulleys will slip. Anf if the rubber band is too tight it will wear out the foamboard.
You can manipulate the rubber band any way you like. Cut a band and shorten it with a knot if needed. Or tie together several bands if you need to.
One last thing about pulleys. To further change the speed you use more pulleys. Glue a small one to the top of that big one. 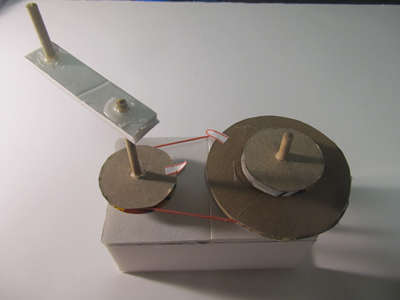
Like this. And now you can run a rubber band to another large one. That would once again reduce the speed in half.
This shows you that. The picture above shows that we just added 3 like in the picture below. That 3 goes to 4. And 4 being twice the diameter once again turns half the speed of 3.
And underneath 4 is 5. And that 5 is the same size as 3. So that is rubber banded to 6 which means the speed is once again halved. So.. 6 turns 1/8th the speed of 1. 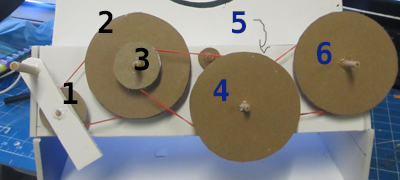
Want to see a machine with this pulley system in action, including a video:
 Will's Newest youtube video is now live Will's Newest youtube video is now live
Make this quirky and fun eclipse machine. There is nothing like it anywhere on the web. . Watch the video right here without leaving my website
|


