Hi, Thanks for visiting my website. My name is Will and if you have questions
or would like to
contribute projects or ideas you can contact me
How to Make the Skyrim Yngol Helmet
This is page 2 of the tutorial on how to make the Yngol helmet from Skyrim. If you came directly to this page you can start out at part 1 right here
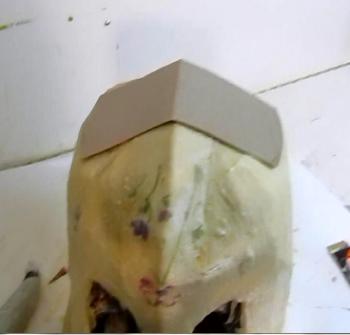
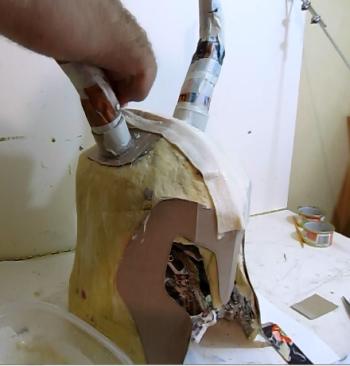
Now let's get install the horns on the helmet. Use a hot glue gun or glue to secure a piece of cereal box cardboard to the top of the helmet like this. (Be sure the helmet is dry). Secure this down very tight so the horns will be very secure.
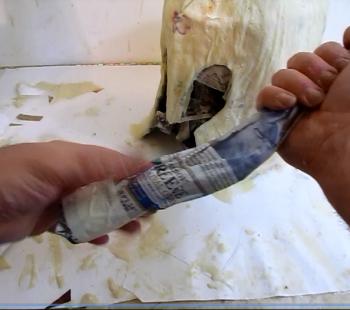
Now let's make the horns. This can be a little tricky but take your time and practice it a bit. I ended up making two horns that were not very good so I made them again. That is a perfectly normal thing! Roll some newspaper lightly to form the horn shape. And see how I have masking tape at the bottom? Doing this right away helps a lot! Work the horn shape and add more newspaper as needed. In a few tries you will get it. Using masking tape while you form it will help with the curving and twisting a whole lot.
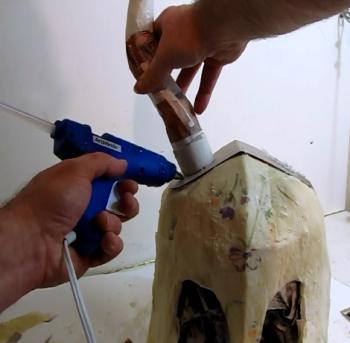
Hot glue the horns in place. Hot glue works best because you only have to hold the horn in place for 30 seconds. If you don't have a hot glue gun you can use another type of glue but set up something so the horn is held in place while the glue dries. Using the fan will speed up the drying.
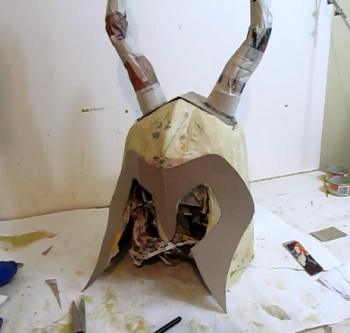
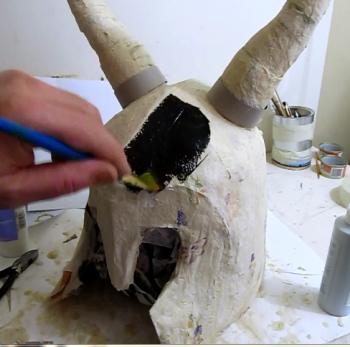
Ok, in this picture you see that the horns are applied and I have started applying the second face place. Hot glue that into place. This second face plate isn't mandatory but it is worth the effort. The helmet will look better.
Now mix up another coat of paper mache. But this time the mix is a little different. Use 2 cups of flour and 2 1/2 cups of water. This makes it a little thinnner and it will give you a more polished helmet look. Cover everything as before and do the horns too. Wrap the paper mache around the horns to get that great wrapped look.
And when doing this coat of the paper mache you don't have to overlap them very much. You don't really have to overlap them at all. So you can match up the edges if you want to. This will give it a good look.
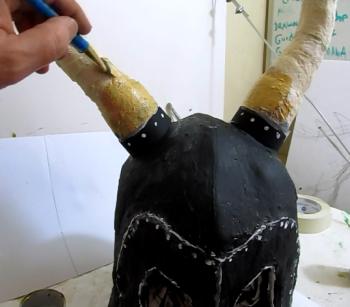
Now paint the helmet black. But, before you do that just take note of the two cardboard rings i put at the base of the two horns.
For the most part the whole helmet is black but I did use a little bit of gray to give it some depth. Tinker with the color a bit and have fun with it.
Okay, let's finish off this helmet by painting the details. The white around the faceplate is great and the white rivets are alos great. The horns are a kind of golden yellow brown. That's about it! Spray it all with some sealant if you have some!
Congratulations! Your helmet is done!!!
FUS-RO-DAH!!!!!
Video is between the horizontal lines
I have other Skyrim projects too!
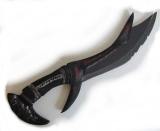
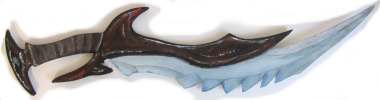
Make a Daedric Dagger
This is a fun Skyrim project and it will only take an hour to make. I have template you can download and make out of cardboard or foamboard. Make Daedric Dagger
Make the Skyrim Iron Helmet
Nice tutorial on how to make the Iron helmet out of cereal box cardboard and paper mache. Good looking helmet and strong. How to make the Skyrim Iron Helmet
Make a Daedric Sword from Skyrim
Fun and easy project. All you need is a single sheet of foamboard. I have the template you just download and print out. How to make the Daedric Sword
Do you like making projects and exploring a variety of hobbies?
Sign up for my free newsletter. I give you regular updates on hobbies and projects you can make. it is totally free and I don't share your email with anybody.