- Choose a design
- Make a full sized template
- set up your workspace
- Zinc came will go around the project
- Cutting and grinding the glass pieces
- Placing the glass and the came
- Soldering
- Grouting
- Applying patina
- Painting
1. Choose a design
 You have to start with a design for your stained glass project! You are reading this tutorial which means you are probably a beginner; and possibly have never done any stained glass at all! That's okay. My recommendation is to choose a small project with large pieces. About a foot square is pretty good. And large glass pieces are easy to cut and work with. You have to start with a design for your stained glass project! You are reading this tutorial which means you are probably a beginner; and possibly have never done any stained glass at all! That's okay. My recommendation is to choose a small project with large pieces. About a foot square is pretty good. And large glass pieces are easy to cut and work with.
Before I did a complex window with over 100 parts I first made a smaller window that is much simpler.
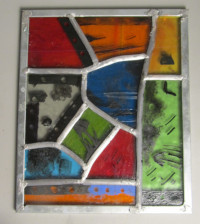
2. Make a Full size template  This is a full size color image of the window I make. This is a full size color image of the window I make.

I printed it up in black and white. This is a necessary thing. We use this as a template to make our window. Print up to the actual size of the project. I also created an even better one. I used a light box to trace a new template with just all the lead lines. I got rid of all the painting lines. You can see that template in the picture below.
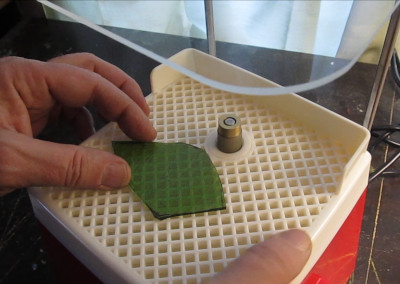
3. Set up your workspace
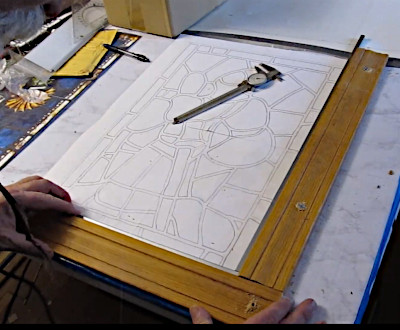 To make the window you will first assemble it all together without soldering anything. This means the parts are loose and can inadvertantly shift around. What you need to do is create a containment system to hold it together neatly. You do this with two pieces of wood. Here you can see the two pieces of wood. One is along the bottom of the template and another is on the right edge. Screw or clamp these down. To make the window you will first assemble it all together without soldering anything. This means the parts are loose and can inadvertantly shift around. What you need to do is create a containment system to hold it together neatly. You do this with two pieces of wood. Here you can see the two pieces of wood. One is along the bottom of the template and another is on the right edge. Screw or clamp these down.
And note: I am left handed. So it is a little bit easier for me to have that vertical wood piece on the right side of the project. I push the lead and glass pieces against that wood. If you are right handed you might want to put the vertical wood piece on the left side of the project.
4. Zinc Came goes around the edge 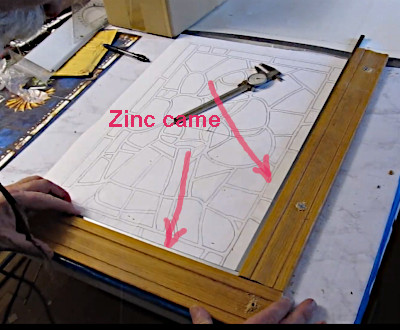
When making a stained glass window you don't put the lead came around the exterior of it. You use something called Zinc Came. It is stronger and it will add strength to the window or project.
5-6. Cutting, grinding and placing the glass pieces
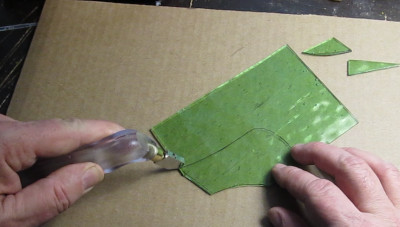
You use a glass cutter to cut the pieces of glass.
And use a glass grinder to do minor shaping and clean up the edges.
And you place each piece, surrounding each with lead came. You do this until the whole project is completed - all the pieces and lead are in place.

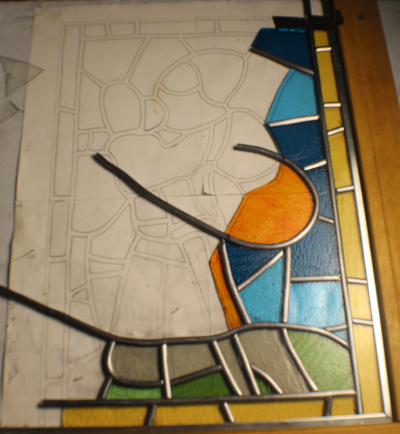
And notice that the zinc came is all the way around the project. And you can see that it is all held tightly in place with the two lengths of wood and on the left and top there are screws holding the zinc tight. Everything here is nice and tight.
7 - Soldering the Lead
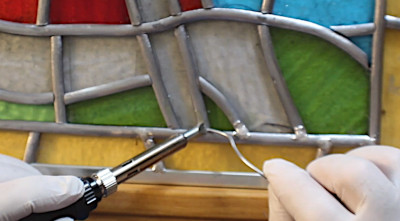
Next we solder all the intersections between the various lead came lengths - using a soldering pencil and solder.
8. Appying putty
The project is now pretty strong - but not strong enough. It is also not waterproof. To complete the build we apply a putty to all the lead. We squeeze-push it into all that lead -getting underneath the lead and filling any gaps between the lead and the glass pieces.
It's pretty messy but it cleans up easily.
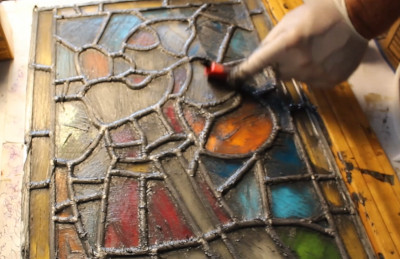
9. Applying a patina to the lead
The lead is shiny silver in tone and this is not very attractive. Over the course of time the lead will oxidize and turn dark. But that takes time. We can immediately oxidize that lead by applying a patina. It will improve the look dramatically and it will protect the lead and the window.
This first picture shows me brushing the patina onto the lead and in the second picture shows the beautiful patina has been completed. 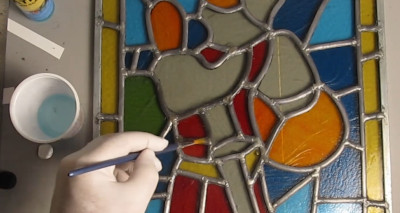
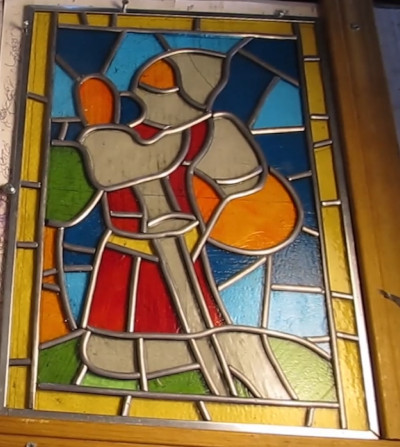
10.Painting
There are two different ways to paint stained glass. There is the professional way that lasts forever and there is the easier way which requires much less effort and equipment.
The first way involves painting all the pieces of glass, before the window is put together and soldered. You use a special paint. And then you bake each piece of glass in an oven or a kiln. This bakes the special paint right into the glass. It will last pretty much forever and looks the best!
The second way is to use glass paint and simply to paint it onto the glass. It isn't quite as good but it is much easier and requires much less in terms of equipment, time, planning and energy. This second method is what I did with my stained glass knight.
I used a variety of techniques including sponges, brushes, pick tools, Q-tips, cotton balls, and paint pens. 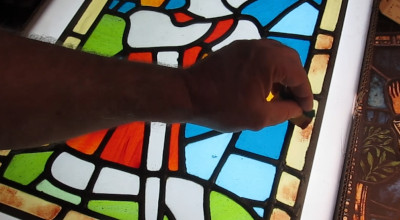
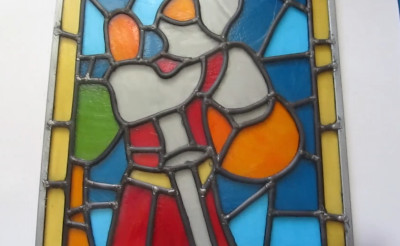
And that's it! The project is done and ready to be mounted.

This has been an easy overview of the process of making a leaded stained glass window. I have a more in-depth tutorial that takes you through all these steps and answers all your questions! That tutorial is right here: How to make a leaded stained glass window complete and in-depth tutorial
|


