Hi, Thanks for visiting my website. My name is Will and if you have questions
or would like to
contribute projects or ideas you can contact me
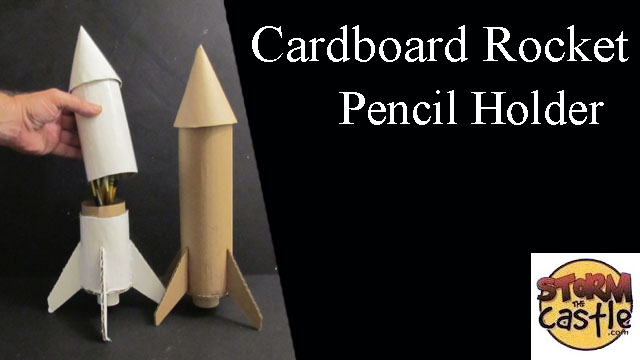
Make a cardboard rocket pencil holder
This is a fun cardboard project you can easily make with minimal supplies. It's fun to make and then it is useful for holding your pencils, pens and markers.
This is a fun little project that uses very few materials and tools. All you need is a piece of corrugated cardboard and some glue. I show you how to curve the cardboard to form the tube of the rocket and I even give you a template if you want to make the same size rocket as mine.
You can have this done in no time.
What other creative ways could this rocket be used? I made mine into a pencil holder but there are lots of other ways it can be used. Send me an email if you have some creative ideas for this project!
Earn a Certificate of Contribution!
If you make this project email me a picture! I will email you a certificate of completion from stormthecastle.com You can print it up and hang it on the wall.
My email:
Thanks for visiting my website! I hope you make this project!! Would you consider a donation of $1 to support my work? Paypal makes it very easy and safe. Click here to donate $1 for the template - Every little bit helps Will to keep making great tutorials and free templates. Thanks!
Overview of this project: We use water to remove a layer of paper from corrugated cardboard. Then we can roll the cardboard into the tube body of the rocket. We add some details including the nose cone and the fins. You can keep it right there as a cardboard rocket. Or you can cut it open and turn it into a pencil holder.
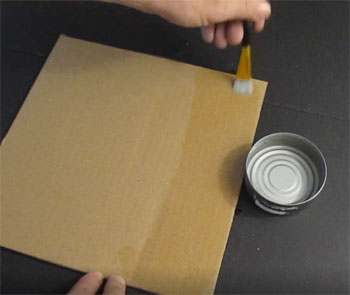
Cut a piece of corrugated cardboard to 11 by 11 inches. Brush on a nice thick coat of water. And repeat the brushings. Giving it a few minutes before coats. Several coats will be needed.
This will dissolve the glue that holds that top sheet of paper onto the cardboard.
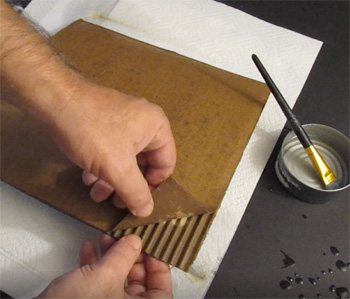
Then you can gently peel away that layer of paper. If it is difficult simply brush on some more water and let it soak in. And you can add water just in difficult spots.
Peel it away and set aside that sheet of paper. We will use it for various parts of the rocket.
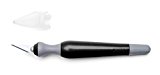
X-acto designer series knife #1 blade (This is Will's favorite X-acto knife) I love this xacto knife for a couple of reasons. First off it feels really good in the hand. It has some width and shape to it rather than the typical thin pencil like shape of most handles. Secondly the blade is tightened by the back end of the handle. It's all very comfortable to use and to change blades.
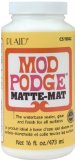
Mod Podge dries clear in approximately 15-20 minutes and can be sanded to a smooth finish. Apply with brush or sponge applicator. Close container after each use. Clean up with water while wet. Once dry, Mod Podge cannot be removed. Use as a puzzle saver, a sealer glue, a quick finish, a textured finish,or a build-up finish." Non-toxic.