Blacksmithing banner

Home

Home

Youtube graphic
I have a youtube channel with over 1000 Videos!

Become a Patron


Blacksmithing

Blacksmithing Lessons

Forge Stuff

Blacksmithing Projects

Resources and More Stuff

My other Subjects and websites


Will
Hi, Thanks for visiting my website. My name is Will and if you have questions
or would like to
contribute projects or ideas you can contact me Will

How to Make a Sword Part 5 - Making the Handle parts

Ok, we are making some tremendous progress with this sword. Now we need to make the parts of the handle assembly.


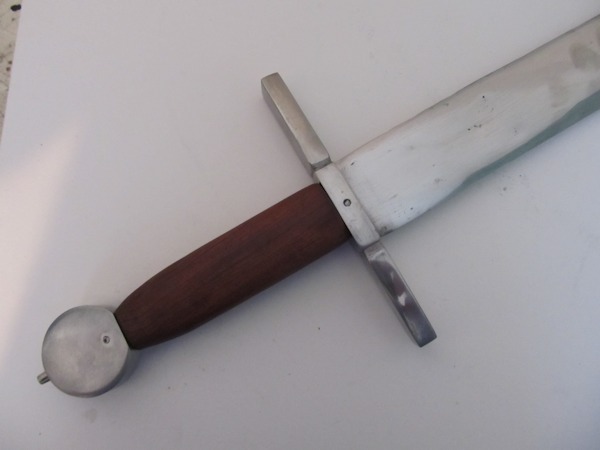
There are three parts to the handle assembly: From left to right they are the Pommel, the handle, and the crossguard. You can see them in this picture:

The handle of the sword

Ok, let's start with the Crossguard

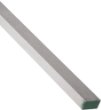
I used a bar of O1 steel. I cut off a piece that is 7 inches long. (7" long, and the bar is 1" wide and 1/2" thich)

I checked amazon.com for this exact steel that I ordered. They currently do not have 18" lengths in stock but they do have a 36 inch piece. You can always give it a check.


Starrett Tool Steel O1 Flat Stock, Oil-Hardened and Precision Ground Finish, Annealed Temper, Oversized Tolerance, ASTM A681, 1/2" Thick, 1" Width, 36" Length


Drill the crossguard

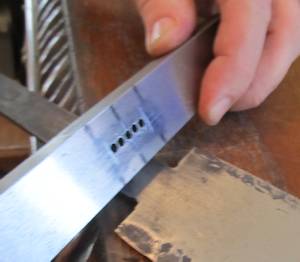
And we want it to be a crossguard so we have to cut a slot in it that is the size of the tang. I did this by drilling a series of holes like you see here. Measure the width of the tang and drill your holes to that width.

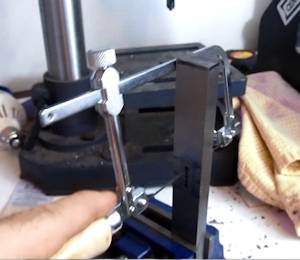
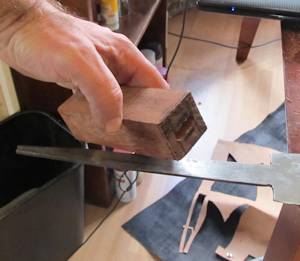
Using a jewelers saw to make the slot

Now we have a series of holes but we need to make it a slot so it fits on the tang of the sword. I did a lot of this work with a jewelers saw. Use any tools you want. You can use a drill to drag out the holes and work away at the steel. Even small files. This will take some effort because it is steel! Keep at it. And keep sizing it on the tang. You want a comfortable fit and not very sloppy.

File the shape of the handle

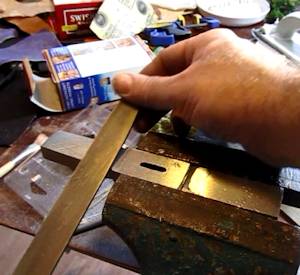
I used files and emory paper to shape it out and polish it. Totally optional but it does look much better if it is not just a bar shape.

THE HANDLE

the handle

The handle is a very similar process to the crossguard. Except it is a lot easier becausee it is wood! Measure it out and trill it out so it is slotted. You want a snug fit on this too.

Once the slot is drilled you can shape the handle using a wide variety of tools. I started with a belt sander then I moved on to a rasping file. And to get the fine shape I then used emory paper.

Mark the center

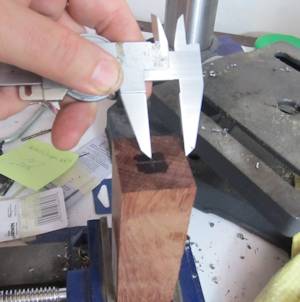
Mark the center of the handle block both on the top and bottom. Use this to drill your first holes. Then just like the crossguard drill more holes as needed. Remember that there is a taper in the slot. It is thinner at the bottom near the pommel.

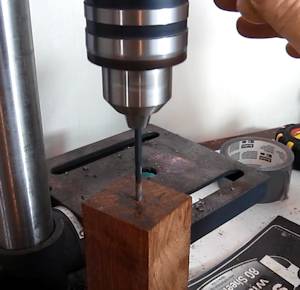
Drill the handle

Depending on the length of your handle you might not be able to drill it all with a regular drill. Of course you drill one end then flip it and drill the other end. But you still may need to buy a longer specialty bit.

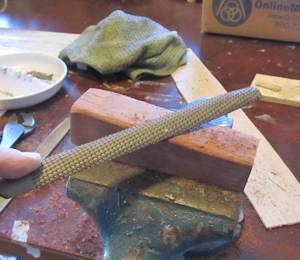
Rasp the shape of the handle

Here is a pic showing me rasping the handle into shape.

Burning in the handle

One more thing I want to talk about in terms of the handle and I don't have a picture of it but you can heat up the tang of the sword with a blow torch and force the handle onto the tang. This burns the wood and makes a really good and secure fit. The handle will be well seated on the tang.

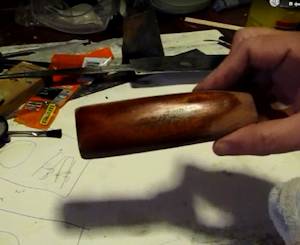
Tung oil on the handle

Once the handle is done you can apply multiple coats of tung oil to it. That will bring out the rich texture of the wood. I use tung oil on all my swords and knives. Love it!


NextOk, continue with the tutorial. We are almost done. Let's make the pommel and finish the sword


The Complete Bladesmith

The Complete Bladesmith: Forging Your Way To Perfection

Looking for instructions in bladesmithing that'll put you on the cutting edge of the custom blade market? Then this definitive guide to forging world-class blades is for you. Written by a master bladesmith, this book tells you how to set up your forge, select your materials, fashion grips and hilts, grind edges and much more!


Techniques Of Medieval Armour Reproduction: The 14th Century (Medieval & Renaissance)

Few historical icons can match the evocative power of the medieval suit of armour, and this epic new book is a complete course in the tools and techniques of the modern armourer's art. Through more than 1,000 detailed photos and clear instruction, Brian Price presents a working handbook for aspiring and active armourers who want to develop their skills in the production of medieval armour in the style of the 14th century. The book is divided into four sections: a sweeping history of armour and its production from its medieval roots to its modern revival; a practical introduction to all the tools and supplies necessary to equip a modern workshop; a thorough review of key techniques; and a series of actual courses in constructing armoured defenses for the head, body, arm, hand and leg. Taking the reader through the construction of an authentic medieval harness from conception to completion, Techniques of Medieval Armour Reproduction is a vital addition to the libraries of serious craftsmen, historians, collectors and researchers.


Sign up for my newsletter!

Do you like making projects and exploring a variety of hobbies?

Sign up for my free newsletter. I give you regular updates on hobbies and projects you can make. it is totally free and I don't share your email with anybody.