![]()
I have a youtube channel with over 1000 Videos!
Blacksmithing
- Blacksmithing Home
- Introduction to Blacksmithing Part 1
- Introduction to Blacksmithing Part 2
- Making A Forge
- Make a Cheap Easy Forge.
- How to Make a Sword - an overview of the process
- Blacksmith Tools
- Blacksmithing Tips
- Safety Tips and Guidelilnes
- A look at the Anvil
- Blacksmithing Books
- Blacksmithing Pics
- Blacksmithing Videos
- Words and Definitions
- Knife Smithing and Knife Making
- My Articles
- My youtube videos
- Knife and Swordmaking tutorials
Blacksmithing Lessons
- 1-Introduction to the Anvil
- 1a-What is a blacksmith forge?
- 2-A quick look at forging
- 3-Drawing out Metal
- 4-Twisting and bending Metal
- 5-The 8 Basic Hammering Techniques
- 6-Hardy Tools
- 10-The Pritchel Hole
- 11-Tips from a Blacksmith
- 12-Blacksmith Tools
Forge Stuff
- Make a Forge
- Make a Cheap and easy forge
- Forges in Castles
- Coal for Blacksmithing
- Home Made Forges
- The Atlas Knife Forge
- Whitlox Forges
- Make a Sword Forge
- Blacksmith Furnaces
Blacksmithing Projects
- Make a Knife
- Forging another knife
- Forge a sword
- Make a Big Sword
- Make a Subhilt Knife
- Make a dagger
- Forge a Spear
- Make Chainmail
- Make Dragonscale Chainmail
- Dinner Bell Triangle
- Pumpkin Carving Tools
- Pritchel Hole Clamp
- Make a Fullering Tool
- Make a Hammer Hatchet
- Railroad Spike Chisel
- Planishing Stake for Armor Making
- Knights Great Helm
- Railroad Spike Knife
- Railroad Spike Throwing Axe
- Make a Push Knife
- Rebar Knife
- Make a Sword in six hours
- Forge a Bottle Opener
- More Blacksmithing Projects
Resources and More Stuff
- How to Get into Blacksmithing
- What steel to use for Knifemaking
- Knifemaking Templates
- Blacksmithing Books
- Blacksmithing Coal
- Blacksmithing DVD's and movies
- Blacksmith steel coloring chart
- Blacksmithing throughout the ages
- Blacksmith Products
- Blacksmith Steel
- Some do's and don'ts from a first time knifemaker
- Knives made by web visitors
- Famous Blacksmiths
- Blacksmithing Equipment
- Blacksmith Quotes
- Blacksmith Art
- The Blacksmith Poem
- Blacksmithing Prayers
- Knife making and Sword Making Videos
- Knife Blanks
- Knife Scales
- Knife Making supplies
- Where to buy an ANVIL
- Spotlight on Blacksmiths
- Blacksmith Power Tools
- The sizes of coal
- Blacksmithing FAQ
- Various
- Safety Disclaimer
My other Subjects and websites
- SWORDS
- My Medieval Blog
- Medieval Website
- Medieval Projects
- Medieval Castles
- The Knight Medieval
- Catapults

- Support Will with Patreon or paypal

Hi, Thanks for visiting my website. My name is Will and if you have questions
or would like to
contribute projects or ideas you can contact me 


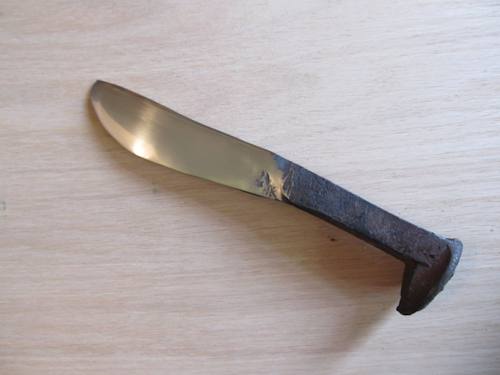
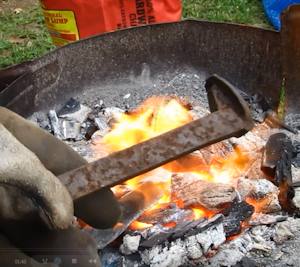
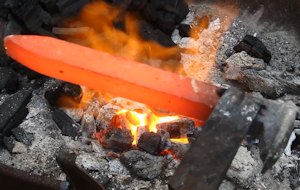 Heat it nice and evenly. But you don't have to worry much about the butt of the spike. We aren't going to be working that part of it. This looks great. It has a nice even color and needs just a little bit more heating.
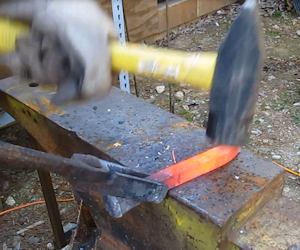
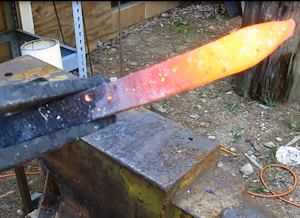
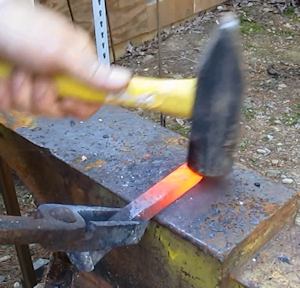
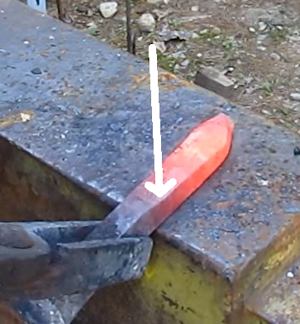
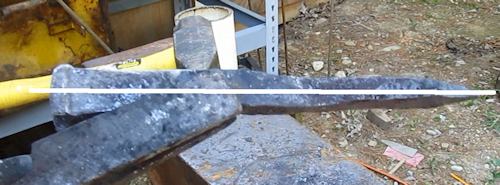
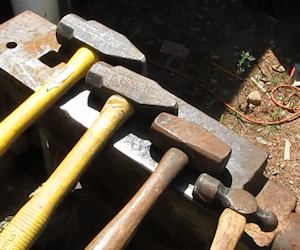
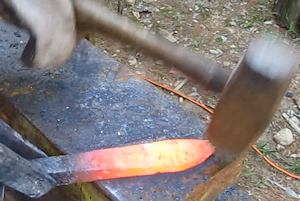 Ok, it is looking good and the major shape has been formed. Now we can switch to a lighter hammer and do some more work on it. But with the lighter hammer we can get more accurate.
 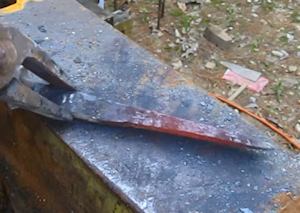 Ok, starting to look pretty good. It is pretty straight and starting to thin out nicely. It needs more work because it is still way too thick for a knife. Keep at it. Keep hammering, flattening and straightening. But with the lighter hammer.
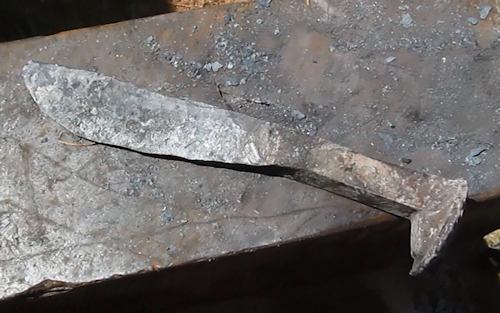
 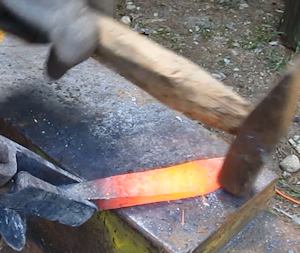 I like the shape. It is just the way I want it. Now I switch to an even lighter hammer to do the lighter detail work, further getting it right about to where I want it.
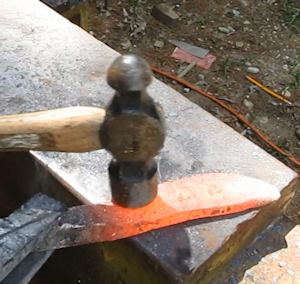
 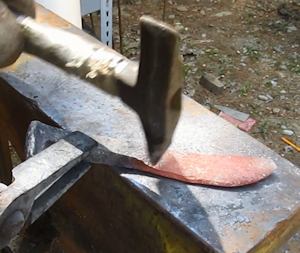 We are just about done with the blacksmithing part of this knife so one more thing to show you. Remember that half face near hammering we did at the choil? Well, we can further work on this with a cross pean hammer and a ball pean hammer. this will allow us to shape it exactly how we want.