|
|||||||||||
|
Tutorials
Time periodsFast TutorialsDioramas by Web VisitorsBuy StuffTools/Supplies
|
How to Make a World War 2 Diorama
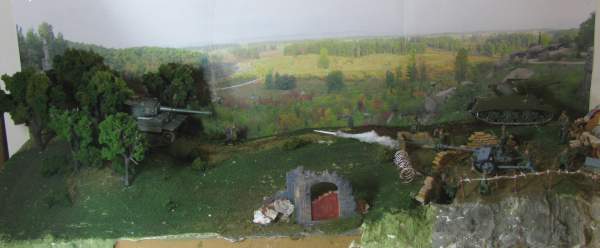
This is a complete and extensive tutorial that shows you how to make a World War 2 Diorama. I use 1/72 scale for this tutorial. For me this is an easy to work with scale. You sacrifice some of the detail that you can get with larger scale but it is well suited for dioramas because you can fit a lot of military models, equipment and soldiers onto it! This tutorial covers how to make the actual diorama but there are some sub tutorials that come with this. For example, in this diorama I use two tanks: A Tiger Tank and a Sherman Tank. Which means I also have short tutorials on making and painting them. I also have tutorials on how to make barbed wire, trenches, and mud which are all parts of this project. This installment of the tutorial also comes with a video that you can view at the bottom of this page. Here is the completed diorama that I make in this tutorial
Here are the sub tutorials of this Project:
Deciding on your Diorama scene and concept
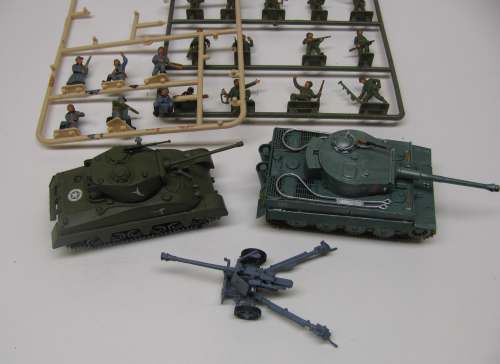
For me, I really wanted to do some kind of a tank battle. I just thought it would be fun. So, for this tutorial I ordered a Tiger Tank (german) A Sherman Tank (US) and an anti-tank gun. I bought a german one but the US forces are going to be using it! I also bought myself a selection of US and German Soldiers and some pre-made ruins. Concept The basic Idea I came up with is that of the Tiger Tank being way too powerful for the Sherman Tank so the tiger is chasing the Sherman. But there is a surprise in store for the Tiger Tank. It will be ambushed by an anti tank gun. Here are the models I am using for this diorama:
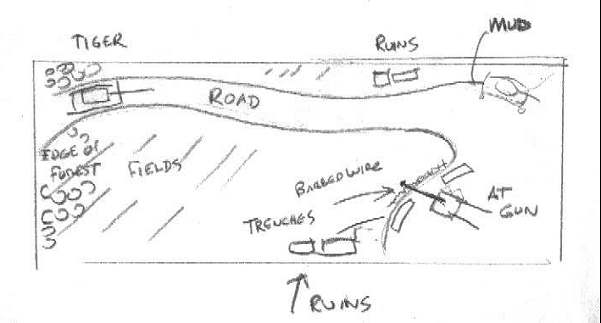
Sketching out the Concept So, now it is time to start doing some sketches of your diorama. These don't have to be artistic in quality. They just have to give you the design, layout and placement of things. This way you can visualize what it will look like and where things will go. I did a bunch of sketches until I settled on this for the layout..
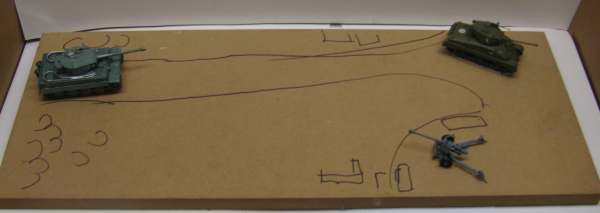
A handy technique that I use is to use the real models and move them around on a board to get a feel for the scale and what they might look like. The picture below shows the two tanks and the anti tank gun. This is the layout of the diorama for this tutorial. Once I have the design the way I like it I will actually draw all the major points right on the board. This will help me when I am doing the plaster and cardboard terrain.
Now that we have the design and layout of this diorama all figured out let's go ahead and start making it!
Here is the companion video for this part of the project
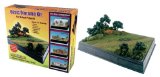
Scene-A-Rama Basic Diorama Kit
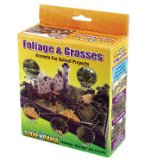
Scene-A-Rama Bushes, Foliage & Grasses Kit
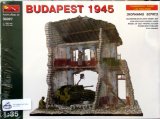
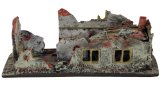
World War and Military Diorama Kits:
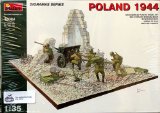
MiniArt 1/35 Infantry in the City Diorama Base with Figure Set (5 Figures)
|
||||||||||
Copyright©2001-2016 Kalif Publishing - Contact, copyright and Disclaimer - Let's Make Something T - Storm the Castle T Publishing
|
|||||||||||