Hi, Thanks for visiting my website. My name is Will and if you have questions
or would like to
contribute projects or ideas you can contact me
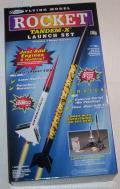
The Estes Amazon Model Rocket
It comes with complete instructions but here is an overview. Make sure you take your time and follow all the instructions carefully -particularly when you are building the engine mount.
This is a plastic style rocket. It is very easy to build and stands three feet tall. I built mine in 15 minutes flat and if you have no experience building rockets you should be able to do it in less than 30 minutes. But you should note that you will need Plastic cement and regular white glue to make this model. You should also have some kind of a sharp hobby knife just to trim some of the plastic.
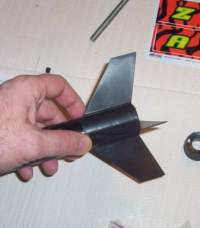
One thing that makes this rocket stand out above many others is the fin configuration. Cutting and gluing the balsa wood fins on a rocket , which is what is normally done, can be a bit of a challenge. It is often the hardest part of any rocket build. But this rocket is plastic and it comes with a single piece fin assembly that is simply glued into place. So if you don't want the fuss of gluing fins you might want to give this rocket a try. It goes together real fast and you can be launching in no time at all.
Testor Plastic Cement The Amazon Rocket is a pretty easy rocket to build. It is one of the more modern types that is mostly plastic so there is no worries about cutting out balsa wood fins. The fins and engine mount are plastic and easily assembled into the rocket with plastic cement.
About the Estes Amazon Rocket
Building This Rocket
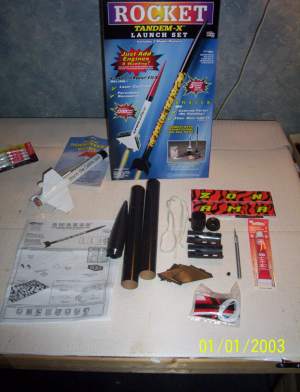
This picture shows all the parts that come with the Amazon rocket.
You should carefully inspect and look over all the parts and read the instruction sheets before beginning. This gets you familiar with the parts and allows you to check make sure nothing is missing or broken.
The instruction sheet that comes with this rocket is very complete and easy to understand. I will show you some pictures of the assembly and point out some key points.
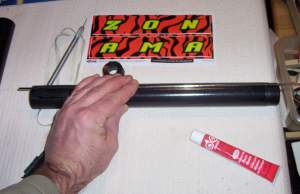
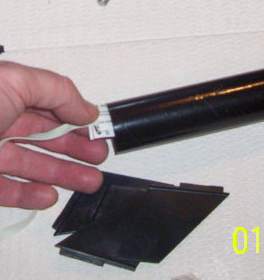
You glue the halves of the rocket tube together and you use the launch rod to make sure the launch guides line up.
Put together the shock cord assembly and glue it into the rocket tube.
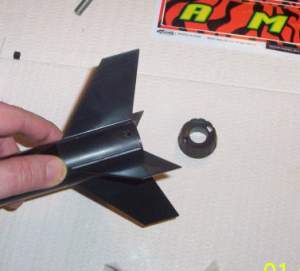
Assemble the tail fin assembly and glue it into the bottom of the tube. Some parts get glued and other parts don't! So read the instructions carefully. This is where the rocket engine will be installed. The black ring holds the engine in place.
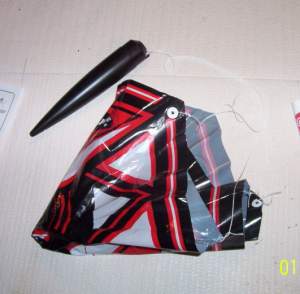
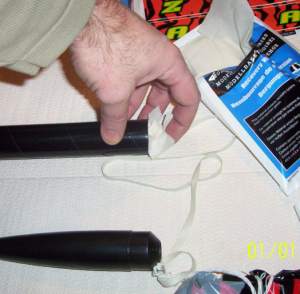
Put together the parachute assembly and attach it to the shock cord which you had previously glued into the inside of the rocket tube.
You gently stuff some fireproof wadding into the top of the rocket then insert the parachute and cap it off with the nose cone. Your rocket is almost ready to launch.
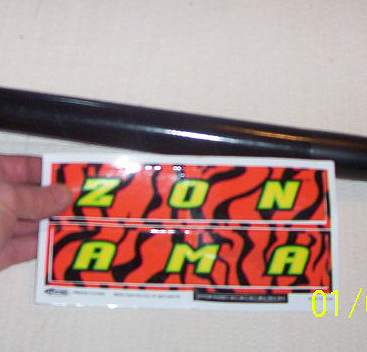
Attach the stickers and you are done! Ready to insert an engine and fire this thing off!