So what is entailed in the typical build of a model rocket? Let's take a look. There are typically four steps to the building process:
- You build the engine mount assembly
- You build the fin assembly
- Add the launch lug
- Build the nose cone and parachute assembly
- Optional (painting the rocket)
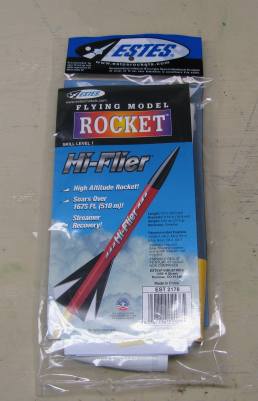
First off, this is a typical model rocket kit sold by estes. This package comes with everything you need to make a completed rocket. Except of course paint. But paint is optional.
Rockets often come in a bag like this and you would be surpised by how inexpesive they are. This package cost less than ten dollars.
Every rocket that the manufacturers make is a bit different than others. For example, some have plastic fin assemblies, while others have balsa wood assemblies that need to be glued together. Some have plastic engine mounts while others have cardboard mounts that have to be assembled. Let's take a look at a pretty common way a rocket is made.
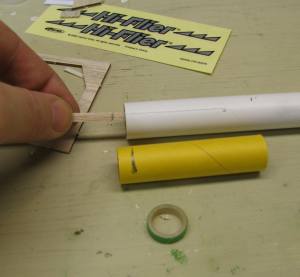
Generally the first thing you would do is install the engine mount. This is a small mount to hold the engine. Sometimes, as in this rocket, it is just a small ring that you glue into the inside of the rocket tube. This holds the engine in place and prevents it from slipping up the tube when it is fired. In the picture below the engine mount is a green ring. I am putting some glue into the tube and the yellow tube is just a template to allow us to push the green mount into the tube.
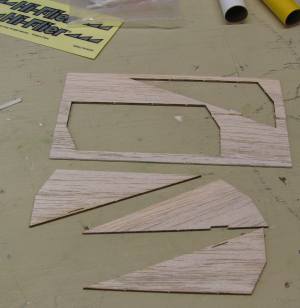
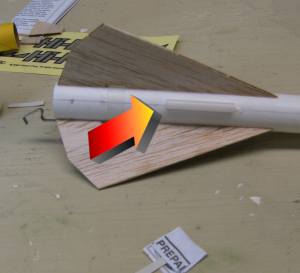
Then you would cut out the fins from a sheet of balsa wood. This is not hard and they are pre-cut so you just have to do a little bit of easy cutting to completely get them out of the sheet.
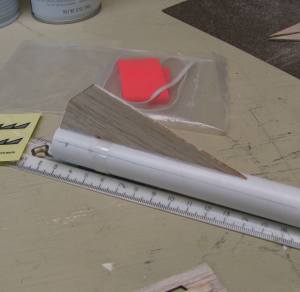
Then you would glue them to the tube of the rocket. This takes a little bit of patience and you need to wait between fins for the drying of the glue.
Next you install the launch lug. This is a piece of plastic that looks like a straw. It is what the rocket rides on when it first fires off the launching pad.
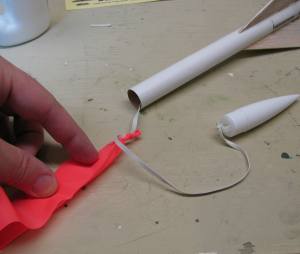
Now we build the nose cone and landing assembly. some rockets have a parachute as a landing assembly and some rockets have a streamer. Either way the process is pretty much the same. A long rubber band is connected to the inside of the rocket and then connected to the nose cone and the streamer (or parachute)
Now the rocket is ready to be painted and launched.
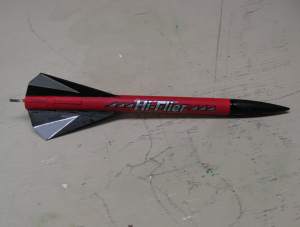
Here is this rocket after painting and application of the details.
I have lots more Model Rocket Stuff Including videos and full building instructions on several different types of rockets. Just check the menu on the left of this page.
|