In this part we do the Engine Mount assembly, the fins, and complete the rocket.
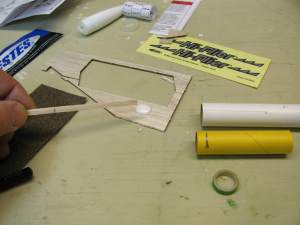
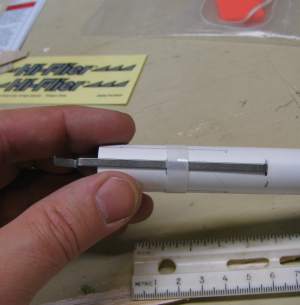
Now we begin the engine mount assembly. The picture at left shows us a few things. The yellow tube is just a spacer tool that you use. it doesn't end up as a part in a rocket.
You take a piece of scrap wood like shown in the picture and you dab glue on it.
Then you insert the piece of wood into the tube and rub the glue 2 and 1/2 inches into it. Put plenty of glue that forms a ring.
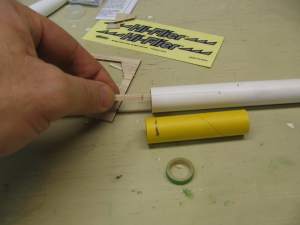
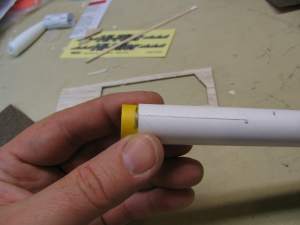
Insert the Green ring into the tube (this is called the Engine Mount)Then use the yellow spacer tool to push the green ring as far as the glue ring you put inside. (2 1/2 inches). Then pull the yellow spacer tube back out.
Now install the engine hook. It is composed of two parts. The first part is the actual metal hook and the second part is the clear plastic ring that you slide over it. The instructions tell you the exact location of these parts.
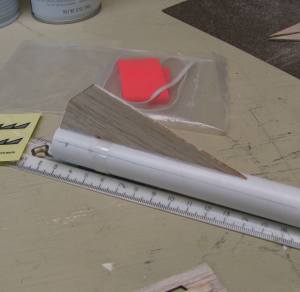
Now glue all three fins in place. This is the trickiest part of the assembly and you have to take your time. I generally allow a good amount of time for one fin to dry before I start on the second then third.
A good trick here is to apply a small amount of glue to the edge of the fin and to the body of the rocket and let it sit for a few minutes. Then apply a second coat and attach them and hold them in place until it will stand straight on its own. The bevel in a ruler works well for me to hold the rocket like shown in the pic.
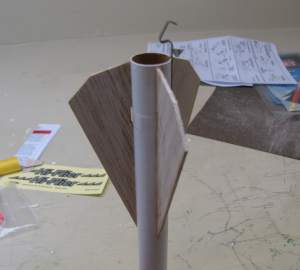
The Three fins are glued in place. Follow the instructions to make sure they are nice and straight and very evenly spaced around the tube. This will make a difference in how well the rocket flies and how true it flies.
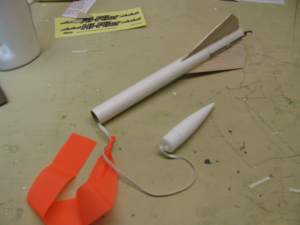
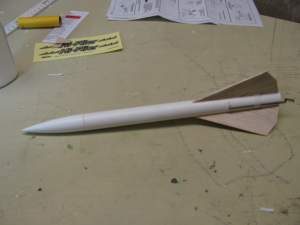
Now you should assemble the nose cone and streamer assembly. It is an easy process and the instructions show you how. You glue the shock cord to the inside of the tube and the other end ties to the nose cone. In the middle of the shock cord you put the streamer and your rocket assembly is complete.
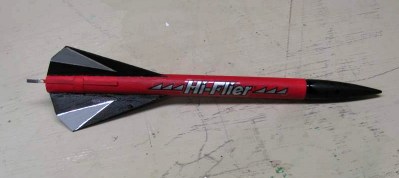
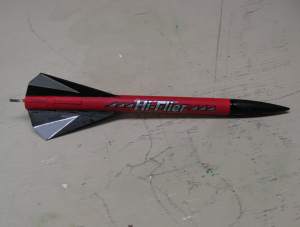
The Rocket assembly is complete. Now all you have to do is paint it and apply the decals.